


16
Phone Communication Test
The purpose of this weekly test is to verify that the connection
between the central monitoring station and your system is working
properly.
Most phone tests take only a few minutes, however, your system
will try for up to 15 minutes to establish a connection.
After the test has started, the arming level can be changed to
Level 2—Stay or Level 3—AWAY.
To perform a phone communication test:
1.
Contact the central monitoring station to inform them that
you want to test the phone communication of your system.
2.
Disarm the system.
3.
Press
8
+ System Master Code +
2
. The touchpad displays,
“System Armed to PHONE TEST,” or “
✽
PHONE TEST.”
On fixed English touchpads:
After the phone test is complete, the touchpad displays
“PHONE TEST OK.” Press
‚
.
• If the phone test is successful, the touchpad displays
“System Phone Test Alarm Memory” or “Phone Test
Memory” briefly, then returns to a normal text display.
Press
‚
a second time and the touchpad displays
“System is OK.”
• If the phone test is unsuccessful, the touchpad displays
“Memory Test Phone” briefly, then “Alarm Memory
Phone Failure.”
On alphanumeric touchpads:
• If the phone test is successful, the touchpad display
returns to a normal text display.
• If the phone test is unsuccessful, the touchpad displays
“SYSTEM PHONE TEST ALARM,” then, “MEMORY,” and
finally, “PHONE FAILURE ALARM MEMORY.”
If a phone test is unsuccessful, check to see if you hear a dial tone
from phones in the house. Call your dealer if you hear a dial tone,
but your phone test is unsuccessful.
Testing Sirens
The purpose of this weekly test is to verify that the panel is activat-
ing sirens with the appropriate warning sounds.
To perform an alarm siren warning sound test:
1.
Contact the central monitoring station to inform them that
you will be activating alarms and
they should not dispatch
authorities.
2.
Activate alarms of each type (fire, police, auxiliary), one at a
time.
3.
Listen for the appropriate siren sound when each alarm is
activated (see “Alarm Sound” table on page 9).
4.
Contact the central monitoring station to inform them that
you are finished activating alarms.
T
ROUBLESHOOTING
Your security system uses a variety of different alarm sirens, status
beeps, and trouble beeps to communicate with you. The next few
pages describe the different sounds and what they mean. Try to
familiarize yourself with the differences. You will hear some sounds
each time you tell your security system to do something, like arm or
disarm. Some sounds you will hear only when there is a problem
with the system, like a low battery. Other sounds you will only hear
in an emergency. Getting to know your system sounds allows you
to react quickly and appropriately.
Trouble Beeps and Trouble Messages
Trouble beeps are a series of five short beeps, once a minute.
When your system detects a problem, it lets you know by sounding
trouble beeps from touchpads and sirens, and by trouble messages
on touchpad displays.
Table 4 lists the causes of trouble beeps, the visual display you can
expect to see, and possible solutions for the trouble condition.
Silencing Trouble Beeps
If possible, correct the situation which is causing the trouble beeps.
If this is not possible, call for service. If the problem is not cor-
rected, trouble beeps and messages start again 4 to 10 hours later.
To stop trouble beeps:
•
Perform a system status check by pressing
‚
on a touch-
pad,
•
change the arming level.
The following table describes the conditions under which trouble
beeps occur and when they begin. (These sounds are heard from
interior sirens and touchpads if available.)
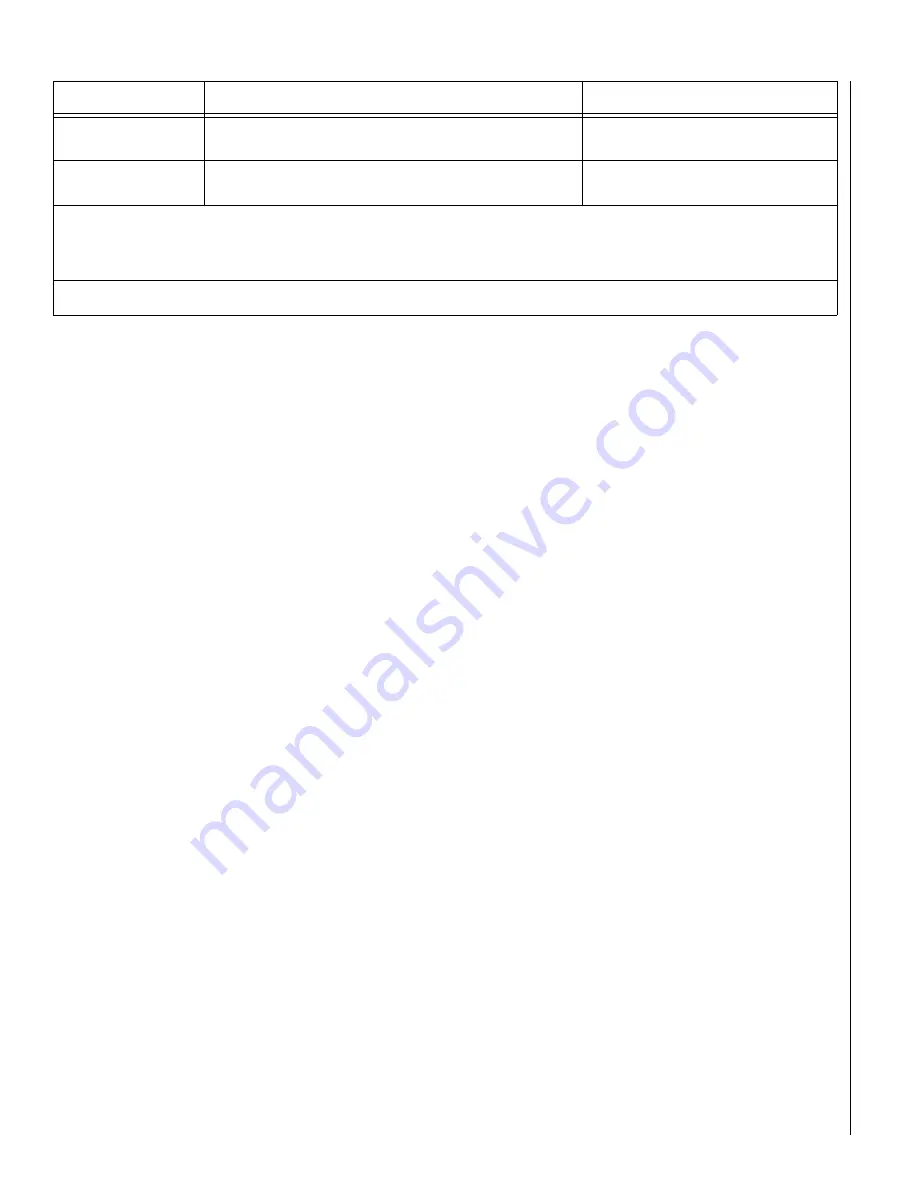
Glass guard sensor
(Not UL investigated)
Tap the glass 3 or 4 inches from the sensor.
Zones nn OK
SENSOR nn OK
Freeze sensor
(Not UL investigated)
Apply an ice cube wrapped in plastic to the sensor.
Do not allow the sensor to get wet.
Zones nn OK
SENSOR nn OK
• If you need more time to complete testing, restart the timer by pressing 8 + Code + 3.
• Check to see that all sensors have been tested by pressing
‚
. Touchpads display a list of untested sensors.
• You will know that you have finished testing when touchpads display, “SENSOR TEST OK” or “ZONES ALL TESTED.”
3. Disarm to Level 1 to exit Test Mode.
Device
Test procedure
Touchpad Result
Содержание Concord Express
Страница 27: ...27 Notes ...
Страница 28: ...28 Notes ...
Страница 29: ...29 Notes ...
Страница 32: ...6 5 1 7 7 7 2 6 9 0 6 5 1 7 7 9 4 8 9 0 1999 Interactive Technologies Inc ...
Страница 34: ...6 5 1 7 7 7 2 6 9 0 6 5 1 7 7 9 4 8 9 0 1999 Interactive Technologies Inc ...