D-0134090-A – 2022/11
VisualEyes™ - Instructions for Use - EN
Page
77
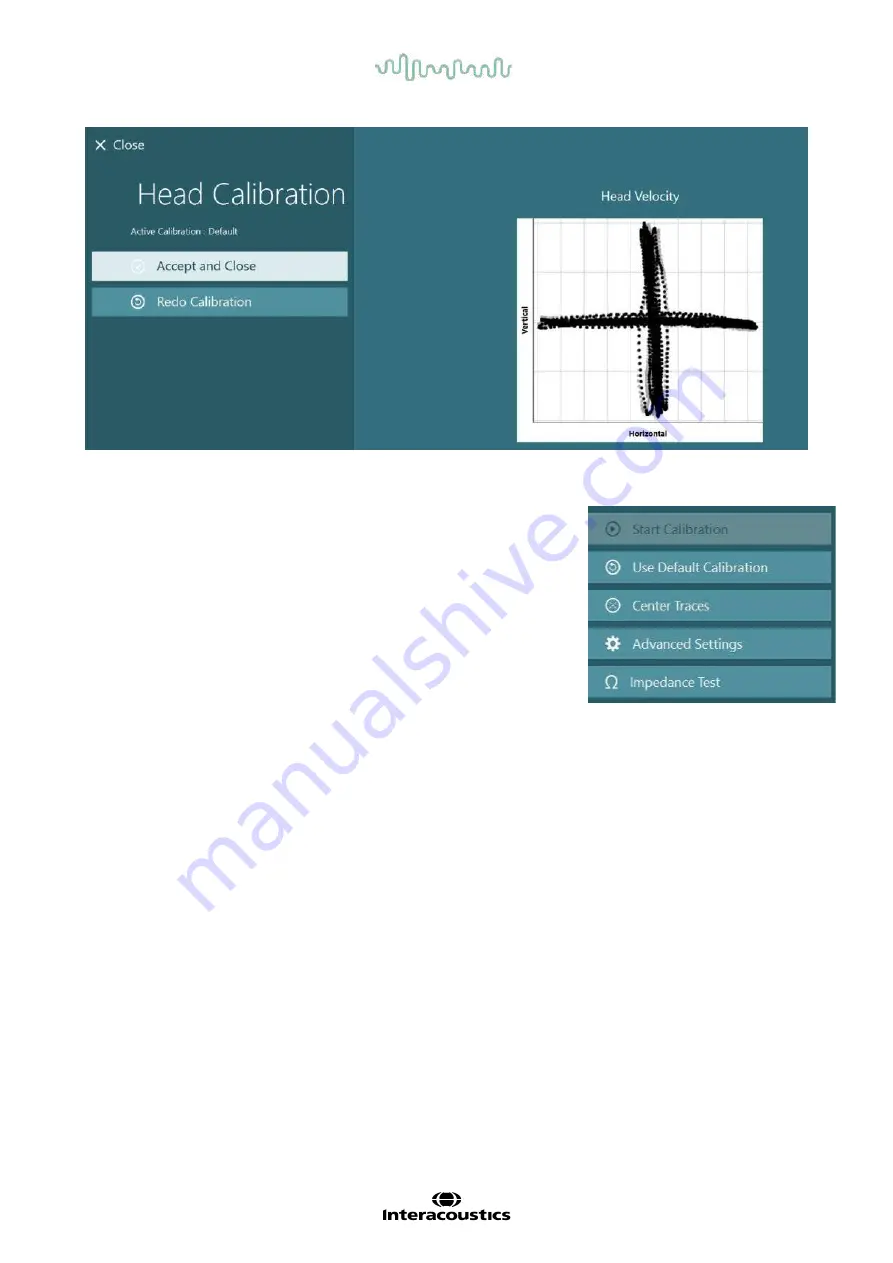
Figure 3.7-9: EyeSeeCam Head Calibration results
3.7.4 ENG calibration and impedance test
With ’DataLink’ or ’ENG in Chair’ selected as input source, the
’Impedance Test’ and ’Center Traces’ buttons will appear in the left panel
on the calibration screen. Clicking the Impedance Test button will open
the Impedance Test screen. The impedance test can also be performed
from
System Default Settings > ENG
.
The Impedance Test screen allows the operator to select the desired
electrode montage from the drop down selection menu. The image will
present instructions on how to place the electrodes on the patient.
Clicking on the ‘Start’ button will check each electrode and report the impedance.
If the impedance is measured as 10 kOhm or less, the electrode will be marked as ‘Good’ indicated by green
coloring. If the impedance is between 11 kOhm and 15 kOhm, the electrode will be marked as ‘Medium’
indicated by yellow coloring. If the impedance is between 16 kOhm and 20 kOhm, the electrode will be
marked as ‘Bad’ indicated by red coloring.
Sometimes there may not be any clean ENG signals. This will be marked as ‘Not connected’ indicated by
black coloring.
If the electrodes show good (green) or medium (yellow) impedance, then click on the ‘Accept and Close’
button to exit the Impedance Test screen to proceed further. If the impedance is bad, the operator can repeat
the test by clicking ‘Redo all’ button after a minute and if it continues to be poor, then it is recommended to
remove the electrode sensor, abrade the skin again, then re-fix the electrodes. The operator can also click
on the specific sensor to re-test the impedance of that sensor only.


