18
To make a custom CD recording
The custom recording option lets you choose which tracks to record,
the sound quality of the recording, and allows you to enter album
information.
To make a custom recording:
• Choose
3
Custom
from the “
Please select Auto or Custom
record
” screen.
A series of screens allow you to specify each of the recording options.
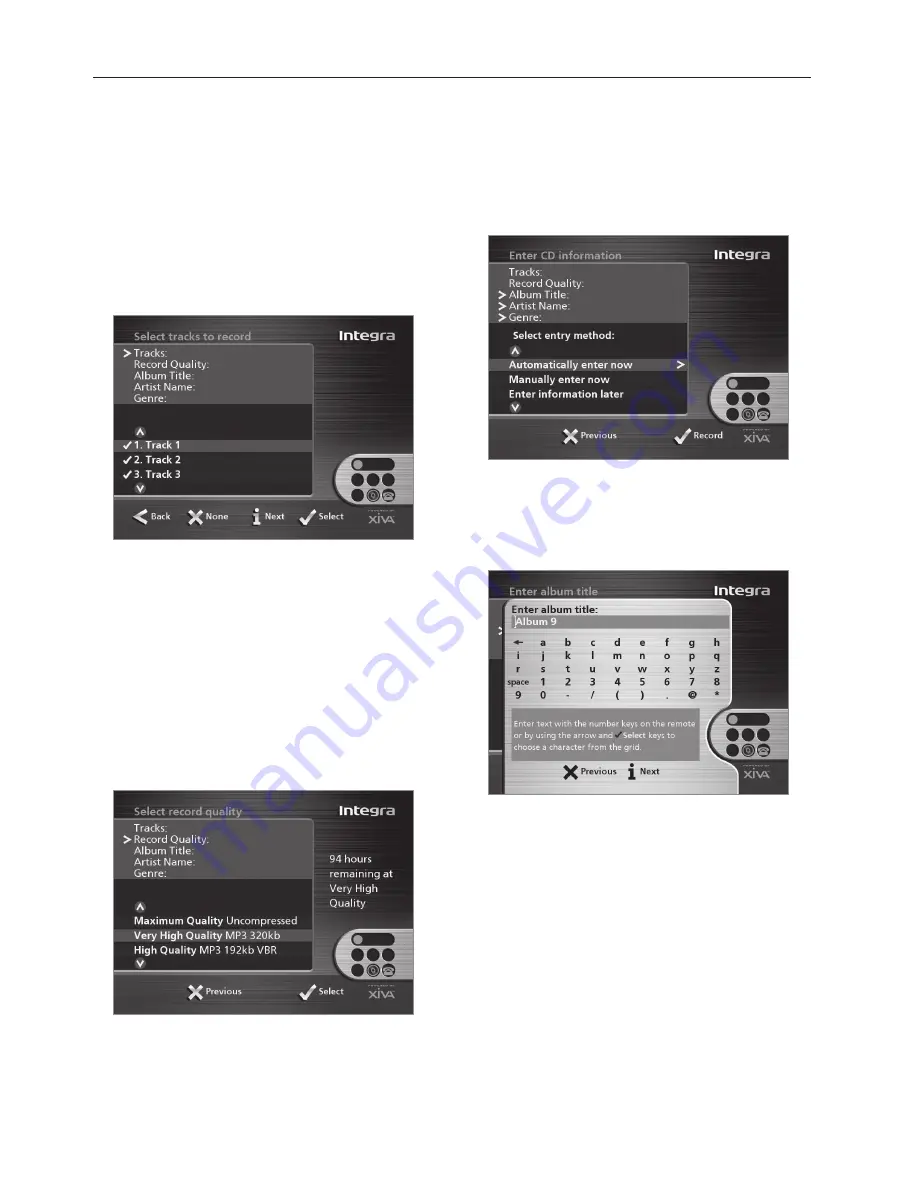
Tracks
The
tracks
menu lets you specify which tracks you want to record:
Initially all tracks are selected, as indicated by a
5
in front of the
track number.
• Press
the
5
Select
key to unselect or select the highlighted track.
• Press
the
9
or
8
keys to step between tracks.
• Press
the
2
None/All
action key to unselect or select all of the
tracks respectively.
When you have specified which tracks you want to record:
• Press
the
3
Next
key.
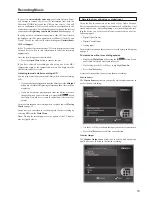
Record Quality
The
Record Quality
menu allows you to specify the recording
quality:
• Use the
9
or
8
keys to choose between
Maximum
(no
compression used) or one of the
MP3
compression options.
Note:
The higher quality options use more space on your Audio
Network Server hard disk, so you will not be able to record as many
CDs.
In each case the display shows the total remaining recording time available
at the specified recording quality.
• Press
the
5
Select
key to confirm your selection.
CD information
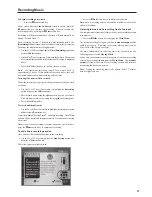
The
CD information
screen allows you to choose how to enter the
album name, artist name, genre and tracks:
If you select
Enter Information Later
you can download the CD
Information for all the CDs you have recorded by choosing
Look
Up
from the
Main Menu
at a later time.
If you select
Manually enter now
a series of menus prompts you to
enter the album name, artist name, and track titles:
• Edit the album and artist name using the alphanumeric keys on
your Audio Network Server remote control or by using the text
grid
on the front panel.
For more information about entering and editing names see
Entering
and editing names
on page 29.
After entering the album name and artist name, you will be prompted
to select a genre:
• Select a genre using the
9
and
8
keys.
• Press
the
5
Select
action key to confirm your choice.
You will finally be prompted to enter the track titles.
• Edit each track title in the usual way, and press the
3
Next
key
once each title is complete.
• Once all the entries are complete recording will commence
automatically.
Recording Music
Содержание NAS-2.3
Страница 40: ......


