15
To connect your Audio Network Server to the Internet
The next sequence of screens helps you connect your Audio Network
Server to the Internet.
• Press
the
Cont.
action key on the front panel or the
key
on the remote to begin.
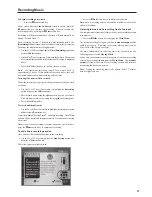
The following screen then allows you to select from a range of options
to set up your internet connection:
• Press
the
8
or
9
keys to select between the following options:
1.
Use Ethernet.
Use this option to connect to a high speed, broadband internet
service via the Ethernet port.
Note:
You will require additional networking hardware for
this type of connection. Contact your dealer for further
information.
Note:
AOL and Compuserve accounts are not currently
supported.
2.
Use Modem - the built-in account.
Your Audio Network Server will connect using a pre-installed
internet account for your country.
Note:
The built-in Internet account may not be available for
your country.
3.
Use Modem - your own account.
If you are already using a computer to connect to the Internet
via a telephone line, and you have an existing Internet account,
you may prefer to use these account details for your Audio
Network Server. If you do not know your username,
password, and Internet account telephone number you may
be able to read these from your computer’s settings; otherwise
contact your Internet Service Provider for assistance.
4.
Do not connect.
You should use this option if you do not presently have access
to a telephone line (you may set up a connection later).
• Press
the
5
action key on the front panel or the
key on
the remote to select the option you have chosen.
If you have selected
Use Ethernet
follow the on-screen
instructions to specify how your Audio Network Server obtains
an Ethernet IP address. If you select the
Manual
option a series
of screens will allow you to enter an IP address, IP mask, Gateway,
IP DNS1 and IP DNS2.
If you have selected
Use Modem - the built-in Account
, read
the terms and conditions and press the
Accept
action key on the
front panel or the
key on the remote control to continue.
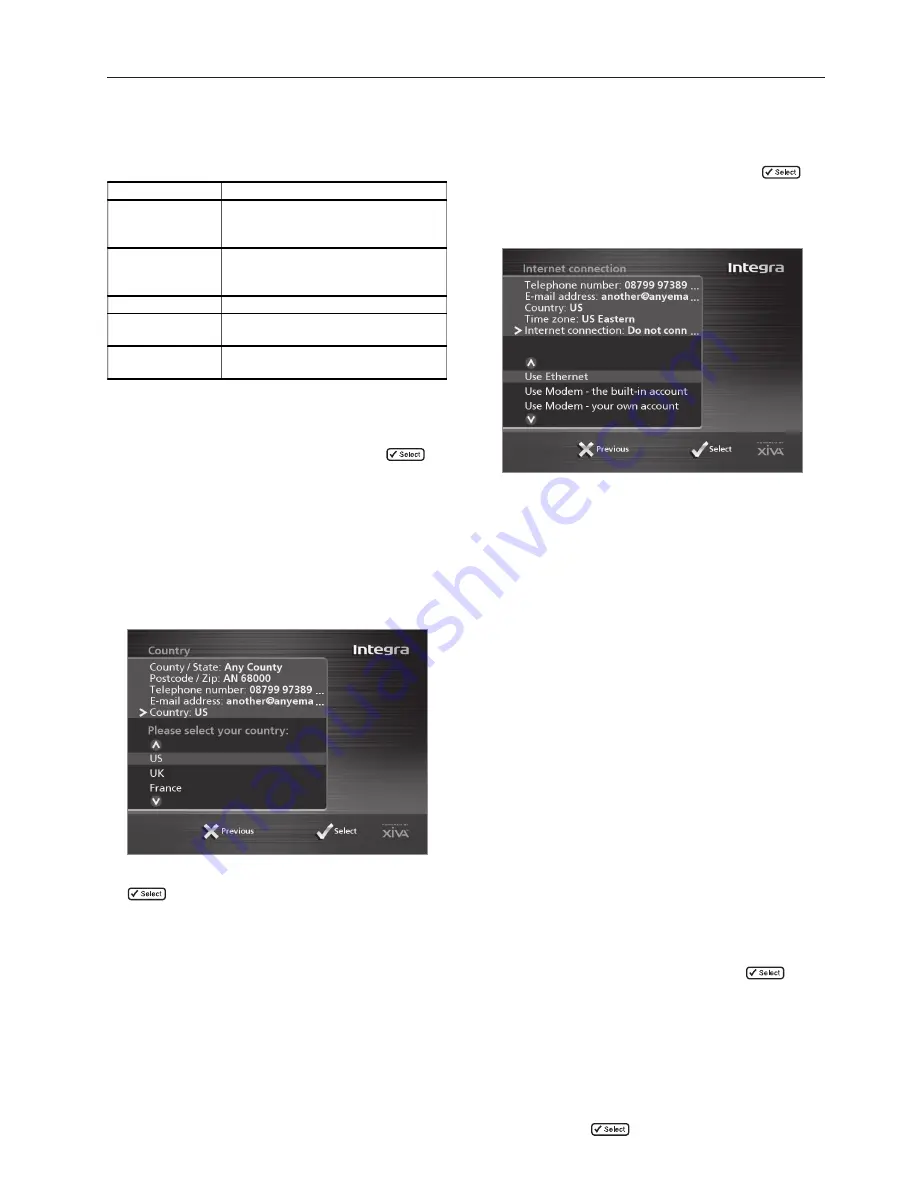
To use the alphanumeric keypad
As part of the registration process you will need to enter your name
and address into the Audio Network Server. You can do this using the
following keys on the remote control:
Alternatively you can use the built-in alphanumeric
grid
to enter
details:
• Press
the
8
key to move the cursor onto the grid, then use the
6
,
7
,
8
, and
9
keys to highlight characters, and the
key
to select them.
• Use
the
9
key repeatedly to move the cursor back into the text
entry box to return to normal text entry mode.
When you have completed each entry:
• Press
the
Next
action key on the front panel or the
3
button on
the remote.
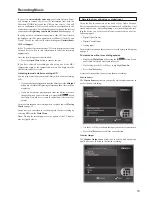
When you have entered your name and address details you will be
prompted to select your country:
• Press
the
9
or
8
keys to highlight your country and press the
key on the remote or the
5
action key on the front panel.
Registering your Audio Network Server
Action
How
Enter Text
Use the alphanumeric keys on the remote
control. For example, to type an
S
press
the
7
key four times.
Switch between
entering upper case
or lower case letters
Press the action key labelled
Caps
or the
H
CAPS
key on the remote control.
Enter a space.
Press the
0
key.
Delete a mistake
Press the
I
DELETE
key on the remote
control.
Move the cursor
within the text
Press the
6
or
7
keys.
Содержание NAS-2.3
Страница 40: ......


