Step 2:
Initial Setup
Step 2:
Initial Setup
En-13
¼
The subwoofer sound may not be detected since it is extremely
low frequencies� Set the subwoofer volume to around the half of its
maximum volume�
¼
Measurement may be interrupted if there is ambient noise or radio
frequency interference� In this case, close the window and turn off the
home appliance and fluorescent light�
2� After placing the microphone at the measurement
position, select "Do it Now" with the cursors and
press Enter�
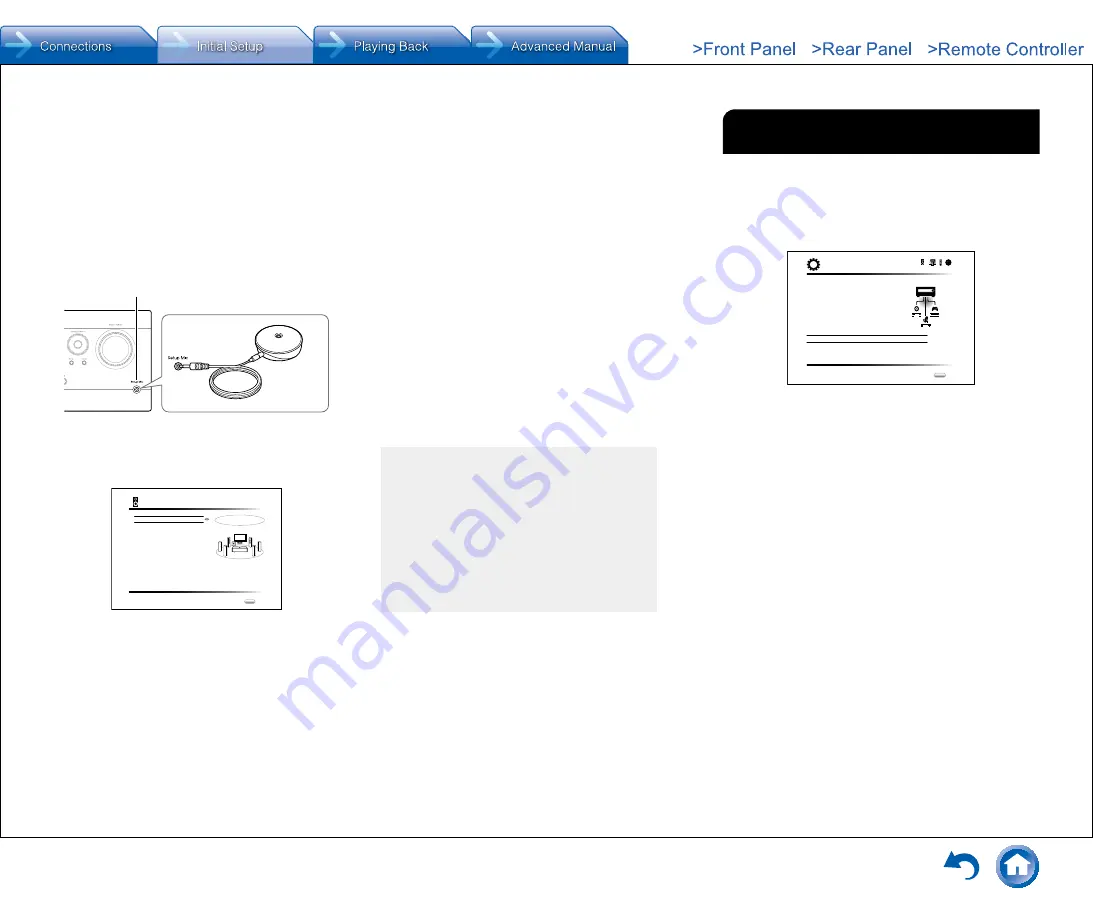
3� When "Please plug microphone that came in a
box with AV receiver" is displayed, connect the
microphone to the Setup Mic jack of the unit�
Setup Mic jack
Calibration
microphone
4� Select the settings for the connected speakers, the
type of the height speakers, and other appropriate
settings�
AccuEQ Room Calibration
Speaker Channels
Subwoofer
Height Speaker
Bi-Amp
Powered Zone2
7.1ch
Yes
-----
No
No
Next
ENTER
Select how many speakers you have.
When the screen above is displayed, set the items with
the cursor buttons on the remote controller� Refer to
the on-screen diagram for "Speaker Channels", which
changes each time a different number of channels is
selected� When all the items have been set, press Enter
on the remote controller� After that, follow the guidance
displayed on the TV screen to operate the unit�
●
Refer to the content of an item, which appears on
the lower left of the screen when the cursor is on the
item�
5� The test tones sound from the connected speakers
and automatic speaker setting starts�
Measurement will be made 3 times or more for each
speaker� It takes several minutes to be completed� Keep
the room as quiet as possible during measurement� If
any of the speakers do not produce the test tone, check
for disconnection�
●
During measurement, each speaker outputs the test
tones at a high volume� Be careful of sound leak
that may disturb your neighbors, or be careful not to
frighten young children�
6� When the measurement is completed, the
measurement result is displayed�
Press
t
/
u
on the remote controller to check the
settings� Press Enter with "Save" selected� To have the
settings reflected for all the speakers, select "On (All
Channels)" in the next screen and press Enter on the
remote controller�
●
Select "On (Except Front Left / Right)" to disable just
the front speakers�
●
If there is an error message, follow the on-screen
instruction to remove the error cause� If the
subwoofer was not detected, turn the volume of the
subwoofer up to maximum and then select "Retry"�
About THX playback
THX recommends setting the speakers manually if
you use THX-certified speakers or playing back with
THX listening modes�
●
THX recommends setting the crossover frequency
to “80Hz(THX)” manually�
●
Due to the electrical complexities and the
interaction with the room, you may notice irregular
results when setting the level or distance of each
speaker� If this happens, THX recommends
setting the speakers and the subwoofer manually�
7� When "Please unplug setup microphone�" is
displayed, disconnect the microphone�
2
Source Connection
You can check the connections on the different inputs and
make HDMI link function settings�
1� When the Source Connection start screen is
displayed, select "Yes, Continue" with the cursors
and press Enter�
Source Connection
This step will start to check if the
connections were made correctly.
Would you like to continue?
Yes. Continue
No. Skip
Initial Setup
Exit
SETUP
2� Select the desired input to check the connection and
press Enter�
Start playback of the selected device� If connection is
correct, video/audio of the input source selected on the
unit will be played�
3� After checking the connection, select "Yes" with the
cursors and press Enter�
●
If you select "No" and press Enter, the error cause
will be displayed� Follow the guidance to remove the
error cause and check the connection again�
4� Select "Yes" with the cursors and press Enter on the
remote controller to check the connection of other
inputs or select "No, Done Checking" and press
ENTER to skip�
If you select "Yes", you will return to the screen of step
2�
If you select "No, Done Checking", you will proceed to
step 5�
5� Set the CEC link function�
Select "Yes" to enable the HDMI link function with CEC-
compliant equipment, then select "Yes" again in the next
screen�
Содержание DTR-40.7
Страница 31: ...En 31...


