Page 52
Page 53
If this does not resolve your issue it is possible that paper is caught in the cutter cassette. Please
follow this procedure to remove the paper:
•
Turn off power
•
Remove the top cover
•
Remove cutter cassette - refer to Section 2-7
•
Replace the top cover
•
Turn on the power, press start button
•
Make sure any of the jammed paper and paper scraps come out of the machine
•
Turn off power
•
Open the top cover
•
Replace the cutter cassette
•
Replace the top cover
Turn on the power.
If you still hear an audible beep or an unusual noise it is possible paper is still caught in the cutter
mechanism. Follow this procedure:
•
Turn off power
•
Remove the backlog of paper in the paper tray
•
Pull out the stuck paper
•
Turn on the power
Press the
START
STOP
key to confirm whether there is abnormal sound or the BC480 is working normally.
3-3 Crosscutting knife cutting failure
There is paper stuck in the knife or the paper is too thick or curled.
When the LCD display shows:
•
Crosscut knife cutting paper failed
Depending on the situation, press
or
button and the crosscut knife motor will move
forward or reverse. Whilst doing this, confirm that the crosscut knife has separated any stuck paper
and then press the press
or
buttons to remove the paper.
Press the
START
STOP
button and you will hear a click - this is so you know that the knife is working or
whether it has been damaged.
Press
MODE
SET
button to exit and return to standby mode.
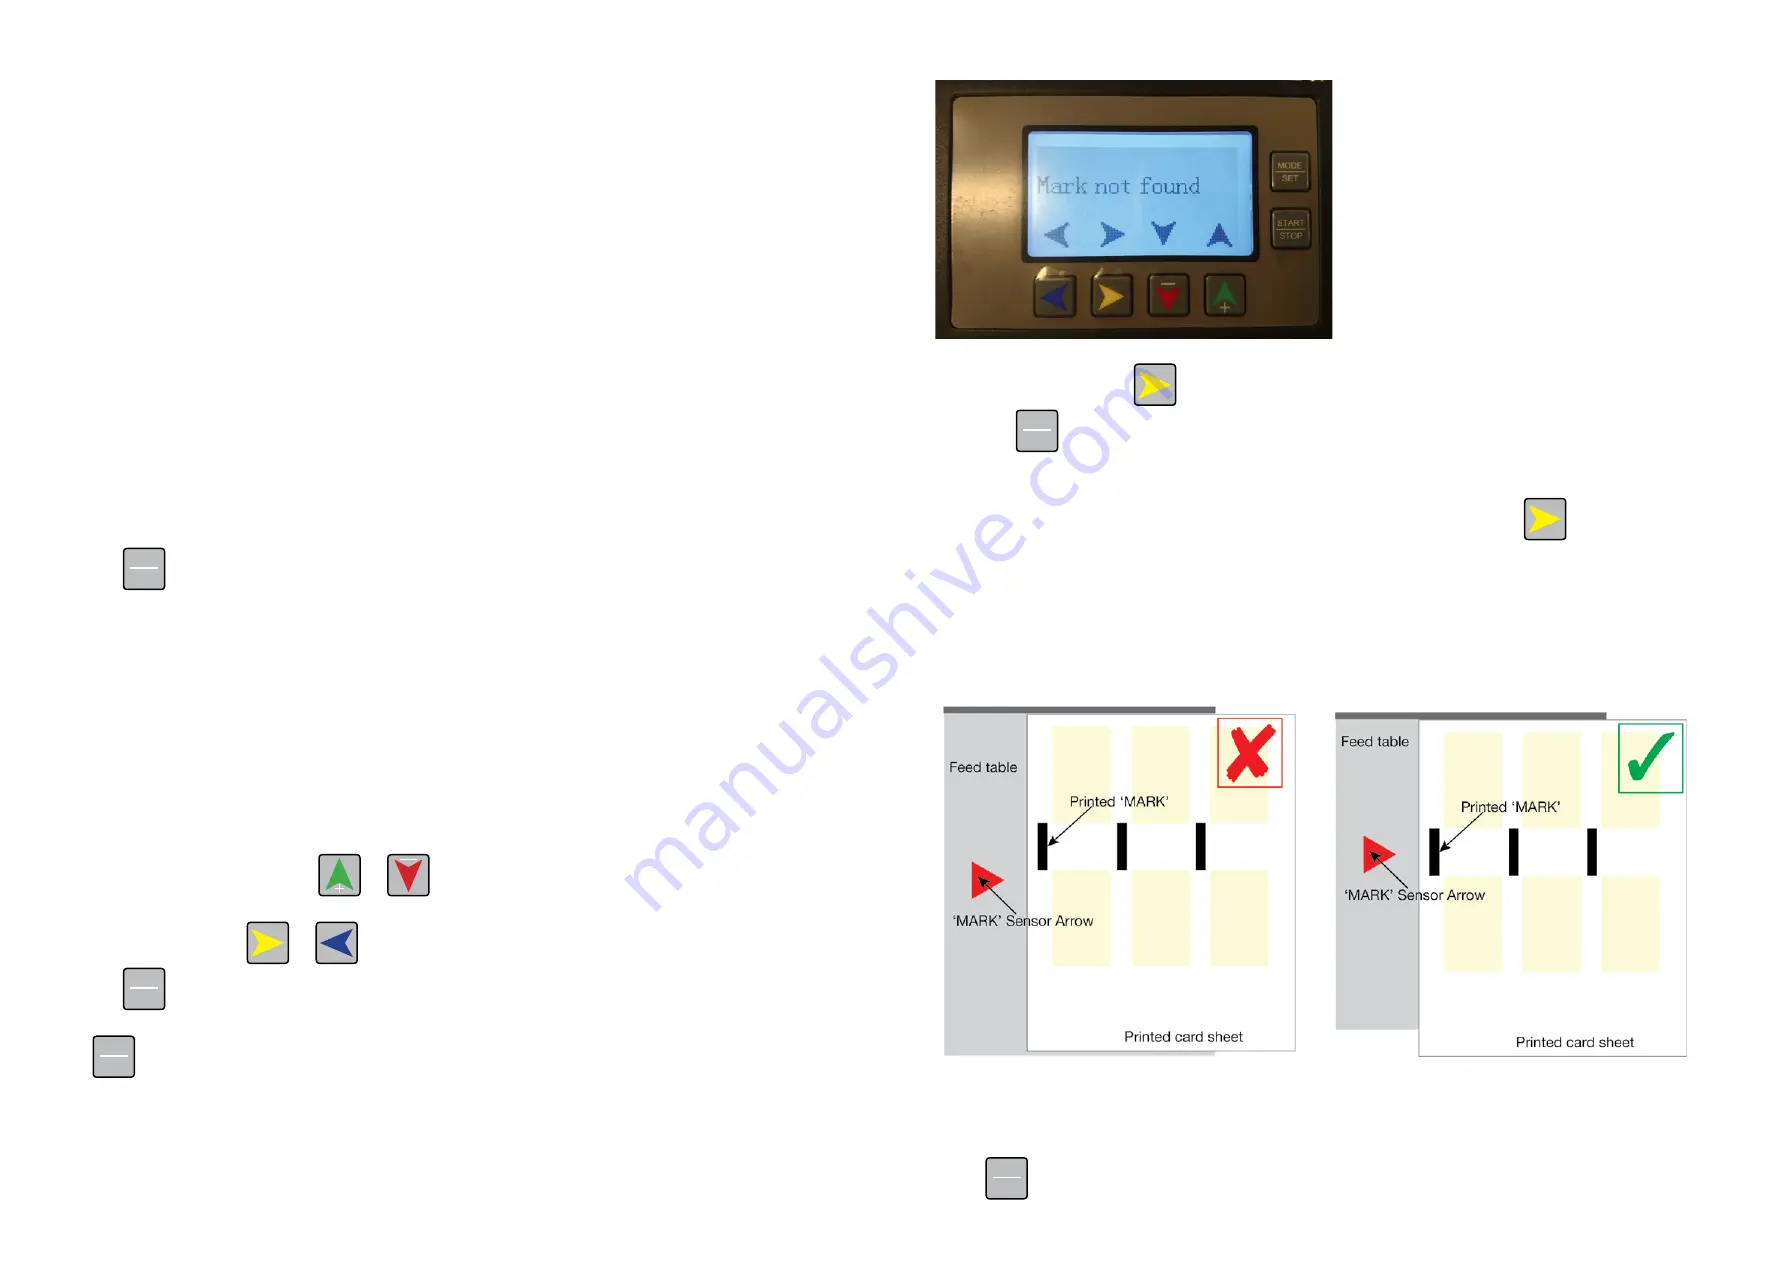
3-4 MARK’ was not detected
Cause: The BC480 has not been able to detect the black ‘MARK’ or the ‘MARK’ has not meet the
requirements.
The LCD display will show this message:
To eject the paper press
button, feeding or ejecting paper to troubleshoot the problem.
Press the
MODE
SET
button to exit the error and return to standby mode.
Solution:
•
Ensure you check that you have a printed ‘MARK’ on your sheet. If there is no printed MARK
set your machine to detect by EDGE and not ‘MARK’ by using the
button.
•
If you do have a ‘MARK’ printed on your sheet, ensure that the ‘MARK’ is correctly lined up in
position on the feed table for the ‘MARK’ to be read. Refer to the templates to ensure correct
placement of the ‘MARK’ on your sheet.
•
Ensure the ‘MARK’ has been printed using only 100% black toner.
•
If you have a ‘MARK’ and it is not lining up with sensor arrow on the feed table, your paper
guides could be in the wrong position - move the guides to line the ‘MARK’ up with the arrow.
3-5 Paper too narrow
When the LCD displays: The paper is too narrow, use the ‘MARK’.
Press
MODE
SET
button
Содержание ColorCut BC480
Страница 2: ...Page 1 Version 1 January 2019 TW Version 3 September 2020 TW...
Страница 13: ...Page 22 Page 23 A3 MODE 0 A3 MODE 1 A3 MODE 2 A3 MODE 3...
Страница 14: ...Page 24 Page 25 A3 MODE 4 A3 MODE 5 A3 MODE 6 SRA3 MODE 0 SRA3 MODE 1...
Страница 15: ...Page 26 Page 27 SRA3 MODE 2 SRA3 MODE 3 SRA3 MODE 4...
Страница 16: ...Page 28 Page 29 SRA3 MODE 5 A3 MODE 0 A3 MODE 1 A3 MODE 2...
Страница 17: ...Page 30 Page 31 A3 MODE 3 A3 MODE 4 A3 MODE 5...


