21
4. Set recording video parameters
Based on the demand, user should set the stream type, IP rate,
frame rate, resolution, video quality, bit rate type and max bit rate
properly.
(1) Frame rate: The number of video frame in each second, the
setting range is PAL: 1~25, NTSC: 1~30.
(2) Stream type: The data stream produced after compression of
video signal or audio signal (via signal composition or
individual encoding). Video stream and composite stream are
optional. The composite stream includes video and audio in the
compression stream, while video stream includes video only.
Chose "Composite stream" if need to record the video and
audio, and chose "video stream" if need to record the video
only.
(3) IP rate: The rate of P frame and I frame between 2 I frames.
The setting range is 10~255.
(4) Resolution: The higher resolution will produce higher
definition image. QCIF, CIF, 2CIF and 4CIF are optional.
(5) Quality: It needs to set the image quality when the bit rate is
variable rate. The quality and max bit rate are direct ratio, the
higher quality requires higher max bit rate.
(6) Bit rate type: When the bit rate is fixed rate, this defines the
size of the compression stream.
(7) Max bit rate: Limit the max compression stream of
compression the video if set the bit rate type to variable rate.
Normally the max bit rate and resolution are direction ratio,
the higher resolution requires higher max bit rate, vice versa.
The max bit rate should be based on the site, camera, and
image quality demand.
5. Confirm and save
Move the cursor to "Confirm", and press
Ǐ
ENT
ǐ
key to save the
setting temporarily. Press
Ǐ
ESC
ǐ
key or move the cursor to "Exit"
button to return to recording setting interface. Press "Save" button
to save the settings.
6. Copy
After finishing setting, move the cursor to "Copy", and press
Ǐ
ENT
ǐ
key to copy the current settings temporarily, then move the
cursor to "Save" button, and press
Ǐ
ENT
ǐ
key to copy the
parameters to other channels. Exit the menu without save, the copy
of parameters is not successful.
4.7.3 Alarm Recording
From the main menu, select "Record", and enter "Recording
Settings" menu, as shown in Figure 4-13.
1. Select recording channel
Refer to "1 Select recording channel" of "Scheduled recording" in
section 4.7.2.
2. Set pre-recording/post-recording
Refer to "2 Set pre-recording/post-recording" of "Scheduled
recording" in section 4.7.2.
3. Set recording schedule
Set the recording type to "Alarm Recording". Refer to "3. Set
schedule" in section 4.7.2 for the recording schedule settings.
4. Set recording video parameters
Refer to "4 Set recording video parameter" of "Scheduled
recording" in section 4.7.2.
5. Confirm and save
Refer to "5 Confirm and save" of "Scheduled recording" in section
4.7.2.
6. Copy to
Refer to "6 Copy" of "Scheduled recording" in section 4.7.2.
4.8 Playback
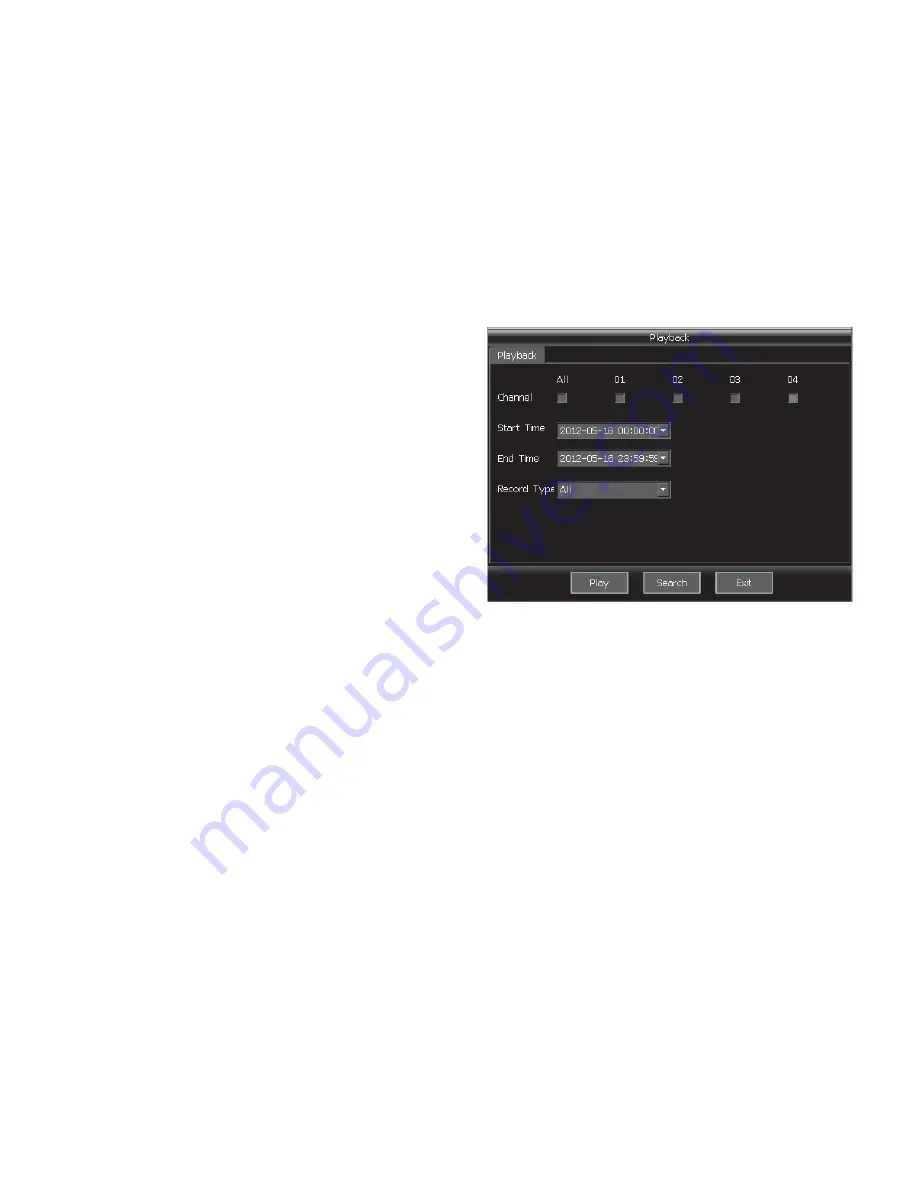
1. Enter playback search interface
In the preview mode, press
Ǐ
PLAY
ǐ
key to enter "Search record"
interface, or enter from the main menu "Record", as shown in
Figure 4-15.
Figure 4-15
There are 2 modes for the searched file playback: one is to play
back multi-channel records synchronously, and the other is to play
back single channel record at a time. Please see details below.
2. Multi-channel playback
Set the search criteria, for example, channel, type and time, and
select the "Play" button to finish. The default search criteria are: all
channels, all type, form 00:00 of the current day to the current time.
The system will playback all of the searched record files in split
screens mode, including 1, 4 screens. And the buttons below will
control the play status of the channels.
Channel:
Press
Ǐ
ENT
ǐ
key to select the desired channel number
check box.
Type
: All, scheduled recording, manual recording and alarm
recording. The default is "all".
Time
: Search the recording file in a period, move the cursor to the
editing box and press
Ǐ
ENT
ǐ
key to start editing, the "Start Time"
and "End Time" could be input directly via number keys, The time
format is Year-Month-Date Hour: Minute, the default date is
intraday.


