


8
Copyright © 2018 InCoax Networks AB. All rights reserved.
Confidential under NDA
2
Getting Started – Controller Web Interface
The
Controller
can be managed via the management port
MGT
. Please refer to
Figure 3
where the front of
the
Controller
can be seen.
2.1
Accessing the Controller Web Interface
1.
Connect a computer with an Ethernet cable to the Management port on the
Controller
,
marked
MGT
. (InCoax recommends using the cable type CAT5e as a minimum for best
performance.)
2.
Set a static IP for your computer connection, for example 192.168.144.100 (or any IP
between 192.168.144.1 and 192.168.144.254 but not the same as the default IP address)
and Subnet Mask 255.255.255.0.
3.
Open your web browser and go to the URL https://192.168.144.20. The web page in
Figure 4
will be displayed. Input the following to log in:
a.
Default Username:
incoax
b.
Default Password:
incoax
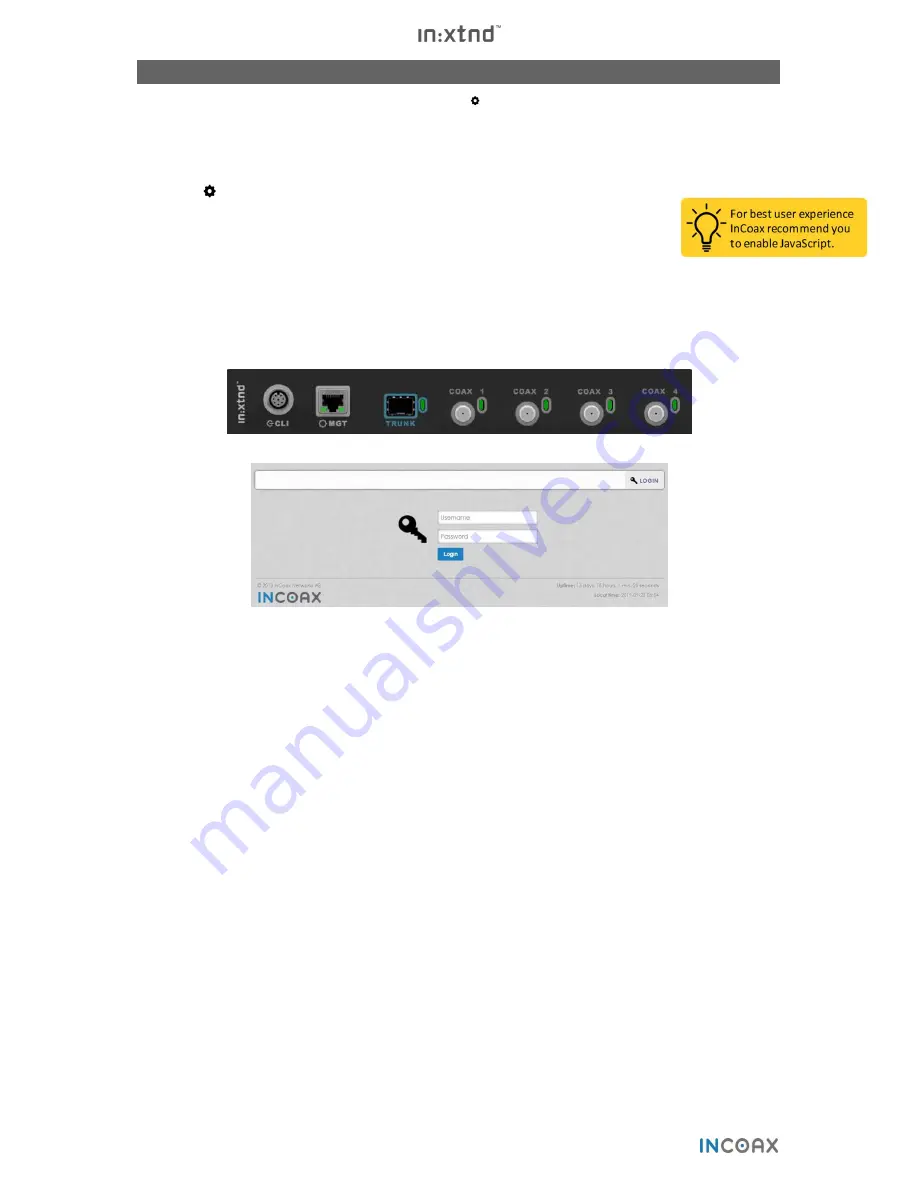
Figure 3
— The front of the Controller.
Figure 4
— The login page.
2.2
User Levels and Permissions
There are two different user levels with different purposes and permissions:
View Only
: Demonstration and supervision. The
View Only
users can view some managed objects and
settings, but cannot add or change anything.
Admin
:
Controller
and
Modem
management. The
Admin
users can add and change managed objects and
settings. This is the standard user level.
Table 2
gives a detailed view of what the two user levels are allowed to do.
Содержание In:xtnd
Страница 44: ......
Страница 45: ...Copyright 2018 InCoax Networks AB All rights reserved Confidential under NDA ...


