9
10
BE
FO
RE U
SE
BE
FO
RE U
SE
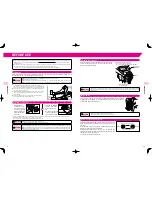
At least
26 inch.
At least
16 inch.
BEFORE USE
●
This product is shipped with the reclining seat back in its fully reclined position and with the armrests and leg rest removed.
Before use, be sure to attach the armrests and leg rest (refer to the insertion sheet attached) then raise the seat back to its
upright position.
●
Do not expose the chair to sudden bursts of heat. If the room where the chair is to be used is cold, turn the heat up slowly. If
the chair is moved from a cold place into a heated room, wait one hour before using the chair.
→
Condensation could occur in the moving parts of the product, which may compromise performance.
Installation
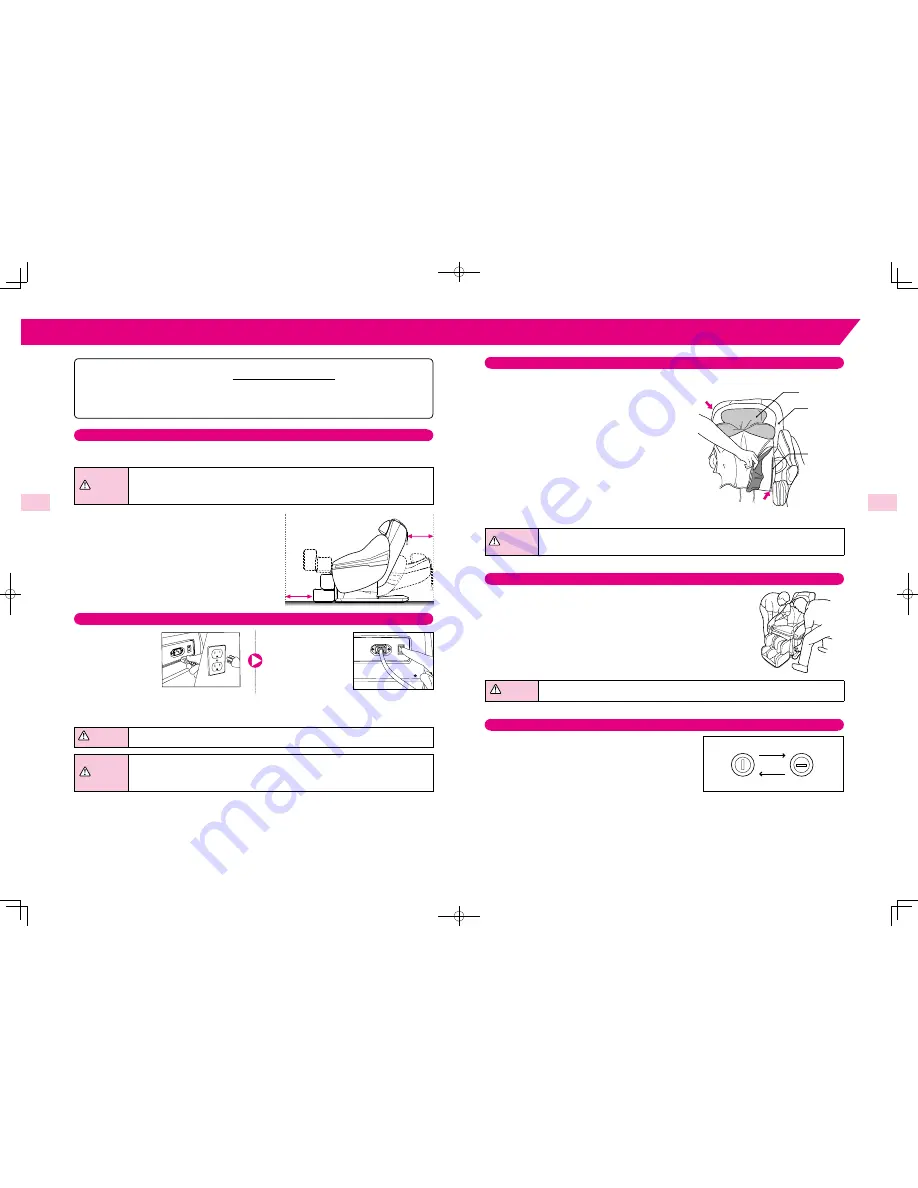
Allow for at least 26 inch. clearance behind the chair and 16 inch. in front of the chair when installing, so as to
be able to recline the seat back fully without obstruction.
Caution
●
Do not install the chair in an area of high humidity, such as a bathroom or sauna.
●
Only install on a flat, level surface.
●
Do not use in areas of high debris or dust content. Do not use where ambient temperature is 104°F or over.
●
Do not install the chair where it can come into contact with direct heat, such as direct sunlight or a radiator.
●
To avoid damaging floor surfaces and to cut down on the noise of
the chair, it may be better to install the chair on a carpeted surface or
to lay a piece of carpet under the chair. (Do not use electric blanket.)
●
The product is very heavy, so please be careful when unloading it so
as not to damage floor surfaces.
●
Install the chair at least 40 inch. away from TVs, radios, and/or other
audio or video equipment. Interference from these devices can
cause problems.
●
The load to the floor per 0.16 in
2
is approximately 5.5 lbs. with a
person weighing 220 lbs. sitting on the chair.
Main Power Connection
①
Plug the power
cord into the cord
connector located at
the back of the chair
first. Then plug the
other end into the
wall outlet.
②
Set the main POWER
switch located at the
back of the chair to
ON.
A text message should
appear on the remote
control display screen.
* If the main POWER switch is turned on while the rollers are stopped in the middle of the movement, they will automatically return to
their storage position (upper part of the reclining seat) then stop.
The seat will also move for adjustment of the initial position then stop.
Warning
●
Do not use with any type of transformer device.
→
May result in damage to the product or electric shock.
Caution
●
Before plugging the power cord into the wall outlet, make sure that the main POWER switch is set to OFF.
●
Make sure that the plugs on the power cord are inserted fully into the cord connector and the wall outlet.
●
Before using the chair for the first time, turn on all the switches in order as indicated in this manual to check
that the chair is operating properly.
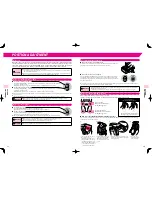
Checking the Seat Cover
Check for holes or tears in the back pad and other parts.
Check also that the zippers located at both sides of the
back pad are securely zipped.
Back Pad
Lift the Shoulder Massage Unit
up to check for holes or tears in
the cover of the back pad.
Zipper
Shoulder
Massage Unit
Check that the zipper
is securely zipped.
Warning
●
Before each use, check for holes or tears in the cover of the back pad. Also, check the other parts for tearing.
Stop using the chair immediately if you find even the smallest tear. Unplug the chair and contact the vendor
for assistance.
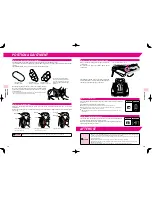
How To Move
First, raise the reclining seat back and set the main POWER switch to OFF. Then
unplug the power cord from the outlet. Grip the lower parts of the both armrests,
as illustrated, lift the chair, and move.
Caution
●
Do not move the product while someone is in it.
●
During moving, be fully careful not to pinch your feet.
How to Use the Child Safety Lock
Insert the Child Safety Lock key into the keyhole located at the
back of the chair then turn the key counterclockwise 90° to lock
the chair.
With the Child Safety Lock engaged, “Child Safety Lock ON” is
displayed on the remote control display.
Even while the Child Safety Lock is on, you can perform the
following operations: Raising the reclining seat back, lowering
the leg rest, and emergency stop.
To unlock, turn the key clockwise 90°.
Disabled
Enabled
Turn counterclockwise 90°.
Turn clockwise 90°.


