Operating instructions hardware
8
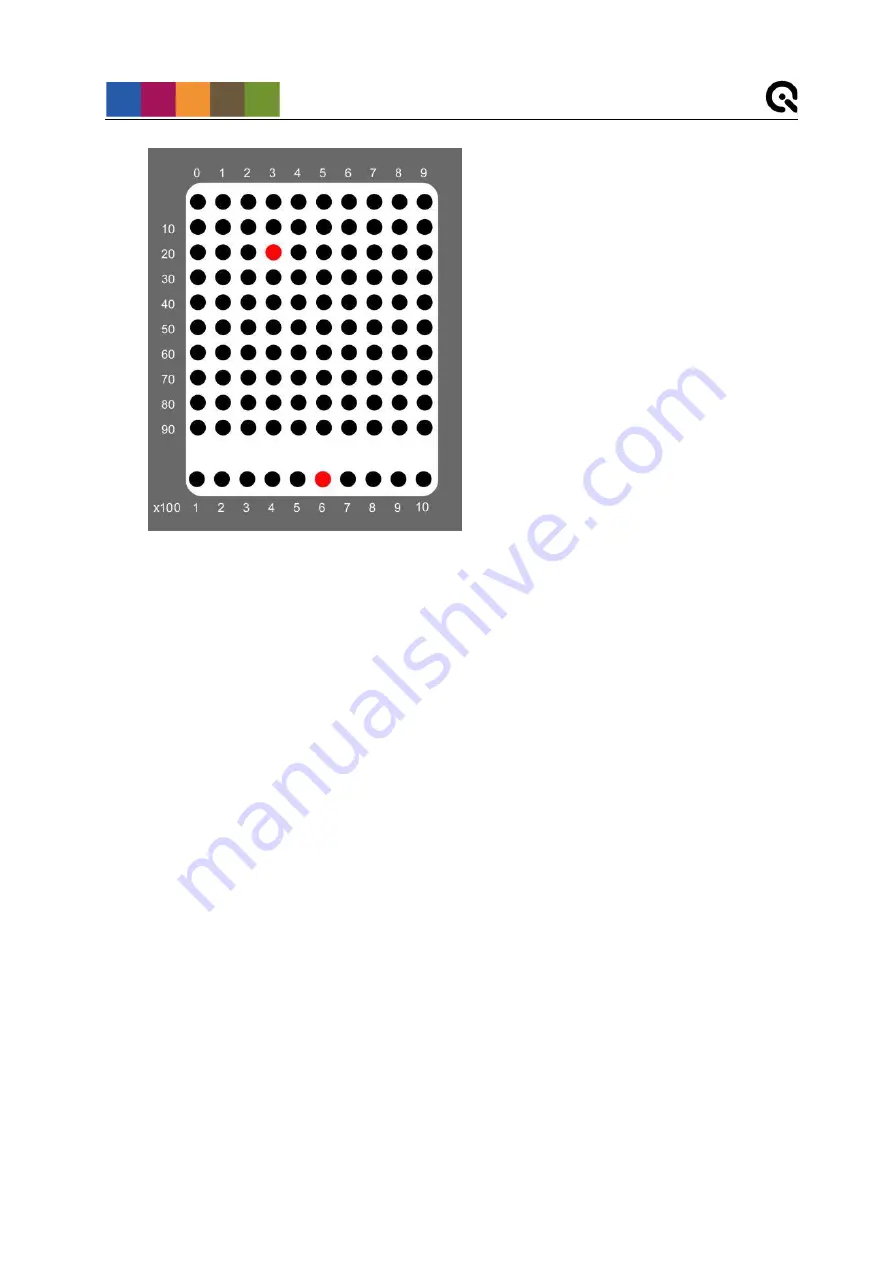
Square field of 10 x 10 LEDs and the
additional row beneath.
In this example the 100 LEDs have already
passed through six times, visible on the
lighted up LED “600” in the lower row.
The LED-Panel V4 can be operated manually or via software (USB interface). The downside of
using USB with the LED-Panel V4 is that due to controller limitations the maximum speed is
limited to 200 μs (5 kHz). Therefore the device provides a switch that allows switching the USB
connection on and off. Switching the USB off allows controlling the device from the front panel
to achieve frequencies up to 50 kHz. Please refer to chapter 3.3 for information about control
software.
3.2.1 Trigger mode
The LED-Panel V4 can be operated manually by using either an external (single) or internal
(continuous) trigger. The trigger mode can be changed by pressing the button
Trigger
. The
trigger is indicated on the LCD-display in the top row:
•
Cont: Trigger Continuous
•
Sngl: Trigger Single
For the external operating mode a remote release is connected to the LED-Panel. When
connecting to the CAMERA TRIGGER input, the LED-Panel starts by pressing and stops by
releasing the remote release button (and returns to the start position).
If a remote release is also connected to the STOP TRIGGER input additionally, the period
between two triggered events can be calculated. The LED-Panel starts by pressing the
CAMERA TRIGGER (remote release) and stops by pressing the STOP TRIGGER (remote
release). When stopped, the LED-Panel does not return to the start position
– but remains at the
LED position lit last. The only prerequisite is that when stopped, the CAMERA TRIGGER
remains pressed. Pressing the CAMERA TRIGGER again resets the LED-Panel.


