22
7. BASIC SETTINGS
U
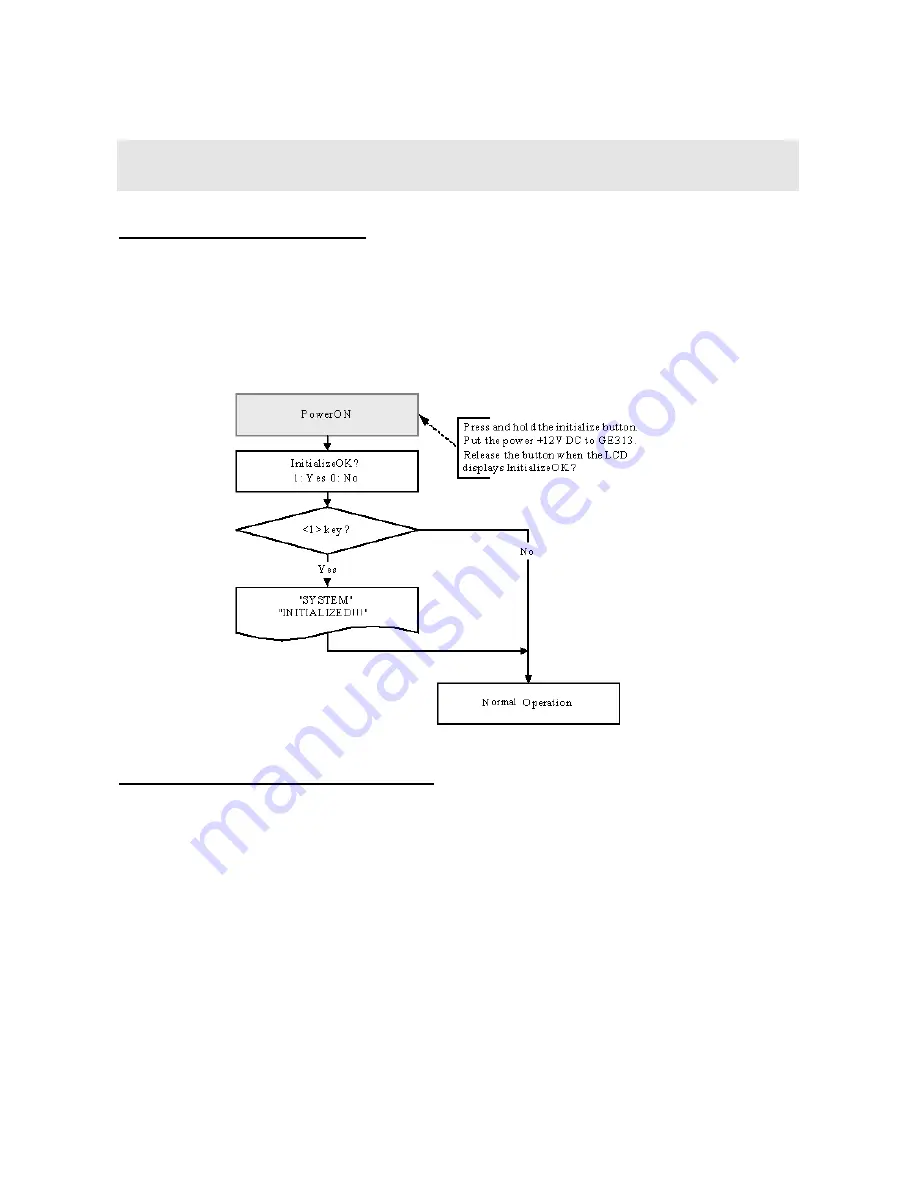
7.1 INITIALIZATION OF GE313
After the all installation and connections are completed, press and hold the Initialize button and put the power
(+12V DC) to GE313. The LCD will first display “
Initialize OK? 0:No 1:Yes”
. Press <1> key if you want to
initialize the system. After all Initialization process is completed, the system is operating on normal mode and
the LCD displays “
GE Security, GE313 [F1], Date Time
”.
U
7.2 HOW TO ENTER THE SETUP MENU
To setup or to change the GE313 settings, you have to enter the
SETUP MENU
first. To do so, press
<0>
key
eight times (
Default Master ID ‘00000000’
) and
<ENT>
key from the Keypad. You now entered to the
SETUP MENU
. There are
8
SETUP MENU
and you first get into
[F1 SETUP MENU]
. You can move to
another
SETUP MENU
by pressing
<F1>
key to <
F8
> key button. For example, if you want to go to
[F2
SETUP MENU]
then press
<F2>
key, for
[F5 SETUP MENU]
then press <
F5
> key and so on. There are
several
SUBMENU
on each
SETUP MENU
and you can scroll up and down the
SUBMENU
by pressing
<4>
and
<6>
key on each
SETUP MENU
. If you don’t press any key for 60 seconds or if you press
<ESC>
key, GE313 will exit the
SETUP MENU
and return to normal operation mode. You can also change the
Master ID
in the
[F4 SETUP MENU]
.
Содержание GE313
Страница 1: ...UOPERATING MANUAL ACCESS CONTROLLER MODEL GE313 ...
Страница 32: ...32 9 2 F2 SETUP MENU ...
Страница 36: ...36 U9 3 F3 SETUP MENU ...
Страница 41: ...41 9 4 F4 SETUP MENUU 9 4 1 ID REGISTRATION 1 Registration by RF Card ...
Страница 46: ...46 9 5 F5 SETUP MENU 9 5 1 TIME SCHEDULE ...
Страница 49: ...49 9 6 F6 SETUP MENU ...
Страница 52: ...52 9 7 F7 SETUP MENU ...
Страница 68: ...68 A S REQUEST FORM ORIGINAL ...
Страница 69: ...69 A S REQUEST FORM SAMPLE ...
Страница 70: ...70 MEMO ...


