Part 1 - Getting Started
21
Live Mode
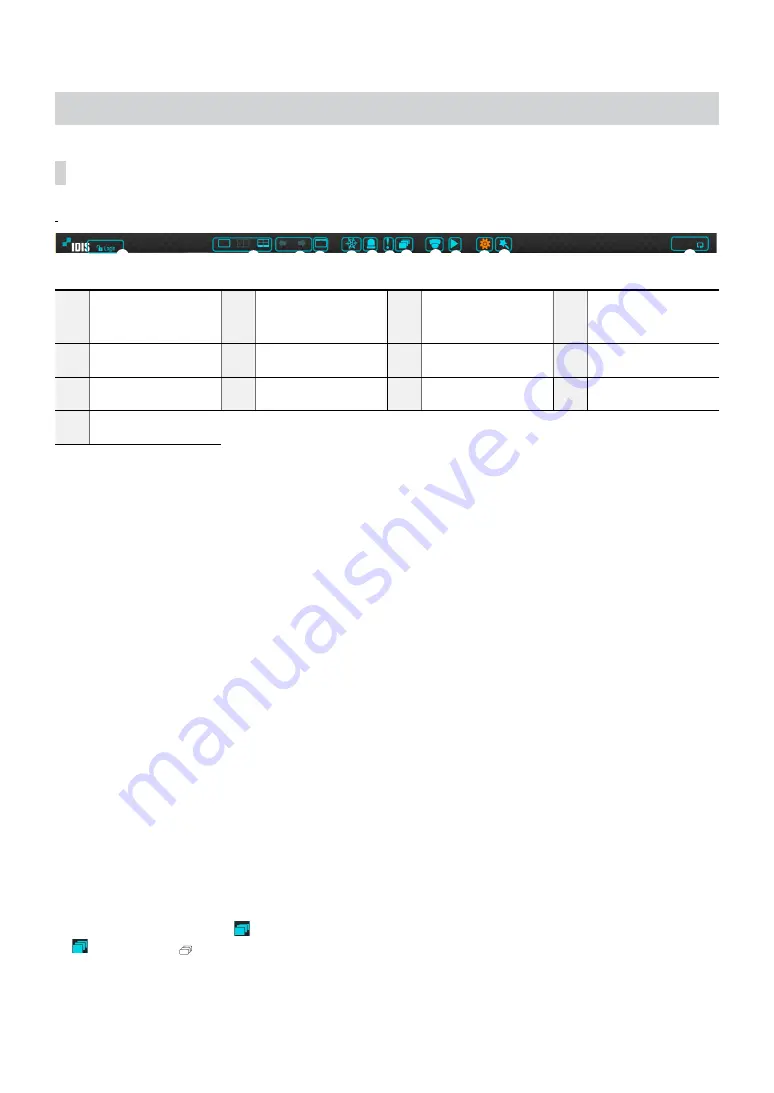
Live Menu
Placing the mouse pointer near the top portion of the screen displays the Live menu.
1
2
3 4
5 6 7 8
9 0
! @
#
1
Login/Logout
2
Layout
3
Previous Group,
Next Group
4
Display
5
Freeze
6
Alarm
7
Panic Recording
8
Sequence
9
Select Camera
0
Search Mode
!
Setup
@
Wizard
#
Status Indication
1
Login/Logout
Log into and out from accounts. If in the logged in state, the account ID is shown. If in the logged out state, the
login icon is shown.
2
Layout
Used to change the screen layout to single screen, corridor format or 2x2. In order to use the corridor format
feature,
Corridor Format
(Display Setup - Main monitor - Use Corridor Format) must first be enabled.
3
Previous/Next Group
Loads the previous/next screen group.
4
Display
●
OSD
(On Screen Display): Enables/disables the
OSD
feature.
●
Full
: Displays the video in full screen mode.
●
Aspect Ratio
: Select whether to enable the original aspect ratio of video transmitted from the camera.
5
Freeze
Freezes the screen. Select
Freeze
again to unfreeze.
6
Alarm
Pressing this button while the alarm has been activated resets all NVR outputs, including the built-in buzzer.
7
Panic Recording
Activates/deactivates Panic Recording.
8
Sequence
Selecting the Sequence icon
1
#
4
3
2
5 6 78
9 0
! @
while in Live mode changes to the sequence mode. To exit, select Sequence icon
1
#
4
3
2
5 6 78
9 0
! @
once more. The
icon is displayed on the upper right part of the screen while Sequence is in progress.


