Clearing the entire paper path
64
Clearing paper jams
Clearing the entire paper path
When a paper jam occurs, the printer stops operating and displays
2<xx>.yy Paper Jam
and a message to clear certain
printer areas.
After you have cleared the following areas, make sure all printer covers, doors, and trays are closed, and then press Go to
resume printing.
Note: The printer also displays
<x> Pages Jammed
. Be sure to remove all the jammed pages before
pressing Go.
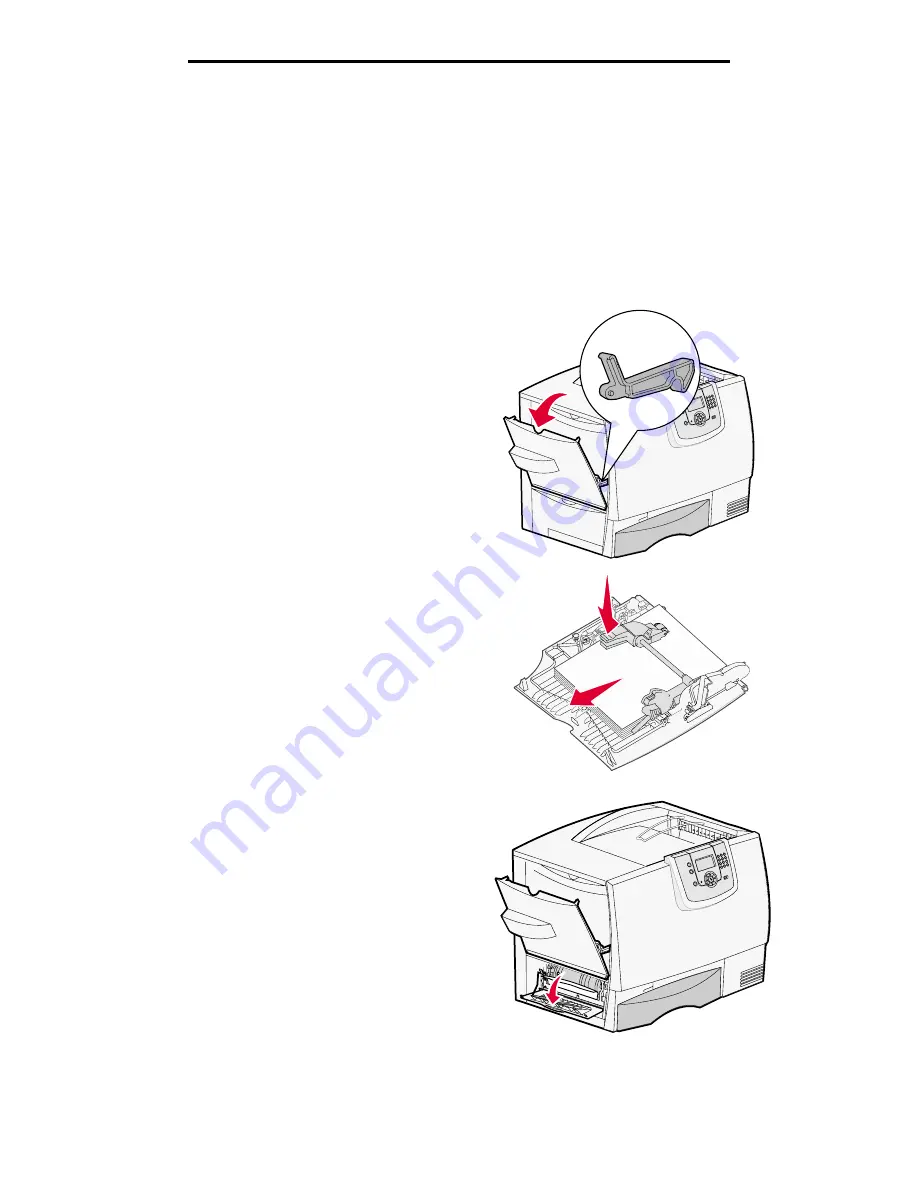
Area A
1
If you are using the multipurpose feeder,
release the levers on each side of the feeder to
lay it flat.
2
Press the pick assembly release lever and
remove all media and jams.
3
Return the feeder to its working position and
reload your media.
Area B
1
Open the left access door until it latches open.
2
Remove all visible media.
Note: Remove any torn media from the
printer.
3
Close the door.
Note: Open Tray 1 and make sure the
entire media stack is pushed all
the way down into the tray.


