2.12
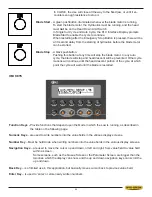
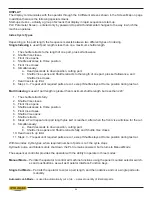
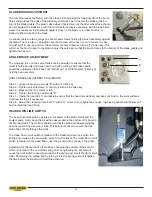
AUTOMATIC MODE
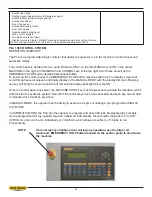
JOB #
0
PIECES REQUIRED
0
PIECES CUT
0
LENGTH
0
START THE BLADE
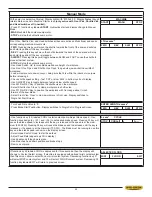
FOR TRIM CUT
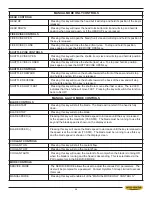
AUTOMATIC MODE
JOB # X IN PROGRESS
BLADE SPEED
0 SFM
PIECES REQUIRED
0
PIECES CUT
0
LENGTH
0
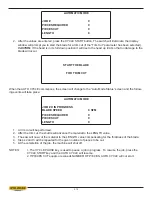
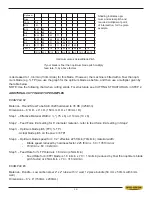
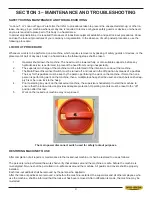
2. After the values are entered, press the CYCLE START button. The switch will illuminate, the display
window will prompt you to start the blade for a trim cut (if the “Trim Cut” parameter has been selected).
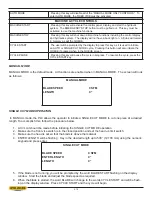
CAUTION:
If the head is in its full down position it will rise to the head up limit so that no damage to the
blade will occur.
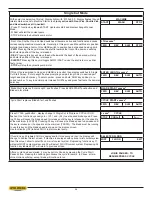
When the AUTO CYCLE commences, the screen will change to the “Auto Mode Status” screen and the follow-
ing events will take place:
1. A trim cut will be performed.
2. After the trim cut, the shuttle will advance the material to the LENGTH value.
3. The saw will now cut the material to the LENGTH value compensating for the thickness of the blade.
4. Steps 2 and 3 will be repeated for the given number of pieces to be cut.
5. At the completion of the job, the machine will shut off.
NOTES:
1. The CYCLE PAUSE key is used to pause a job in progress. To resume the job, press the
CYCLE START key and the AUTO CYCLE will resume.
2. If PIECES CUT equals or exceeds NUMBER OF PIECES, AUTO CYCLE will not start.
Содержание S-20 A
Страница 2: ......
Страница 16: ...1 4 ...
Страница 54: ......
Страница 55: ...4 1 SECTION 4 ELECTRICAL MAIN PANEL COMPONENT LAYOUT ...
Страница 58: ...4 4 MAIN PANEL COMPONENT LAYOUT 1OL 2OL VFD 1M 2M POWER SUPPLY ...
Страница 63: ...5 3 FOR HYDRAULIC SCHEMATICS AND PLUMBING DIAGRAMS SEE PDF ON ATTACHED CD ...
Страница 64: ......
Страница 65: ...6 1 SECTION 6 MECHANICAL ASSEMBLIES For Mechanical Assembly Drawings see PDF on attached CD ...
Страница 66: ......
Страница 70: ......
Страница 72: ...8 2 ...
Страница 73: ...8 3 ...
Страница 74: ...8 4 ...
Страница 76: ...8 6 ...
Страница 77: ...8 7 ...
Страница 78: ...8 8 ...


