


17
A. Click the "Add a new product" button and the "Binding serial number" interface will pop up.
B. Click the scan code icon on the right side of the "activation code" column to open the scan interface.
C. Align the QR code of the device you purchased, and if the code is scanned successfully, the serial
number will be automatically bound.
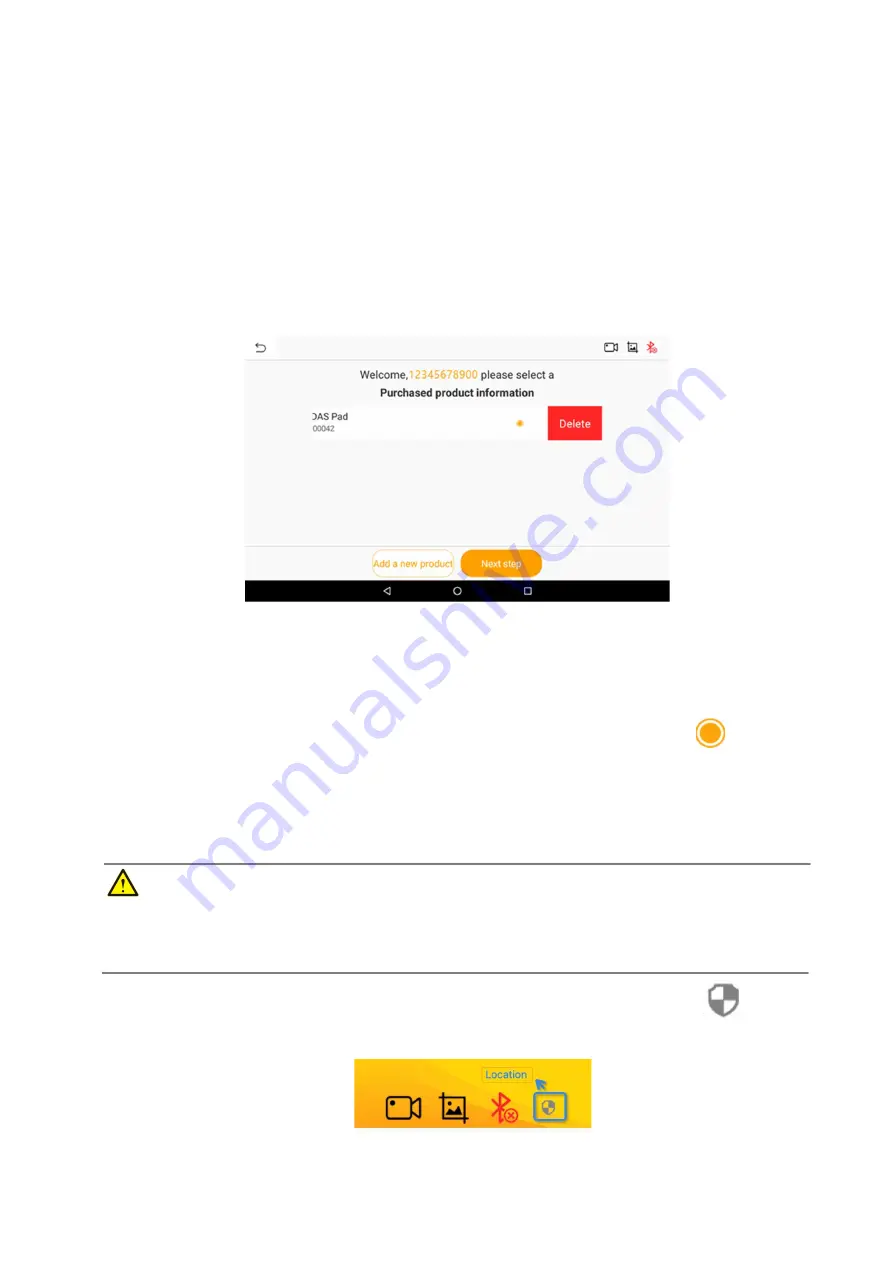
5.2.4 Product Deletion
If you need to delete the serial number, swipe your finger to the left on the row of the serial number that
needs to be deleted, and click the "Delete" button that slides out to successfully delete the serial number.
Figure 5-6 Sample Delete Serial Number
5.2.5 Product Selection
1. Click the product serial number you need to enter, and the icon on the right becomes
.
2. Click the "Next step" button and the system will guide you to the main interface of "HUMZOR".
5.2.6 Enable Location Permission
IMPORTANT
Android 6.0 or above, the tablet need to get tablet address information. If your tablet device does not have
permission to allow get your location, please follow the steps below to turn it on.
1. On the main interface of "HUMZOR", if there is an icon on the top navigation bar
, it means
NEXZDAS location permission is not turned on.
www.obdii365.com