
Setup mode
OPERATION MANUAL
Chapter 4
Unichiller® eo Desktop
V2.2.0en/09.08.21//17.12
60
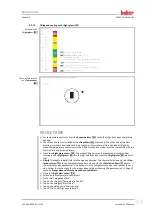
Using the number keypad that appears, enter the time interval for venting. The default is 0.5 minutes.
Confirm your entry by tapping on “OK”. Venting will start.
Refill thermal fluid as needed. Observe the fill level in the
>Sight glass<
[23] or on the
>Touchscreen<
[88]. The filling/venting process is complete when the temperature control unit is
filled sufficiently.
The volume expansion of the thermal fluid depends on the working temperature range you wish to
work in. The
“Min” mark
in the externally open application must not be undercut at the “lowest”
working temperature (thermal fluid level is above the return line of the
>Circulation return<
[2], so
that no air is sucked in), and the
“Max” mark
in the externally open application must not be ex-
ceeded at the “highest” working temperature. In case of overfilling, please drain thermal fluid into
a suitable container before starting the temperature control process. Two methods are available:
First, using the
>Drain<
[8] by opening the
>Drain valve thermal fluid<
[3]; secondly, by skimming
off thermal fluid from the externally open application. Check if the thermal fluid can be reused.
Follow the instructions for the proper disposal.
→
. The pump sucks air instead of thermal fluid if there is too little thermal fluid.
This “dry run” of the pump is detected by the sensors and the electronics and a safety shutdown
occurs. Therefore, please provide for sufficient thermal fluid.
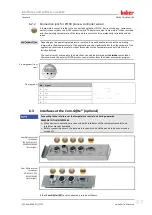
Adjust the pressure in the thermal fluid circuit for temperature control units with
>Bypass valve<
[62] to the external application used. To do this, use the
>Bypass valve<
[62] and the pressure
gauge on the
>Touchscreen<
[88] in [Field 8].
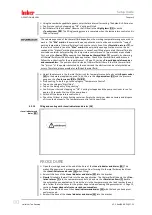
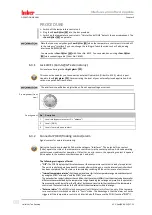
Stop venting. To do this, go to the category “Temperature Control”.
Tap on the category “Start/Stop”.
Tap on the dialog entry “Stop venting”.
Confirm your choice by tapping on “OK”. Venting is stopped and the pump continues to run for
approx. 30 seconds. Wait until the pump stops.
Switch off the temperature control unit.
Check the fill level in the collecting container. Empty the container when necessary and dispose
of its contents properly. The temperature control unit is now filled.
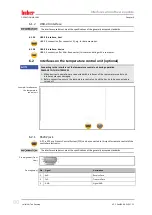
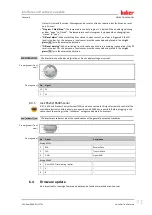
4.3.1.2
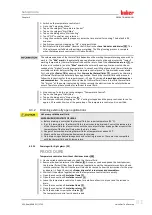
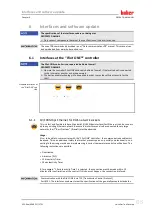
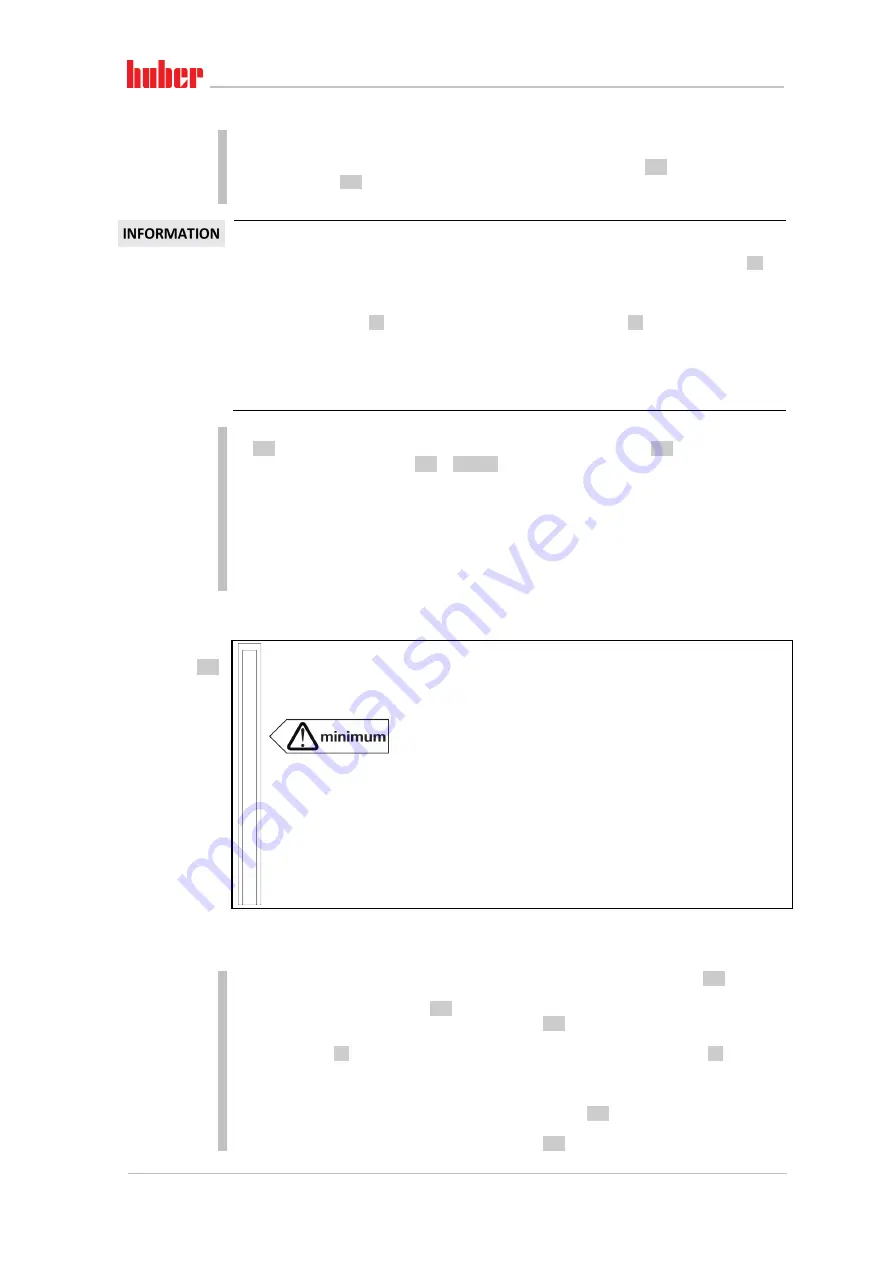
Filling and venting with >Level indicator and drain< [38]
PROCEDURE
Open the locking device at the end of the hose of the
>Level indicator and drain<
[38]. This
makes filling easier as it prevents an air cushion from forming. No thermal fluid may leak from
the
>Level indicator and drain<
[38] when filling!
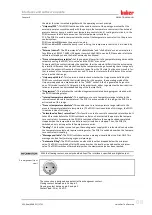
Reinsert the hose of the
>Level indicator and drain<
[38] into the bracket.
Slowly
fill suitable thermal fluid into the open application. The thermal fluid flows via the
>Circu-
lation return<
[2] into the temperature control unit and via the
>Circulation flow<
[1] back to
the externally open application. Thereby the air in the temperature control unit reaches the out-
side. Follow the instructions for the proper disposal when cleaning filling accessories.
→
Page 15,
section
»Proper disposal of resources and consumables«
Close the end of the hose of the
>Level indicator and drain<
[38] with the lock you have previ-
ously removed.
Reinsert the hose of the
>Level indicator and drain<
[38] into the bracket.
>Level indicator and
drain<
[38]
Содержание Pilot ONE Unichiller 00 eo Series
Страница 1: ...Unichiller eo Table Top Models...
Страница 2: ......
Страница 3: ...OPERATION MANUAL Unichiller eo Table Top Models...
Страница 4: ......
Страница 6: ...OPERATION MANUAL Unichiller eo Desktop V2 2 0en 09 08 21 17 12 6 Pilot ONE Layout of the Home screen...
Страница 85: ...Annex Chapter 9 OPERATION MANUAL V2 2 0en 09 08 21 17 12 Unichiller eo Desktop 85 9 Annex...