13
ENGLISH
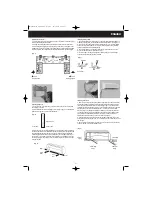
Connection of the Quick Connector
1. Remove the screw of the cover of the quick connector at the outdoor unit.
2. Press the cover of the quick connector downward to take it off the outdoor unit.
Now you see the female part of the quick connector. The male end of the quick
connector is at the end of the indoor unit pipes.
Screw
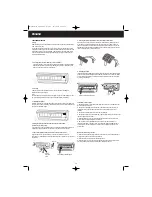
4. Open the tightening lever of the male part of the quick connector. The orientating
pin must be at the lower side of the male part of the quick connector to install the
quick connector correctly.
Orientating Pin
Tightening lever
5. Pull the tightening sleeve on at the female part of the quick connector back and
hold it back.
Tightening sleeve
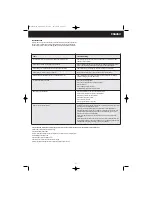
3. Remove the metal protection cap off the quick connector end of the outdoor unit
by pulling back the tightening sleeve of that quick connector end, and by pulling out
the metal protection cap at the same time. Remove the plastic protection cap off the
quick connector end of the indoor unit by simple pulling.
Note: Once the metal protection cap has been removed, it cannot be put in again.
HW-QUICK12E_GB_OM.qxd 4/2/07 12:04 PM Page 13


