Assembling the servo tray
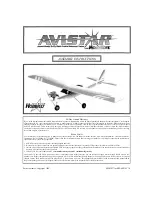
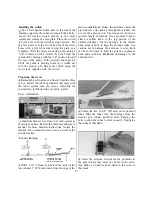
Q Apply thick CA+ to the flat side of the balsa servo
tray mounting block. Place the mounting block on
the aileron servo tray next to the servo
opening-not on the outer edge of the tray. Note the
positioning of the dihedral angle in relation to the
servo tray.
Q Test fit the aileron servo into the servo tray and
the hole cut in the bottom side of the wing. Enlarge
either hole, if needed, with a hobby knife or a fine-
toothed file until a proper fit is achieved.
Removing the covering
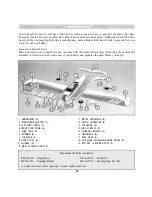
Q Position the aileron servo tray so it is centered
over the opening made in the wing. Using a felt-tip
marker, trace the outside of the servo tray
mounting block onto the wing. Use a sharp hobby
knife to remove the covering for the mounting
blocks. Use care not to cut into the underlying
balsa of the wing, as this may weaken the wing.
Installing the servo tray
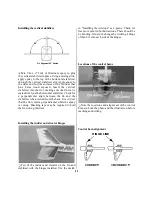
J Mix l/8oz. (3.5ml) of 6-minute epoxy to glue the
servo tray to the bottom side of the wing. Apply
equal amounts of epoxy to the mounting blocks on
both ends of the servo tray. Attach the servo tray on
the bottom of the wing with the servo wire harness
notch facing the trailing edge of the wing. The
mounting blocks should be attached to the wing
sheeting where the covering was removed and not
to the plastic wing covering. Allow the epoxy to
fully cure before proceeding to the next step.
Aileron installation
HINGES
TORQUE
ROD
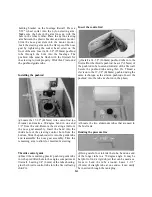
l-l Test fit the ailerons on the wing with the hinges
installed. Check for free movement in both
directions. There should be no binding. Use a
toothpick to push 30-minute epoxy down the
torque-rod holes in each aileron. Fit the aileron in
place. There should Be virtually no gap when the
aileron is fully seated. If the aileron will not fully
seat, use a hobby knife to clean the hinge slots and
try it again. Glue in the hinges by wicking 4 drops
of thin CA into each side of the hinges.
7

