brackets, four 4 x 15mm screws, four 4mm lock
washers and four 4mm nuts. The engine centerline
must be in line with the fuselage centerline. Place
the engine on the mount and secure the engine with
the engine brackets. The lock washers should be
located on top of the bracket under the head of the
screw. The screws are secured by four 4mm nuts.
Note: Thread locking compound is recommended
for use on the engine mounting screws. Attach the
clevis to the throttle arm in the hole closest to the
center of the arm.
Attaching the muffler
Q Locate the muffler and mount it to the engine by
using the screws included with the engine. The
exhaust outlet should be pointing down and away
from the fuselage. Use the instructions included
with the engine to make this adjustment.
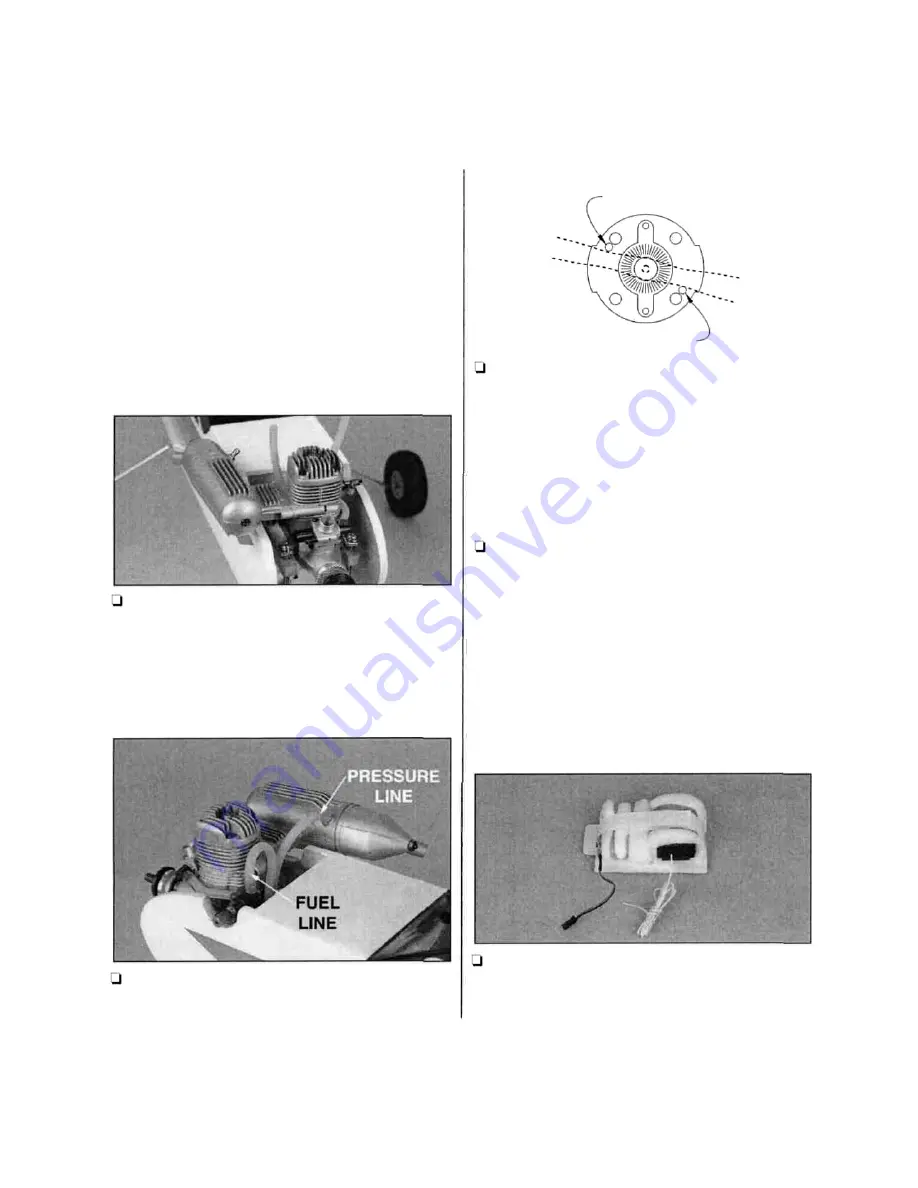
Running the fuel line
Q Run the fuel lines to the proper locations on the
engine (fuel line to the fuel inlet, pressure line to
the muffler).
Mounting the propeller and spinner
Q Slide the spinner backplate onto the crankshaft of
the engine. Align the propeller with the two alignment
pegs on the backplate. Secure the propeller and
backplate to the engine using the washer and nut
included with the engine. Use a wrench to tighten the
nut. If the nut is even slightly loose, the propeller
could come off and become a hazard.
Final spinner assembly
Q Place the spinner cone onto the backplate until
they snap together. They must be aligned correctly
for a proper fit. The spinner cone must not come in
contact with the prop or fatigue and fracture of the
prop may occur over a period of time. Insert both
2 x 12mm self-tapping screws into the spinner and
tighten firmly,
Radio Installation
Installing the receiver and battery
Q Wrap both the receiver and battery pack in foam
rubber (not included). Using the supplied hook and
loop material, attach the receiver and battery pack
to the radio gear tray using the photo as a guide.
Alignment Pegs
Alignment Pegs
16

