


4. Link channel(s) to zone.
1) Select a zone and click Select Channel to enter the Link Channel page.
Channels of the device are displayed on the right.
Note
●
For devices added by Hik-ProConnect, you can only select encoding devices in the same site
with the AX Pro on Hik-ProConnect. For security control panels added by ISUP5.0 protocol,
you can select encoding devices in any site.
●
For encoding devices, you can only link their own channels to their zones.
●
For third-party devices, you can link channels of devices in any other sites to their zones,
but the third-party devices and the linked channels should share the same ARC.
●
For Hik-ProConnect alarm devices, ISUP alarm devices, and third-party devices, you can set
stream keys of linked channels.
2) Check channels to be linked and click Save.
Note
●
Up to 4 video channels and 4 I/O channels are supported for zones of an encoding device,
while for zones of other devices, up to 4 video channels are supported.
●
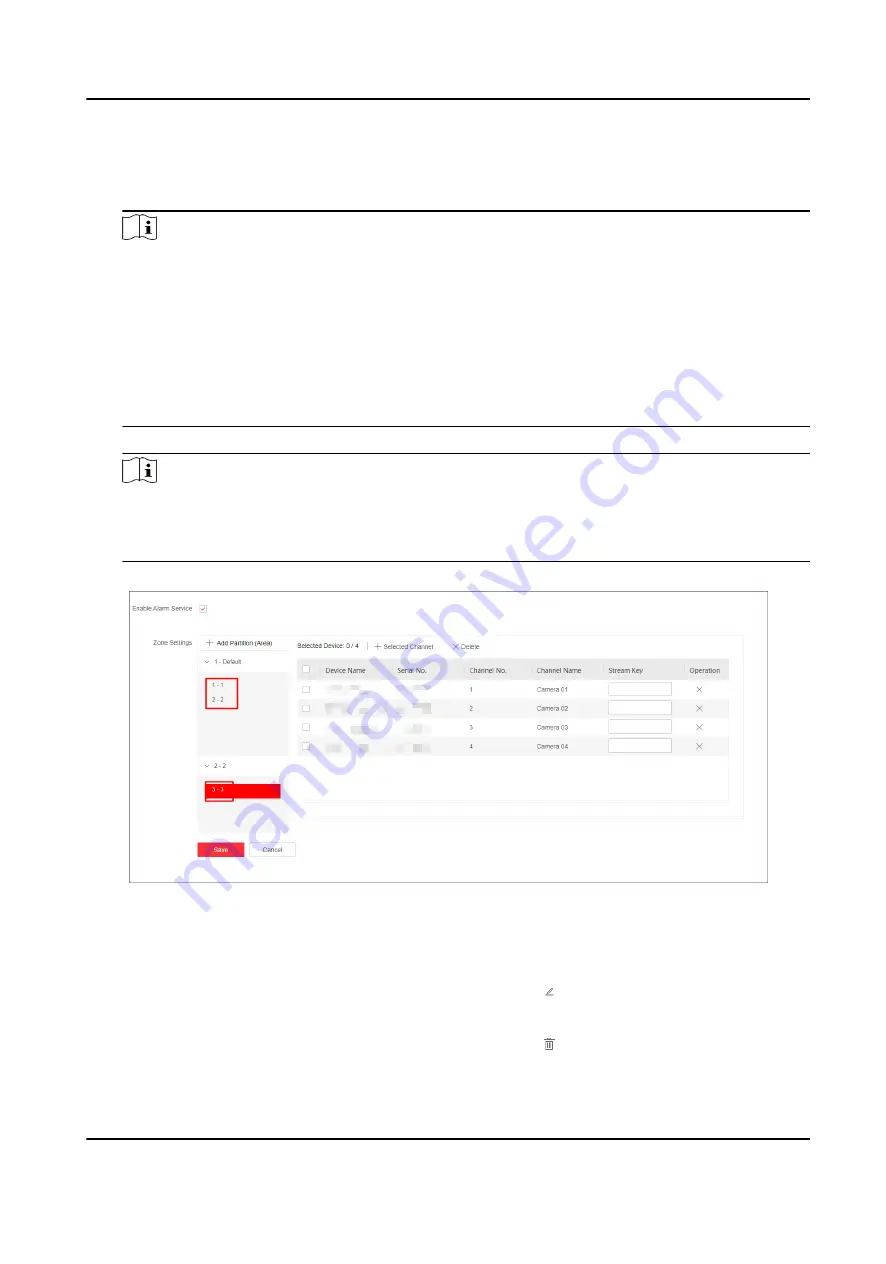
You can set multiple zones and click Save to batch link channels to zones.
Figure 3-5 Batch Link Channels to Multiple Zones
The linked channels are displayed on the alarm service and zone settings page.
5. Optional: Perform the following operation(s).
Edit Zone
Hover the cursor on a zone and click to edit zone name or change the
partition (area) of the zone.
Delete Zone
Hover the cursor on a zone and click to delete the zone.
Hik IP Receiver Pro User Manual
15
Содержание Hik IP Receiver Pro
Страница 1: ...Hik IP Receiver Pro User Manual...
Страница 57: ...UD28166B...