


46
NGS Mach II User Guide v1.0
Software Updates
Connecting NGS Mach II to a PC
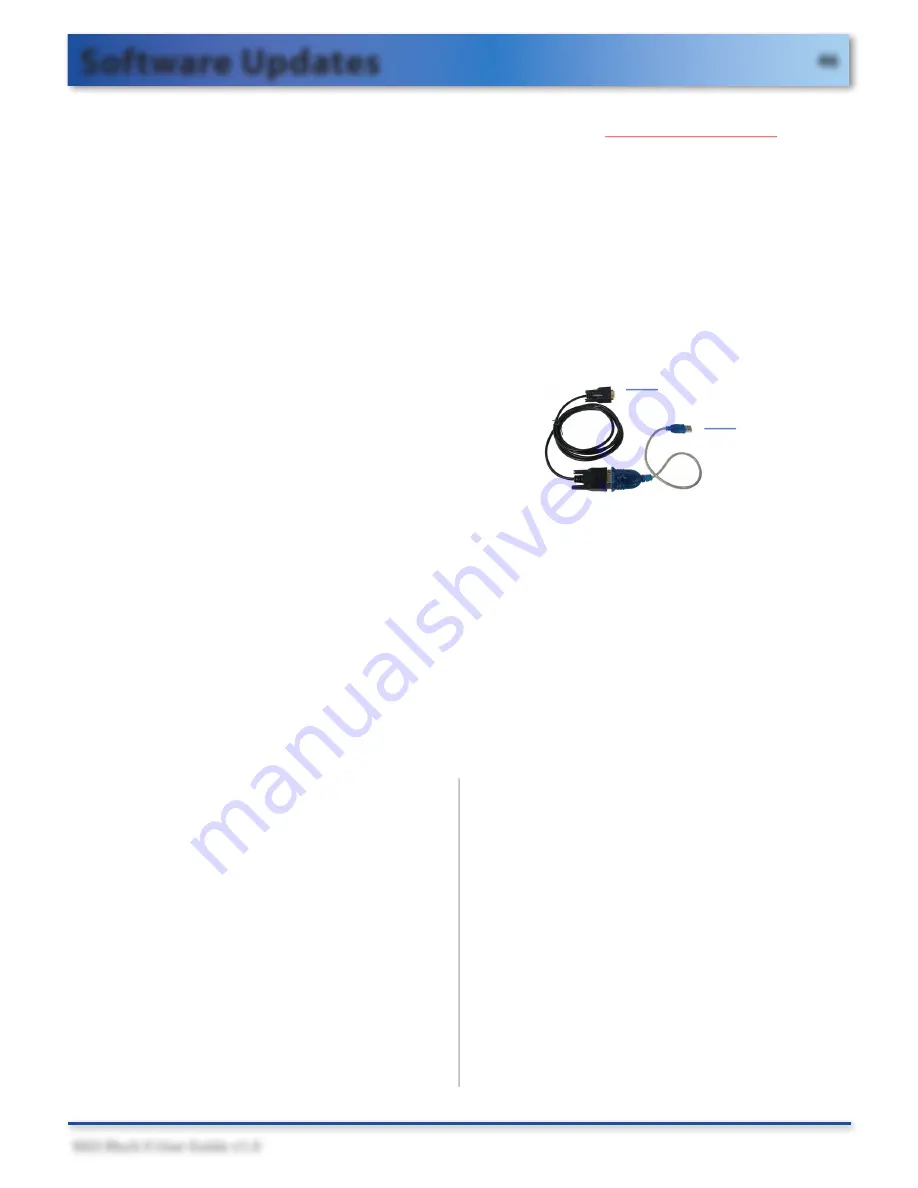
When updating the NGS Mach II software, connect the
Computer Interface Cable
to the PC Link port to allow NGS
Mach II to communicate with a PC.
Periodically, be sure to visit the DOWNLOAD CENTER at our website
to
ensure you have the most recent software available.
IMPORTANT!
• If an update is available, make sure to download
the installation instructions and the software update.
• If you need to install Microsoft® .Net Framework 1.1 Software (see the update
installation instructions) a copy is included on your NGS Mach II Documentation CD.
Installing the Software Driver
When using the computer interface cable with the USB adapter, you may need to install the software
driver for the adapter. This software is located on the NGS Mach II Software Driver and Documentation CD.
IMPORTANT!
• You may need Administrator privileges to install this software.
• Do not plug the USB to Serial Port adapter into your computer until instructed to do so.
• Make sure the NGS Mach II CD is in the computer’s CD/DVD-ROM drive
before
you begin.
Procedure for Windows®XP Professional with Service Pack 2 or Higher
To NGS Mach II
PC Link port
To PC’s
USB Port
1. Shut down any applications that you may
have running on your computer.
2. Insert the CD into the CD/DVD-ROM drive.
3. Choose
RUN
from the Start menu.
4. Choose
Browse
.
5. In the browse box, select your computer’s
CD/VD-ROM drive.
6. Double click
USB Driver
.
7. Double click
PL2303_Prolific_
DriverInstaller_1025.exe
.
8. At the
Welcome screen
, click
Next
to
continue. Follow the on-screen instructions.
9. To complete the installation, click
Finish
when prompted. Remove the CD from the
CD/DVD-ROM drive.
10. Plug the USB to Serial Port adapter into
your computer’s available USB port.
Windows detects the new hardware and
displays the
Found New Hardware screen
.
11. Wait for the
Found New Hardware screen
to
disappear, then restart your computer.


