


Model MPC-1L, MPC-22, MPC-554
3-8
FM06-038-B
Sept. 2011
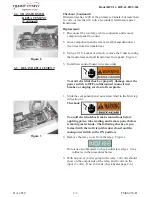
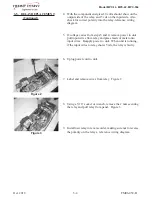
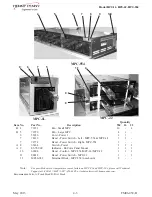
10. Pull the liner assembly from unit (Figure 7). If the lower
liner assembly needs replaced, remove the top liner, drill-
out the 3 pop rivets (see step 5) holding the side support to
the base, and then pull the lower assembly from unit and
replace in reverse order.
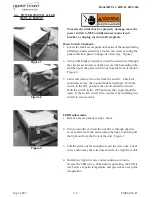
If the single liner needs replaced, drill-out the 3 pop rivets
holding the side support to the base and pull the single
assembly out and replace in reverse order.
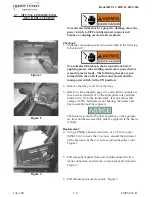
11. Using 1/8” pop-rivets, pop-rivet the liners to the side,
bottom liner supports, if needed. (3 on each side.)
12. Using the screws removed in step 6, secure the liner to the
liner supports, and then pop-rivet the front panel to the unit.
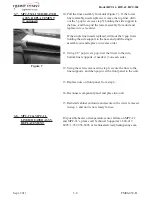
13. Replace nuts on front panel, from step 4.
14. Reconnect component panel and place into unit.
15. Reinstall cabinet enclosure and secure with screws removed
in step 1, and unit is now ready for use.
For possible heater or temperature sensor failure on MPC-22
and MPC-1L’s, please call Technical Support at 1-800-417-
8405/ 1-937-456-8405, or [email protected].
3-7. MPC-554 LINER/HEATER
ASSY. REPLACEMENT
(Continued)
Figure 7
3-8. MPC-22 & MPC-1L
LINER/HEATER ASSY.
REPLACEMENT
Содержание MPC-1L
Страница 2: ......
Страница 20: ...Model MPC 1L MPC 22 MPC 554 3 9 FM06 038 B June 2011 3 9 WIRING DIAGRAMS MPC 554...


