24
Browsing by approval status
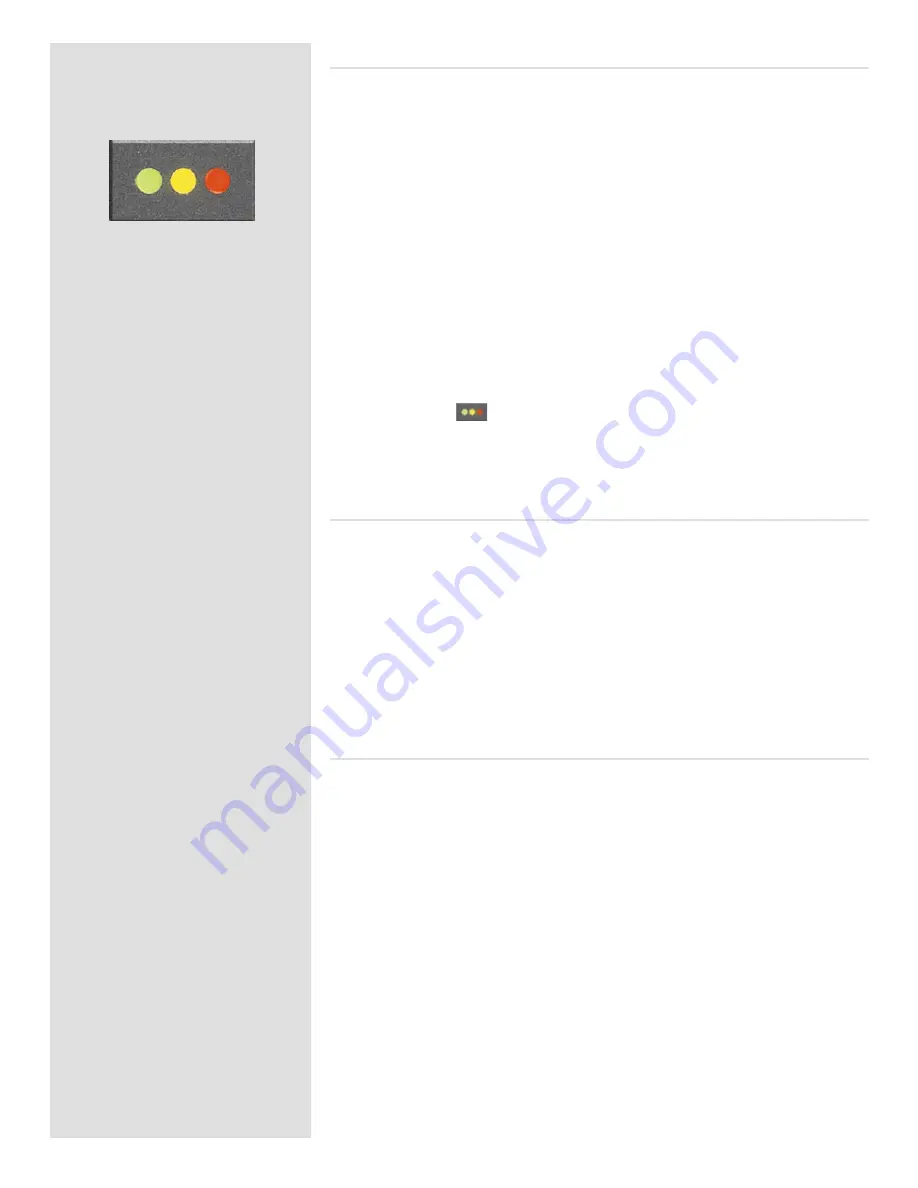
You can set the camera to browse by approval status, which means, for example, that you
will see only green-status images as you browse a batch (or both green and yellow, or only
red, etc.). The current filter setting is indicated on-screen, as illustrated. Filtered images
are still there, but they will not be shown until you change the filter setting. Also, if you
change the status of an image, the image may ‘disappear’ if it no longer passes the filter.
For example, if you have set the camera to browse only green-status images and then
change an image to yellow status, that image will not be shown again until you change
the browse filter.
There are many ways to make use of this feature. For example:
• Set the filter to show only yellow images. Then step through each image and decide
whether any of them should be promoted to green or demoted red.
• If you are running out of space, set the filter to show only red images and then
step through to find shots you can delete.
• Set the filter to show only green images. Then step through to make sure you have
at least one ‘good’ example of each shot that you need.
There are two ways to set the browse filter:
• Press and hold
until the filter you want to use is shown by the indicator.
• Use the
MAIN MENU > Browse
item of the menu system. See
Setting the Browse
Filter
for a detailed procedure.
Deleting by approval status
There are many ways to delete images, including one-at-a-time and multiple delete by batch,
media and/or approval status. When deleting several images, you first pick the medium
or batch from which you want to delete and then use the
MAIN MENU > STORAGE >
Delete
item to specify the status of the images to delete. You can choose to delete:
• All red-status images from the selected batch or medium
• All red- and yellow-status images from the selected batch or medium
• All images from the selected batch or medium
See
MAIN MENU > Delete
for detailed procedures describing each of the delete op-
tions.
Setting the default status
As outlined in
Standard Instant Approval Workflow
, a CF digital back normally works
by assigning a green status to all images that pass a basic exposure test and a yellow status
to all images that fail the test. However, you can change this behaviour if you prefer an
alternative workflow. You have the following options:
•
Auto
: works as described in Standard Instant Approval Workflow.
•
Green
: gives all new images a green status, regardless of the exposure warning.
•
Yellow
: gives all new images a yellow status, regardless of the exposure warning.
Regardless of this setting, audio feedback will still be provided if an image is judged to
be badly exposed (if this option is chosen).
Use the
MAIN MENU > BROWSE
item to make this setting. See also
Setting the Default
Approval Status
for a detailed procedure.
Содержание CF DIGITAL CAMERA BACK RANGE
Страница 1: ...User Manual Hasselblad CF Digital Camera Back Range ...
Страница 32: ...32 Menu structure Items on the main menu ...
Страница 68: ...Addendum V2 to User Manuals 2007 H1 H1D H2 H2D H3D 503CWD CFV CF 2007 09 20 V2 ...
Страница 74: ...Software Reference FlexColor 4 0 for Camera Backs by Hasselblad Imacon ...
Страница 85: ...Software Reference FlexColor 4 0 for Camera Backs Introduction 12 ...
Страница 93: ...Software Reference FlexColor 4 0 for Camera Backs FlexColor Menus 20 ...
Страница 127: ...Software Reference FlexColor 4 0 for Camera Backs The Preferences Window 54 ...
Страница 133: ...Software Reference FlexColor 4 0 for Camera Backs FlexColor ICC Profiles 60 ...
Страница 143: ...Software Reference FlexColor 4 0 for Camera Backs The Thumbnails Window 70 ...
Страница 155: ...Software Reference FlexColor 4 0 for Camera Backs The Exposure Window 82 ...
Страница 159: ...Software Reference FlexColor 4 0 for Camera Backs Active and Reload Buttons 86 ...
Страница 165: ...Software Reference FlexColor 4 0 for Camera Backs The Gradations Window 92 ...
Страница 177: ...Software Reference FlexColor 4 0 for Camera Backs The Texture Window 104 ...
Страница 183: ...Software Reference FlexColor 4 0 for Camera Backs The Live Video Window 110 ...
Страница 185: ...Software Reference FlexColor 4 0 for Camera Backs The Tasks Window 112 ...
Страница 189: ...Software Reference FlexColor 4 0 for Camera Backs Appendix 116 Keyboard Shortcuts ...
Страница 190: ...FlexColor 4 5 Documentation Addendum ...


