21
INSTALLATION
You are now ready to connect the DVD 48 to your system. Before begin-
ning, make sure that all components, including the DVD 48, are turned
completely off and their power cords are unplugged.
Don’t plug any
of the power cords back in until you have finished making all
of your connections.
Many components in a home theater system, such as a receiver or
power amplifier, generate a great deal of heat that can interfere with the
operation of the DVD 48. Therefore, it is best to place the DVD 48 on
its own shelf instead of stacking it directly on top of another component.
It is also a good idea to check the finish of your shelf. Some wood or
other finishes can be affected over time by the DVD 48’s rubber feet.
Step One – Connect the DVD 48 to Other
Components
Select one of the following two sections, depending on whether you are
connecting the DVD 48 directly to a television or video display, or if you
are using an audio/video receiver or processor (this manual will use the
term “receiver” to refer to either a receiver or a processor) that incorpo-
rates the DVD 48 as part of a home theater system.
Connecting the DVD 48 Directly to a Television
If your television is HDMI-capable and HDCP-compliant, then only one
cable connection is required, and it will carry both audio and video
signals. Use the included HDMI cable to connect the DVD 48’s HDMI
output to your television’s HDMI input. See Figure 9. If your television
has a DVI input rather than an HDMI input, purchase an HDMI-to-DVI
cable or adapter, and make a separate audio connection to the TV.
The DVD 48 is Simplay HD-verified for compatibility
via the HDMI connection with other Simplay HD-verified products.
Figure 9 – HDMI Output
NOTE:
When using the HDMI connection, turn on the television
or video display
before
the DVD 48.
If your video display does not have an HDMI input, then separate audio
and video connections are required. Select one of these types of video
connections, in order of preference: component video, S-video,
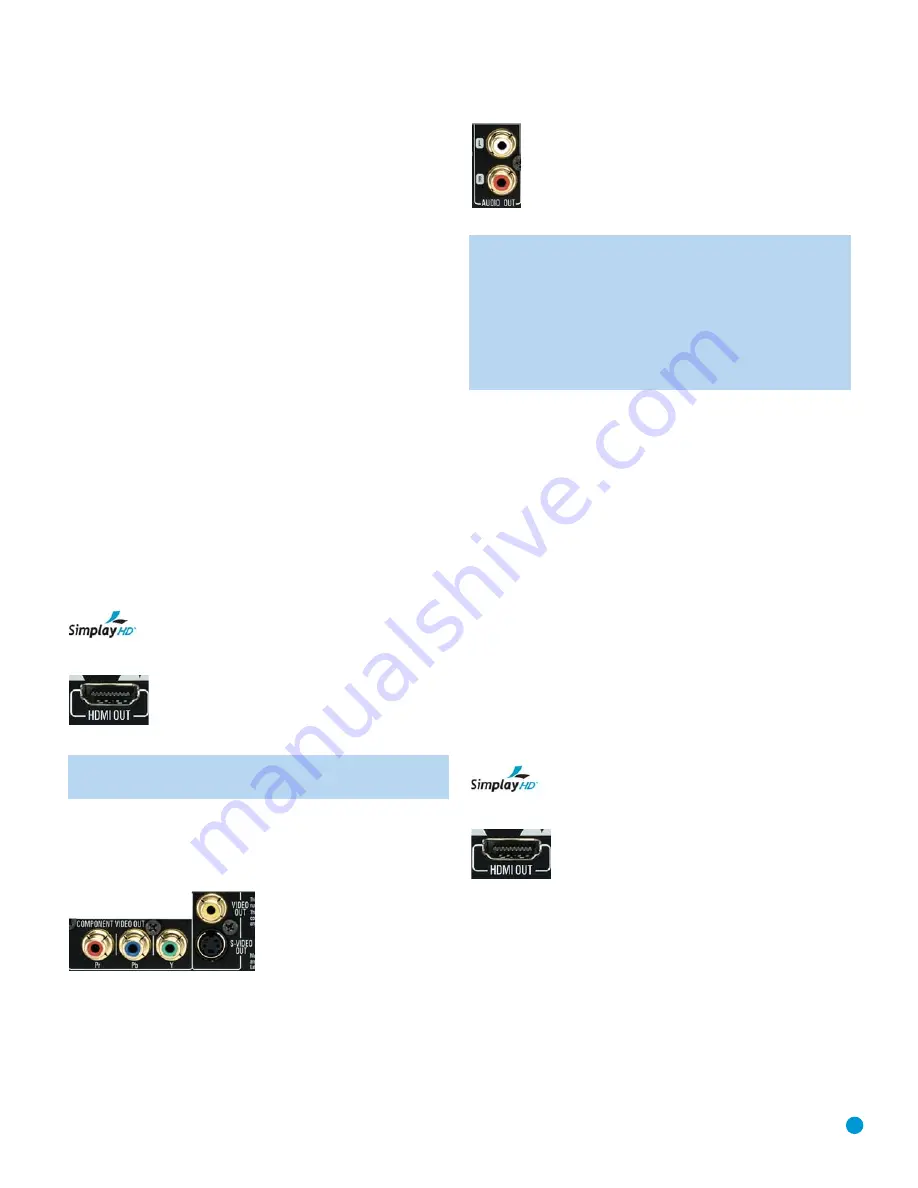
composite video. See Figure 10.
Figure 10 – Component, S- and Composite Video Outputs
Most video displays are not equipped with coaxial or optical digital audio
inputs. If your display is, then it would be preferable to connect one of
the DVD 48’s digital audio outputs to the corresponding input on your
display. However, most likely you will use the 2-Channel Analog Audio
Outputs. See Figure 11.
Figure 11 – 2-Channel Analog Audio Outputs
NOTE:
The DVD 48 is capable of downmixing 5.1-channel
materials to the 2-channel format, but it is necessary to adjust
the Analog Output setting in the AUDIO SETUP menu to Stereo.
You may also access this setting by pressing the Audio Mode
Button on the remote. If you leave the Analog Output setting at
Multichannel, the DVD 48 will only output content specific to the
front left and right channels through the 2-Channel Analog Audio
Outputs, losing the center and surround channel information.
After you have connected the DVD 48 to your television, skip to
Step Two for more information.
Connecting the DVD 48 to an Audio/Video Receiver
One of the major advantages of the DVD format is its ability to use a
variety of digital audio formats for the ultimate in sonic performance.
In addition, the DVD 48 is capable of playing DVD-Audio and SACD
discs, which contain high-resolution multichannel audio materials. In
order to benefit from these audio formats, we strongly recommend that
you connect the DVD 48 to a 5.1-, 6.1- or 7.1-channel audio/video
receiver with the ability to decode digital audio such as Dolby Digital and
DTS, and with 5.1-channel “direct” analog audio inputs. Harman Kardon
AVR Series receivers are compatible with the DVD 48.
The DVD 48 may also be used with an analog A/V receiver by connect-
ing the 2-Channel Analog Audio Outputs to any one of the receiver’s
inputs (in addition to a video connection).
If your receiver is HDMI-capable, connect the DVD 48’s HDMI Output
to one of the receiver’s HDMI inputs. See Figure 9. If the receiver is
equipped with a DVI port, purchase an HDMI-to-DVI cable or adapter,
and make a separate audio connection from the DVD 48 to the receiver.
The DVD 48 is Simplay HD-verified for compatibility
via the HDMI connection with other Simplay HD-verified products.
Figure 9 (repeated) – HDMI Output
Check your receiver’s owner’s manual to determine how it handles
HDMI signals. It may simply switch the signal, it may process the audio
portion of the signal but not the video portion, or it may be capable
of processing both the audio and video portions of the signal. If the
receiver only switches the signal, but is not capable of accessing and
processing the audio or video data, then a separate audio connection
is required, as explained below.
If the receiver is
not
HDMI-capable, then separate audio and video
connections are required. Select
one
of these types of video connec-
tions, in order of preference: component video, S-video, composite
video. See Figure 10.
Содержание DVD 48
Страница 1: ...DVD 48 DVD AUDIO VIDEO AND SACD PLAYER WITH HDMI...
Страница 55: ...STAPLE INVOICE HERE...


