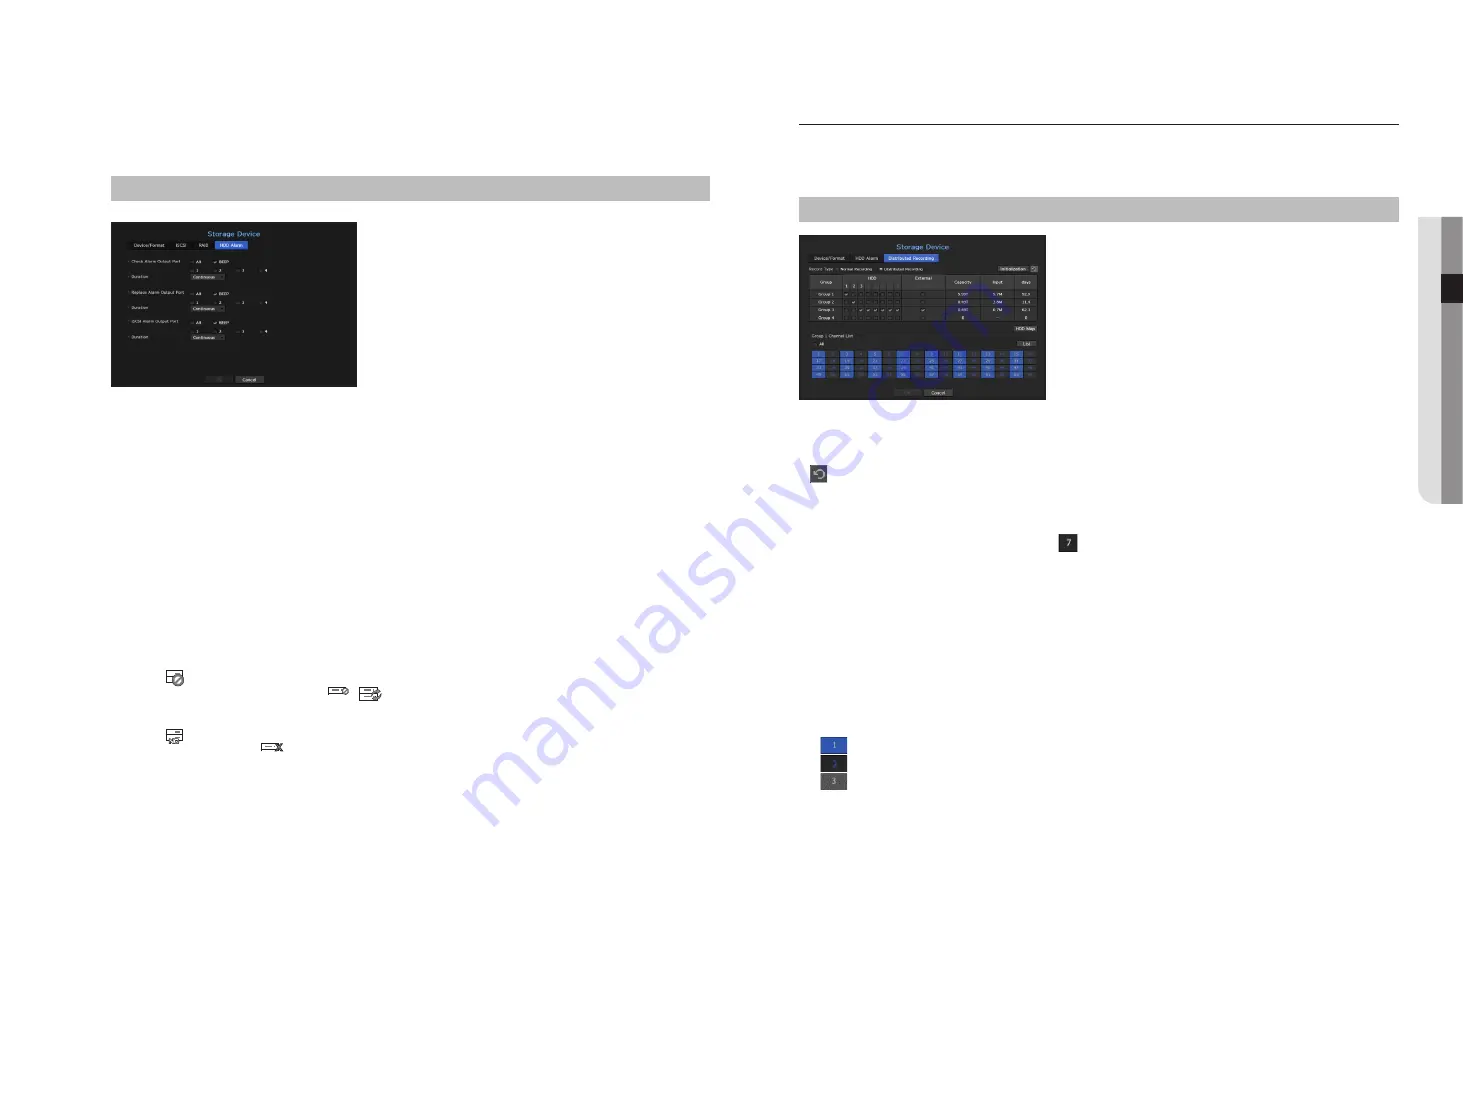
Hdd alarm Setting
For HDD malfunctions, you can set the inspection alarm output terminal, the replacement alarm output
terminal, the iSCSI alarm output terminal and the alarm time.
menu > device > Storage device > Hdd alarm
•
Alarm
- If <
all
> was selected, both beep sound and alarm signal through rear side ports will output.
- If <
beep
> was selected, a beep will sound.
- If you select an alarm output terminal number, a signal is displayed on the alarm output terminal at the back.
Each product has a different number of alarm output terminals.
•
Check Alarm Output Port : If HDD generates check alarm, the alarm signal will output to the specified alarm
output port.
•
Replace Alarm Output Port : If HDD generates replace alarm, the alarm signal will output to the specified
alarm output port.
•
iSCSI Alarm Output Port : If a connection to your iSCSI device is lost, a signal is sent to the designated alarm
terminal. Only provided for products that support iSCSI. (See page 4 of the Product Specification Manual)
•
Duration : Sets the alarm duration for the alarm signal and beep sound.
M
`
<
Check
> status means that the HDD is operating but it has problems that require technical examination.
(
) appears on the Live screen.
If a RAID is degraded or rebuilding, <
FULL
NO
RAID
RAID
SCSI
/
FULL
NO
RAID
RAID
SCSI
> will appear on the live screen.
`
<
Replace
> status means that the HDD has defect and requires immediate replacement.
(
) appears on the Live screen.
If a RAID has failed, <
FULL
NO
RAID
RAID
SCSI
> will appear on the live screen.
distributed recording
This function is only available for products that support distributed recording. For products that support
distributed recording, see “
nvr products supporting each feature
”. (Page 4)
You can save recordings in a distributed manner by distributing HDD(s) of each group.
menu > device > Storage device > distributed recording
•
Record type : Select either <
normal recording
> or <
distributed recording
> as the recording mode.
•
Initialization : Settings that are provided when <
distributed recording
> is selected are configured as the
default settings.
•
: Update values such as HDD capacity, input, number of storable days, etc.
•
Group : Select a group to distribute the recording. If you select a group, a list to select a camera to assign
opens below.
•
HDD : The number and kind of currently available HDDs are activated.
(e.g. A channel number that is activated like < > is an available HDD.)
•
External : Select an external storage device on which recordings will be stored.
•
Capacity : Displays the currently used capacity and entire capacity of an HDD that is selected in the group.
•
Input : Displays the recording data volume of a channel selected in the group.
`
If the input value exceeds 150Mbps, the value is displayed in red.
•
days : Displays the number of storable days for the input from the selected channel in the group on the HDD.
Example)
3 days and 12 hours is displayed as 3.5.
•
HDD Map : You can identify the position according to the number of each HDD attached inside the
equipment.
•
Channel List : The button state of the channel list is as follows.
-
: Channel selected in the current group.
-
: Channel selected in other group.
-
: Channel that is not currently selected. Please add this channel to the group.
M
`
Recording cannot be performed while saving changes in distributed recording settings.
`
To add more HDDs for distributed recording, install them in the order of 1, 5, 2, 6, 3, 7, 4 and 8.
English
_37
●
menu
Setup


