English
_19
●
live
backup
You can search for a backup device and back up video recording at your desired time for each layout or channel.
1.
Right-click on the live screen and select <
backup
>.
You can click on < > in the launcher menu.
M
`
If your product supports a remote controller, then press the [
BACKUP
] button to go to the Backup menu.
For products that support remote controls, see “
NVR products supporting each feature
”. (Page 4)
2.
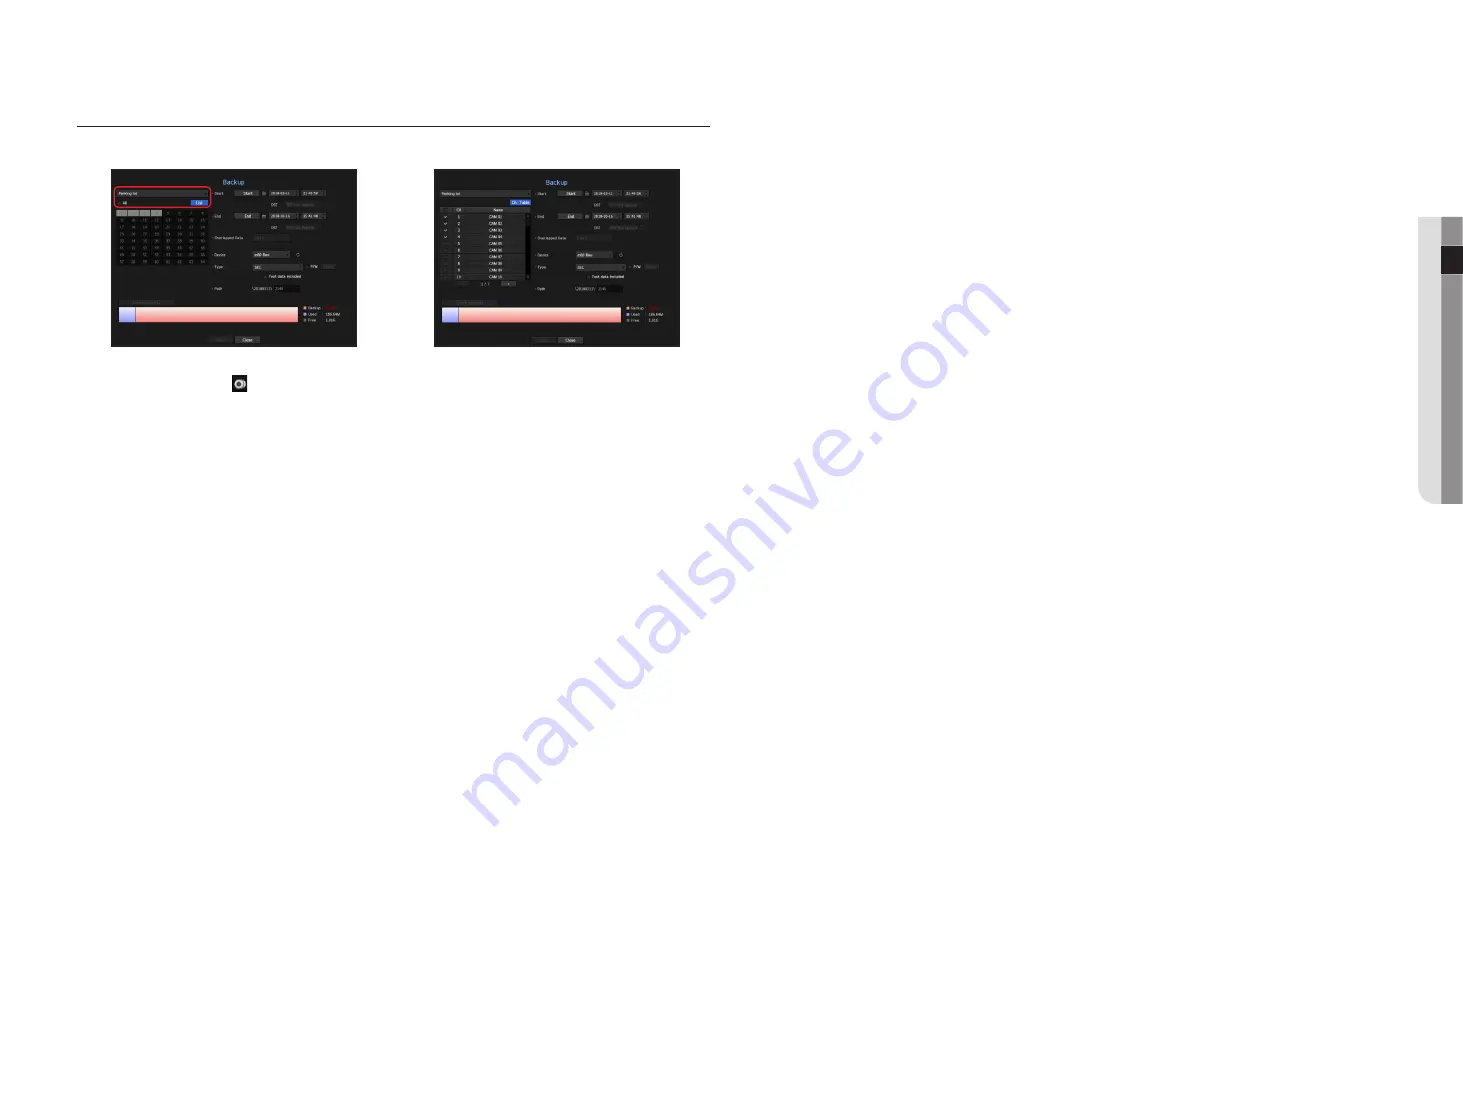
The backup settings screen will be opened.
•
Select a layout. : Select a desired layout from the layout list.
•
Channel : Sets the channel to backup.
`
You can select multiple channels.
If you select <
All
>, all channels will be selected.
•
Backup Range : Sets the <
Start
> and <
end
> time for the backup.
- Start time : Set the backup start time to your desired time.
If you click the [
Start
] button, the Backup start time is set to the starting time of the last video recording.
However, the Start time will not be displayed on the screen. If you click the [
Start
] button once more, the
Backup start time is set to the time set by user.
- End : You can set the Backup end time to your desired time.
If you click the [
end
] button, the Backup end time is set to the ending time of the last video recording.
However, the End time will not be displayed on the screen. If you click the [
end
] button once more, the
Backup end time is set to the time set by user.
•
Overlapped Data : Shows a list of overlapping data on a same time according to the number of data.
This is displayed when there are duplicate data in the same channel due to changes in the time or time zone.
`
See the "
Setting the Date/Time/Language
" page under "
Menu Setup
>
System Setup
" in the Table of Contents.
•
Device : Select a backup device from the recognized devices.
•
Type : Sets the backup data format.
- SEC : SEC is a proprietary file format, which can be played on the PC immediately as it is backed up with a
dedicated viewer.
- NVR : Saved data can be played back only by the NVR.
`
When you select the SEC format, you can select or deselect "
Password
" and "
Text data included
".
•
Path : displays the location of the folder in which the backup file is to be saved.
•
Check capacity : Shows the size of the selected backup data, used and available capacity of the selected
backup device.
3.
When the backup setup is done, press <
Start
>.
`
If there is no device to back up, the <
Start
> button is disabled.
J
`
If you insert a USB memory stick with insufficient storage space, volume calculation may be disabled.
Format the memory stick or delete some of the data on the memory stick to secure adequate storage space.
`
The application may slow down during the backup.
`
You can switch to the menu screen during the backup in operation, but playback of data is not available.
`
The data can be played back on a Webviewer while the backup is in progress but audio does not function.
`
If backup has failed, select “
Device
>
Storage Device
” and check the free space of the HDD and check also if the HDD is
properly connected.
M
`
Pressing the <
Hide
> during the backup will return to the previous menu, while the backup progresses.
;


