TX100 USB
12
6T7639a
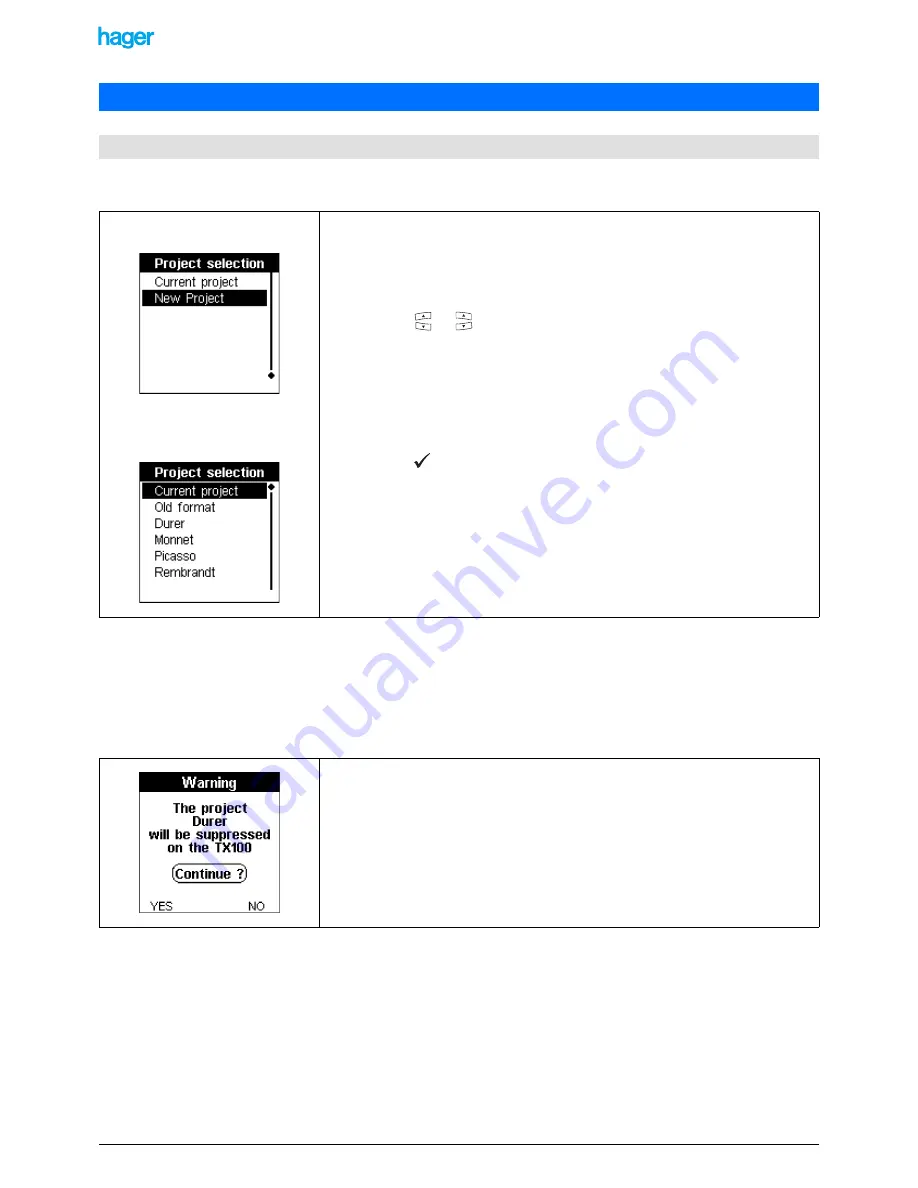
When starting up the TX100, a Project selection screen is displayed: it allows creating a new project or selecting an existing
project. The content of the Project selection screen depends on whether an external memory is connected or not:
3.1.1 Current project
The TX100 then loads the current project to go on with its configuration.
!
In the case of a TP or a mixed installation with a media coupler, the TX100 recognises automatically the media coupler and
the Auto screen is displayed.
3.1.2 New project
3.1.3 "Project name"
The TX100 loads the project "Project name" to go on with its configuration.
!
In the case of a TP or a mixed installation with a media coupler, the TX100 recognises automatically the media coupler and
the Auto screen is displayed.
3. Projects management
3.1 Loading or creating a project when starting up the TX100
Project selection screen when no
external memory is connected:
Example of a Project selection screen
if an external memory containing
projects is connected:
• Press the
or
key to select:
•
Current project
to go on with the configuration of the current project which is
in the internal memory of the TX100.
•
New project
to configure a new installation.
•
"Project name"
to load a project identified by a name contained in an
external memory (is only displayed when an external memory is connected).
•
Old format project
to load a project stored in an old format (is only displayed
when an external memory containing a project of this type is connected).
• Press the
key to confirm your selection.
!
An Old format project corresponds to the project file of an installation started with
a TX100 with a version lower than V2.0.
The TX100 creates a new project in its internal memory. The current project possibly
present in the internal memory will be deleted.
A Warning screen allows authorising or not the deletion of the current project:
• Press the NO screen key to retain the current project and return to the Project
selection screen.
• Press the YES screen key to delete the current project and authorise the creation
of the new project.
The configuration procedure then starts.


