11
SMARTFEED M-4
EN
INSTALLATION – PRODUCT OPERATION
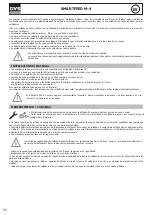
Only qualified personnel authorised by the manufacturer should perform the installation of the welding equipment. During the installation, the
operator must ensure that the machine is disconnected from the mains. It is recommended to use the welding cables supplied with the unit in order
to obtain the optimum product settings.
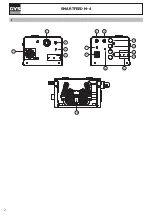
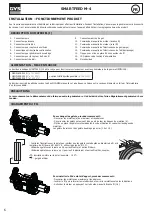
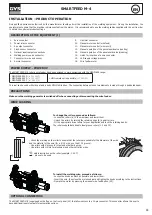
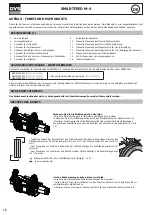
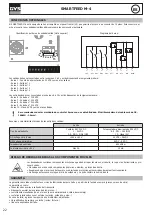
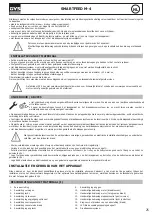
DESCRIPTION OF THE EQUIPMENT (I)
1- Euro connector
9-
Gas inlet connector
2-
Power relay connector
10-
Manual motor control (wire feed)
3-
Air output connector
11-
Manual motor control (wire recoil)
4- Crash sensor connector
12-
Manual operation of the gas solenoid valve (venting)
5-
Optional input/output connections
13-
Manual operation of the air solenoid valve (cleaning)
6-
Welding power source connector
14- Hatch for insertion of a wire connector
7- Connector for wire end sensor
15-
LED supply voltage presence
8-
Air inlet connector
16- Wire feeder motor
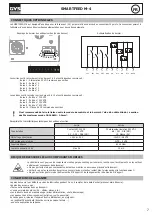
POWER SUPPLY - POWER UP
The SMARTFEED M-4 robotic wire feeder has been designed to work exclusively with the NEOPULSE range:
- NEOPULSE 500 G
(ref. 014503)
- NEOPULSE 400 G
(ref. 014497)
- NEOPULSE 320 C
(ref. 062474)
+ HMI remote option possible
(ref. 062122)
This reel can be used with manual and robotic MIG-MAG torches. The connection between these two elements is made through a dedicated beam.
PRECAUTIONS
Make sure the welding generator is switched off when connecting or disconnecting the wire feeder.
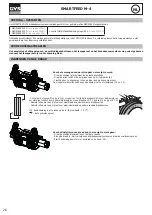
WIRE LOADING
a
b
a
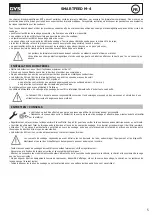
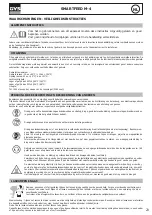
To change the rollers, proceed as follows:
- Loosen the rollers (a) to the maximum and lower them.
- Unlock the rollers by turning the retaining rings (b) a quarter turn.
- Fit the appropriate drive rollers for your application and lock the retaining bands.
The rollers supplied are double steel groove rollers (1.0 and 1.2).
- Check the marking on the roller to ensure that the rollers are suitable for the diameter of the wire
and the material of the wire (for a Ø 1.2 wire, use the Ø 1.2 groove).
- Use rollers with V-groove for steel and other hard wires.
- Use rollers with U-slots for aluminium and other soft alloy wires.
: visible inscription on the roller (example: 1.2 VT)
: groove to be used
To install the welding wire, proceed as follows:
- Loosen the knobs as much as possible and lower them.
- Insert the wire, then close the motorised reel and tighten the knobs according to the instructions.
- Operate the motor by pressing the manual wire feed button (I-9).
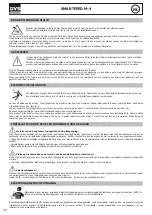
OPTIONAL CONNECTORS
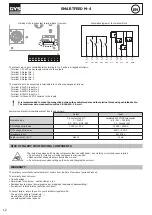
The SMARTFEED M-4 is equipped with a flap on the front panel (I-5) that allows access to a 10-pin connector. This connector allows the user to
have additional inputs/outputs for automation options.


