14
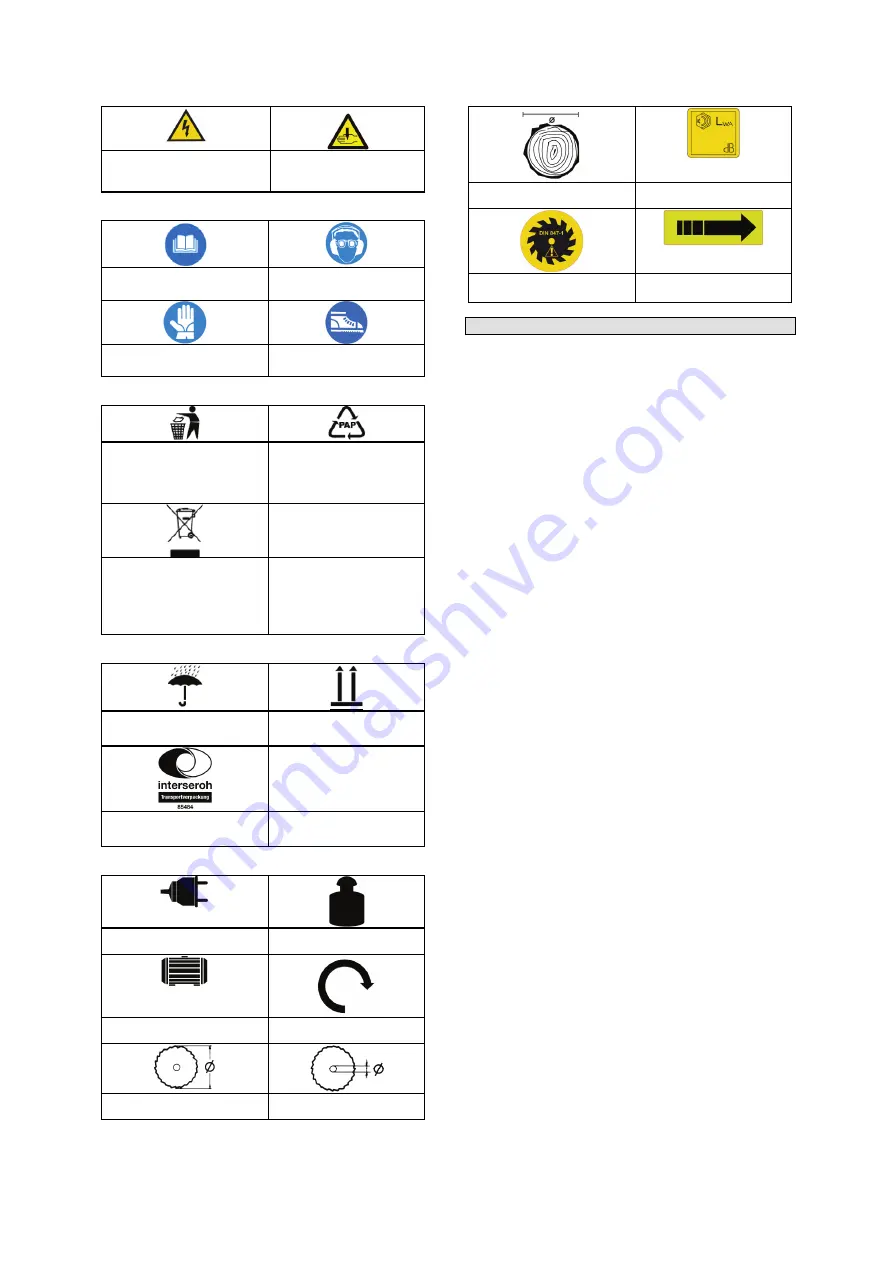
Caution! Dangerous electric
voltage!
Warning against hand
injury
Commands:
Read operation manual
before use.
Wear ear and eye
protection equipment.
Use safety gloves.
Use protective high boots.
Environment protection:
Dispose of the waste
properly and not in
surrounding environment.
Dispose cardboard
packaging material in a
collection yard.
Dispose either damaged or
waste electric and electronic
components in special
collection yards.
Packaging:
Protect from wet.
This side up.
Interseroh recycling.
Technical data:
Power supply connection
Weight
Motor power
Idle speed
Circular-saw blade Ø
Fixture Ø
Max cutting output
Noise
Circular-saw blade according
to DIN 847-1
Rotation direction
Assembly (pictures 1 to 16)
1.
Open the accessory equipment package (included)
and check the content.
2.
Open the package including the support with engine
and put it on the ground. Easy installation by inserting
2 M8 x 70 screws in the support with subsequent
connection to couplings. The side couplings must be
installed outwards on the square engine frame tube.
3.
Screw the cradle on the support with engine using 2
M8 x 70 screws.
4.
Install the distance chain between the cradle and the
support with engine.
5.
Screw the front left circular saw blade cover on the
cradle using 2 M6 x 15 screws.
6.
Now screw the front right circular saw blade cover on
the cradle using 3 M6 x 15 screws.
7.
Screw the rear circular saw blade cover on the
support with engine using 2 M6 x 15 and 1 M6 x 40
screws – make sure the circular saw blade cover
surfaces and engine flanges fit perfectly.
8.
Fasten the middle part of the circular saw blade cover
using the M6 nut.
9.
Push the circular saw blade flange to the engine
shaft.
10. Push the circular saw blade to the engine shaft.
Caution!
The circular saw blade is heavy and may be
slippery. It may cause serious injuries when it gets
out of your hands. Therefore, wear safety gloves and
safety shoes at all times.
11. Fit the circular saw blade flange on the engine shaft
and tighten the M20 nut using the wrench and holder
(included).
12. Close the front circular saw blade cover and screw it
down using 3 M6 x 85 screws.
13. Use 4 M4 x 55 screws to screw the switch to the
support with engine. The emergency switch must be
directed upwards.
14. Screw the handles using 4 M8 x 40 Allen screws
(included).
15. Insert the side extensions of the cut material in the
cradle and fixate it using the adjusting screw.
16. Set the distance ring to the required length. Check
the fully assembled saw once again.
Содержание 01841
Страница 2: ...2 1 2 2 3 4 6 7 8 14 15 5 11 A 12 13 10 9 20 21 17 18 19 16...
Страница 3: ...3 1 2 3 4 5 6 7 8 9...
Страница 4: ...4 10 11 12 13 14 15 16...
Страница 54: ......
Страница 55: ......


