4G, 8G Digital Direct Security
17 |
P a g e
Scheduling
The Scheduling
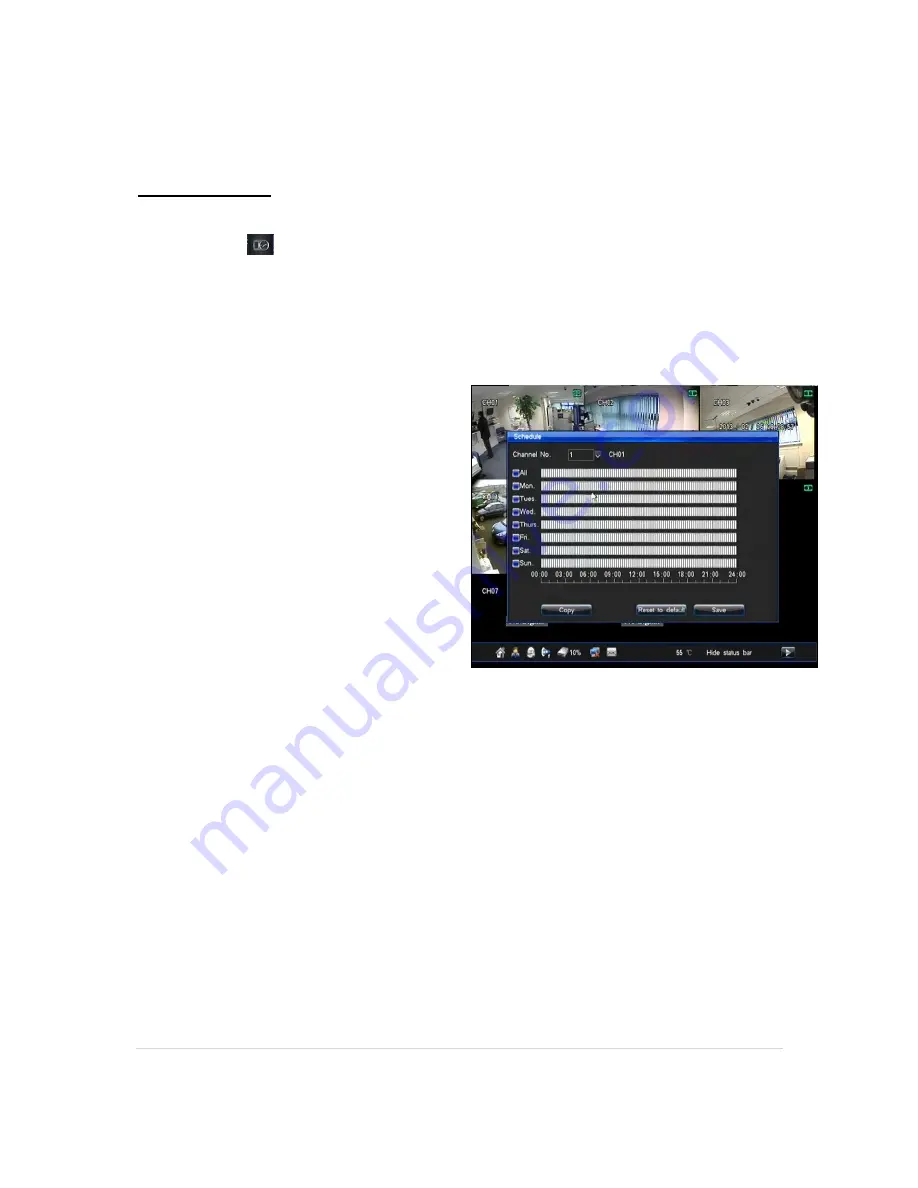
menu (can be accessed from the “Config” menu) will cover all aspects of
setting up a schedule. The two settings pages that are used for schedule creation are Record
Settings and Alarm Settings.
As an example this guide will show setting up a schedule for opened and closed periods of a
typical shop.
•
First locate the Record Settings tab > then
select the Schedule tab. Within here you will
be setting when you wish the DVR to record
constantly.
•
If you wish to have the same schedule for
every day tick
ALL
. However you are able
to create individual schedules for each day
by using the provided days.
•
Once you have ticked
ALL
you will see the
entire row turn orange (orange means it will
record at these points.)
•
Now you will be able to click and drag to
make a grey gap in the middle (or area of your choosing) of the orange bar. These grey
areas are where the DVR is
NOT
recording. (
Note: Make note of the start time and end
time of the grey areas as this will be the start and end points for the motion
schedule.
)
•
Now that you have chosen the areas (in orange) where you wish the DVR to record
constantly you can now click
SAVE
. If you wish to apply this schedule to more than one
camera channel click
COPY
.
•
Next you will need to set the motion schedule to cover the points in the day when the DVR
isn't recording constantly. You will need to locate the
ALARM SETTINGS
tab>
MOTION
tab.
•
You will need to click and drag the orange bars from the start time and end time where the
DVR is not recording constantly, these orange areas are where the DVR is recording on
motion detection only.
•
Click SAVE.


