background image

page 9

getting started |

VCR features

| DVD features | extra information

language selection | clock setting | tuning channels | playback features | rewind & forward features | index/repeat/tracking

one touch recording | timer recording | edit timer recordings | clock/counter  | NICAM stereo

tuning channels

Before you can use all of the VCR features on your DVD/VCR,

you must tune in all available TV/Satellite/Cable channels from your TV to your DVD/VCR.

Note:

Your DVD/VCR

features a tuner that can
store up to 80 different
channels (if available).

Before you can view a
channel on your unit or
make a recording, you
must tune all available
stations into your VCR.

Switch on any external
equipment connected to
your unit (e.g. a satellite
decoder) before you start
tuning.

It is highly recommended
that you store the
channels you tune in the
order shown in the table
below.

VCR

TV

Channel

Channel

1

BBC 1

2

BBC 2

3

ITV

4

Channel 4

5

Channel 5

6

Satellite/Cable 

(if available)

If you have your
Satellite/Cable, etc.
connected via a SCART
lead to your DVD/VCR,
then press 0/AV on your
remote control to select it,
rather than tuning it into
channel 6.

1

Select your VCR channel

Press the standby

button to switch on your

DVD/VCR.

Select your allocated VCR channel on your TV’s
remote control (usually 0, but can be stored against
any channel number).
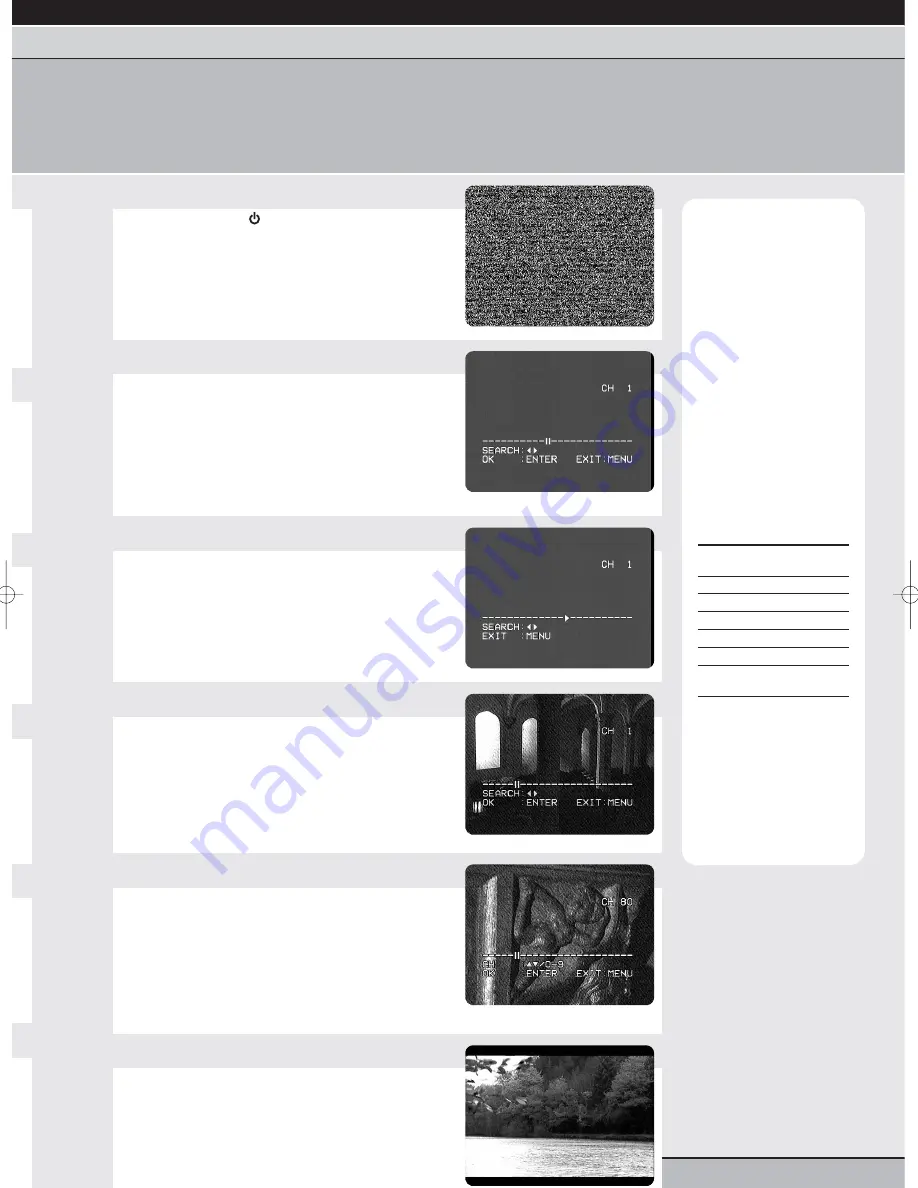
2

Access the TUNING menu

Press setup/menu on your remote control to access
the MAIN menu. Press the cursor

or 

buttons

to highlight CH TUNING then press enter/select to
access the CH TUNING menu.

You will NOT be able to access the tuning menu if your
VCR currently has AV1, AV2, or AV3 selected. Please first
tune to CH1 by pressing the channel buttons on the front
of the unit until ‘

CH 1’ 

appears in the display.

3

Search for channels

Press the cursor

or 

buttons to begin

searching for a channel.

A small arrow will move along the tuning bar and your
VCR will automatically begin searching for a channel.

This may take a few seconds/minutes.

4

Select a channel

When the arrow stops, a channel has been found.

If the picture is poor, repeat step 3 to continue searching.

When you have found a channel with good
reception, press enter/select to select it.

The channel number will now begin to flash.

5

Store a channel

You should now store the channel you have selected
against the correct channel number on your VCR.

Press the cursor

or 

buttons to select the

correct channel number.

The table opposite shows the correct channel numbers for
stations to be stored against.

Press enter/select to save your settings.

6

Tune other channels

Repeat steps 3-5 until all available channels have
been tuned in.

When you have finished tuning, press the
setup/menu button 

twice to remove all on-screen

menus.

Grundig GR1000 A IB.qxd  14/01/2003  10:45  Page 9

Содержание GR1000A

Страница 1: ...GR1000A DVD Video combination operating instructions...

Страница 2: ...ly those controls that are covered by the operating instructions Improper adjustment of other controls may result in damage and will often require extensive work by a qualified technician to restore t...

Страница 3: ...rol audio settings 26 extra information table of languages 27 tuning a TV to your VCR 28 DVD disc video cassette care 29 frequently asked questions 30 amplifier camcorder connection 31 specifications...

Страница 4: ...or more sections Each section is called a TITLE For example trailers and documentaries would be separate TITLES to the featured movie on the disc Chapters A title can be subdivided into many parts Eac...

Страница 5: ...audio CD CH 2 TV Channel display for VCR A1 A2 A3 External input display 7 Timer recording display 8 Video cassette is loaded 9 Track display for CD Note Some discs may display incorrectly e g chapter...

Страница 6: ...safety warnings contents DVD regions disc structure front panel display remote control overview remote control overview Please familiarise yourself with the layout of your remote control using the tab...

Страница 7: ...ur unit into the mains and switch on at the socket Switch on your TV Press the standby button to switch on your DVD VCR 2 Access the SYSTEM SETUP menu Press vcr then setup menu on your remote control...

Страница 8: ...ght CLOCK SET Press enter select to select CLOCK SET 2 Set the DATE The DAY digit will be flashing Press the cursor or buttons to select the correct date The three letters after the date indicate the...

Страница 9: ...e control usually 0 but can be stored against any channel number 2 Access the TUNING menu Press setup menu on your remote control to access the MAIN menu Press the cursor or buttons to highlight CH TU...

Страница 10: ...y the cassette automatically 2 Start stop playing a tape If playback does not begin automatically press the play button Press stop to stop playing a video cassette The TV channel currently selected on...

Страница 11: ...s picture search function This feature of your VCR will enable you to rewind or fast forward through a cassette with the picture showing on screen Insert a cassette it should begin playback automatica...

Страница 12: ...t the number of index positions to skip For example your cassette is rewound to the beginning and you want to watch the third recording on the tape press the skip index button three times Playback wil...

Страница 13: ...us 2nd press 30 mins 3rd press 1 hour 4th press 1 hour 30 min 5th press 2 hours 6th press 3 hours 7th press 4 hours 8th press 5 hours 9th press 6 hours e g five presses will start recording immediatel...

Страница 14: ...ert a blank cassette into your VCR Press the vcr button on your DVD VCR remote control to switch to the VCR function of your unit 2 Select a timer position Press the program button on the remote contr...

Страница 15: ...t panel display 2 Select a timer recording Make sure you are in VCR mode by pressing the vcr button on your DVD VCR remote Press the program button The TIMER RECORD menu will appear on screen Press th...

Страница 16: ...playback The counter displays the amount of time in hours minutes and seconds elapsed since playback began 2 Counter reset Before playback or recording press counter reset to reset the counter to 00...

Страница 17: ...rol to access the MAIN menu Press the cursor or buttons to select VCR SETUP Press enter select to access the VCR SETUP menu 2 Make NICAM settings Press the cursor or buttons to select NICAM Press the...

Страница 18: ...r DVD VCR 2 Access the MAIN SETUP menu Press dvd then setup menu on your remote control to access the MAIN SETUP menu Press the cursor or buttons to highlight LANGUAGE Press enter select and a sub men...

Страница 19: ...take proper precautions when the analogue stereo outputs of the DVD player are connected to an amplification system 1 Fast forward playback Press search during normal playback Each press will increase...

Страница 20: ...the scenes camera angles of the DVD A B repeat does not work with interactive DVD titles repeat random playback 1 Repeat random DVD or CD Press play mode during playback Each time you press the curso...

Страница 21: ...select to confirm If you enter a time longer than the total running time of the DVD title it may not be stored correctly 3 Enter a title DVD Press the cursor or buttons to highlight TITLE Press the nu...

Страница 22: ...ws 1st press Zoom feature on 2nd press Zoom feature off 2 Move around the picture Press the cursor or buttons to move around different parts of the picture when zoomed in setting on screen display OSD...

Страница 23: ...des of the image so that it fits on a conventional shape TV screen 16 9 Widescreen This is the correct mode for playback of wide screen DVD video on a wide screen TV You must also set the screen mode...

Страница 24: ...o switch between available camera angles The angle menu will automatically clear after 4 seconds title selection 1 Select a title Press the title button during playback of a DVD If there is more than...

Страница 25: ...title language are cancelled when you open the disc tray or turn the power to your unit off Please note that you can also permanently change the languages so that when available on the DVD disc the sa...

Страница 26: ...ARENTAL menu will show on screen Press the cursor or buttons to highlight parental 2 Set PARENTAL level Press the cursor or buttons to highlight parental level The following rating levels are availabl...

Страница 27: ...am Mongolian Moldavian Marathi Malay Maltese Burmese Nauru Nepali Dutch Norwegian Occitan Afan Oromo Oriya Panjabi Polish Pashto Pushto Portuguese Quechua Rhaeto Romance Kirundi Romanian Russian Kinya...

Страница 28: ...r television becomes distorted when the DVD VCR is on Explanation The VCR s output may be clashing with a tuned TV channel Solution Follow steps 1 2 Select the channel on the TV which is distorted Mov...

Страница 29: ...is the case have the VCR checked and cleaned by qualified personnel Head cleaning cassettes are not recommended because they can be abrasive to your video heads To help prevent video head clogging us...

Страница 30: ...video tape worn or damaged the tracking adjustment is beyond the range of the Automatic Tracking Circuit try adjusting the tracking manually Q Why does the VCR not record the TV station A Your Station...

Страница 31: ...put sockets on your amplifier these may be called AUX LINE IN or INPUT etc consult your amplifier s instruction book for details Make sure that left matches left and right matches right DVD VCR to cam...

Страница 32: ...new VCR DVD player To help you get the most from your new purchase we recommend Partmaster Direct for accessories and spares Partmaster Direct s range includes Connectivity Leads Remote Controls Mains...

Отзывы: