-28-
Model G1014Z/G1014ZX (Mfd. Since 08/22)
Pre-Tracking Belt
You must perform the following procedure before
the test run to ensure that the belt does not come
off or get jammed against the sanding belt frame.
To pre-track the belt:
1. DISCONNECT MACHINE FROM POWER!
2. Loosen the lock nut on the tracking control
knob (see
Figure 4 on Page 4), then move
the quick release tension lever to the ten-
sioned position.
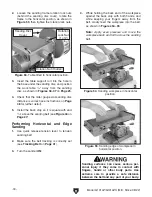
Figure 47. Example of sanding belt centered on
main roller.
Even Spaces
on Both
Sides
5. Tighten the tracking control knob lock nut.
46. Place one edge of a machinist's square
against the face of the miter gauge and the
other against the sanding disc (see
Figure
46) or sanding belt.
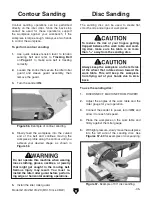
Figure 46. Calibrating miter gauge with square.
47. Loosen the lock knob on the miter gauge and
adjust it flush with the edge of the square.
48. Tighten the lock knob and verify the setting.
Note:
Sometimes the tightening procedure
can affect the adjustment.
49. Loosen the screw that secures the angle
pointer and adjust the pointer to the 0º mark
on the scale.
50. Retighten the screw that secures the angle
pointer.
51. Repeat Steps 46–50 in a similar manner to
calibrate the miter gauge to the belt if you set
up the sander for vertical sanding.
Moving sanding belts are dangerously abra-
sive. Use extreme caution when working
near sanding surfaces.
3. Standing in front of the sander, carefully
push the sanding belt multiple times along
the platen, so that it moves in the direction
of operation (clockwise on the rollers), then
watch how the belt tracks on the rollers.
4. Adjust the tracking with the tracking control
knob and continue to rotate the belt by hand
until the sanding belt is centered on the main
roller, as shown in
Figure 47.
Содержание G1014Z
Страница 18: ...16 Model G1014Z G1014ZX Mfd Since 08 22 5mm Hardware Recognition Chart...
Страница 64: ......

