❏
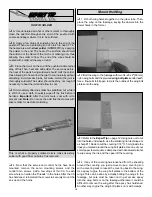
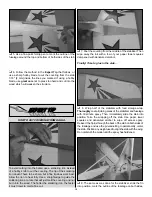
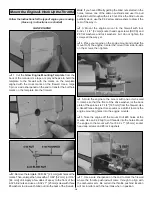
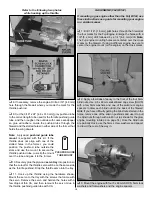
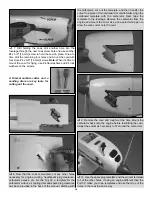
2. Mount the receiver and on/off switch. Connect the
servo wires and switch to the receiver and connect the
battery to the switch. Extend and guide the receiver antenna
through the antenna tube in the fuselage.
❏
1. The level of detail that may be achieved is up to you.
You could simply glue on the canopy without a pilot, or do a
simple interior by painting it black and adding a pilot, or go
“all out” and mock up a realistic cockpit interior built from
scratch. To finish your model as shown, lightly sand the
cockpit with 400-grit sandpaper, and then paint it black.
❏
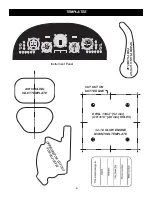
2. Cut out the paper instrument panel from the back of
this manual. Test fit in the cockpit and trim if necessary. Use
spray adhesive or a glue stick to permanently glue the
instrument panel into position.
❏
3. Install a pilot of choice. A 1/4 or 1/3-scale pilot is
suitable. The pilot shown is the one included with the Great
Planes Super Stearman ARF and is also available
separately (GPMA2475). Trim down the base of the pilot so
he will fit under the canopy. For the most security, cut a base
from lite-ply (not supplied) and glue it inside the pilot. Glue
the pilot into position, and then use #4 screws (not included)
with washers to screw the pilot to the cockpit floor from
inside the radio compartment.
❏
4. Place the canopy on the fuselage and hold it down.
Use a fine-point ballpoint pen to accurately mark the outline
of the canopy onto the fuselage-do not mark the aft edge of
the canopy as it does not get glued down anyway.
❏
5. Use a sharp hobby knife to cut a small strip of covering
from the fuselage inside the line you marked. Strip off
the covering.
❏
6. Use R/C 56 canopy glue or CA to glue the canopy down.
If you elect to use CA, use it sparingly and work with
precision–it’s easy to make a mess of canopies with CA if too
much is used and it “kicks off” too fast or runs onto the plastic.
Finish the Cockpit & Mount the Canopy
2
3
Содержание Giant Super Sportster
Страница 32: ......


