25
❏
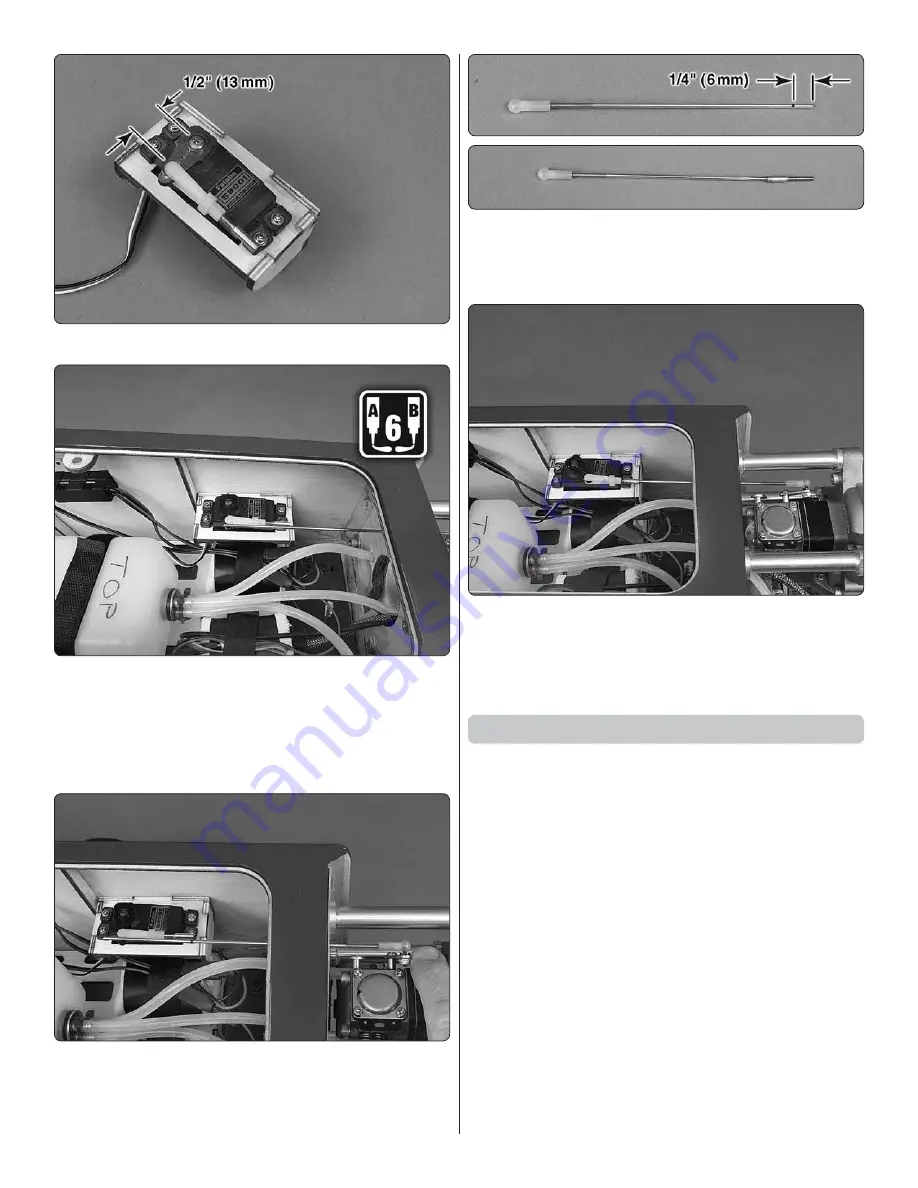
6. Install the clevis on the throttle servo.
❏
7. Position the throttle servo in line with the throttle pushrod.
Mark the location on the side of the fuselage. Glue the servo
tray to the fuselage side.
❏
8. Connect an 8" (203mm) servo extension to the throttle
servo. Plug the throttle servo into the throttle channel on
the receiver.
❏
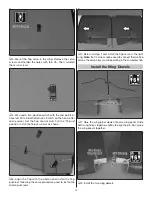
9. Center the throttle stick on the transmitter. Position the
throttle arm on the carburetor so that it is centered (at least
close to centered). Mark the throttle pushrod at the end of
the 2-56 metal coupler.
❏
10. Remove the throttle pushrod from the fuselage. Cut
the pushrod ¼" (6mm) past the mark. Remove the nylon
clevis from the 2-56 coupler and solder the coupler to the
throttle pushrod.
❏
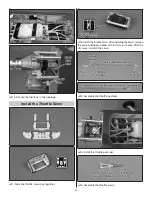
11. Insert the throttle pushrod through the fi rewall and
reinstall the nylon clevis. Adjust the clevis so that the throttle
is fully open at full throttle and almost completely closed
at idle. We recommend that a throttle cut be set up on the
transmitter to stop the engine.
Apply the Decals
❏
1. Be certain the model is clean and free from oily fi ngerprints
and dust. Prepare a dishpan or small bucket with a mixture
of liquid dish soap and warm water – about ½ teaspoon of
soap per gallon of water. Submerse one of the decals in the
solution and peel off the paper backing. Note: Even though
the decals have a “sticky-back” and are not the water transfer
type, submersing them in soap and water allows accurate
positioning and reduces air bubbles underneath.
❏
2. Position the decal on the side of the model. Holding
the decal down, use a paper towel to wipe most of the
water away.
❏
3. Use piece of soft balsa or something similar to squeegee
the remaining water from under the decal. Apply the other
decal using the same method.


