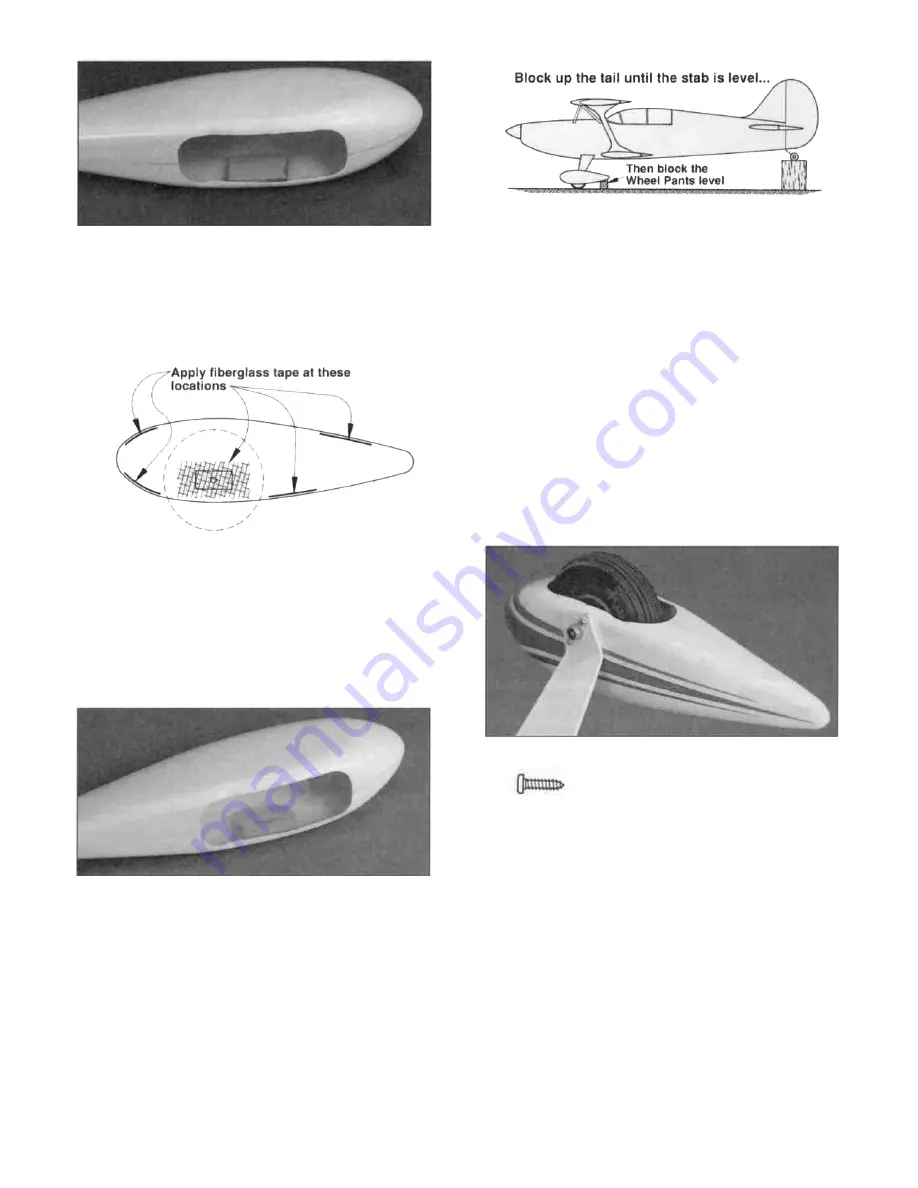
D 6. Center the 1/8" x 1/2" x 1" ply wheel pant
plates (PLY3013) over the 5/32" holes on the
inside of the pants, and glue them in place.
D 11. Use a 1-1/4" tall wood block at the rear of each
pant to position the pants as shown in the sketch.
D 12. Hold the pants in the correct position, and
carefully drill two 1/16" holes through the landing
gear and into each 1/8" ply wheel pant plate.
Remove the wheel and pant, and enlarge the holes
in the landing gear only to 3/32". Refer to the
plans to determine where the holes are drilled.
D 7. Cut eight 1" long pieces of fiberglass tape
from the 36" strip (GLTP016), and glue them
across the seam as shown in the sketch above.
Thin CA works well for this. Use a small piece of
waxed paper to press the tape into place and
smooth it out.
D 8. Cut two 2" long pieces of tape from the
remainder of the 12" strip, and glue these over the
1/8" ply wheel pant plates.
#2 x 3/8" sheet metal screw
D 13. Install the wheel and pant again, and secure
each pant with two #2 x 3/8" sheet metal screws
(SCRW024). Check to see if the screws will
interfere with the wheel or tire. If they do, grind the
tips off until they won't.
D 9. Drill a 5/32" hole through each 1/8" ply plate
using the holes in the wheel pants as guides.
D 10. Slide the wheel and pant onto the axles.
Then install them on the landing gear. The detail
drawing on the fuse plan shows how to do this.
D 14. Remove the pants, and sand the seam to
remove any high spots. Use HobbyLite model filler
to smooth out any low spots. Final sand the wheel
pants, and paint them with your favorite paint.
Make sure the paint is compatible with ABS plastic
before using it. You can also paint the landing gear
if you desire. After the painting is done, re-attach
the wheels and pants.
- 6 6 -
Содержание Super Kybolt
Страница 6: ...6 DIE CUT PATTERNS...
Страница 72: ...2 VIEW DRAWING...


