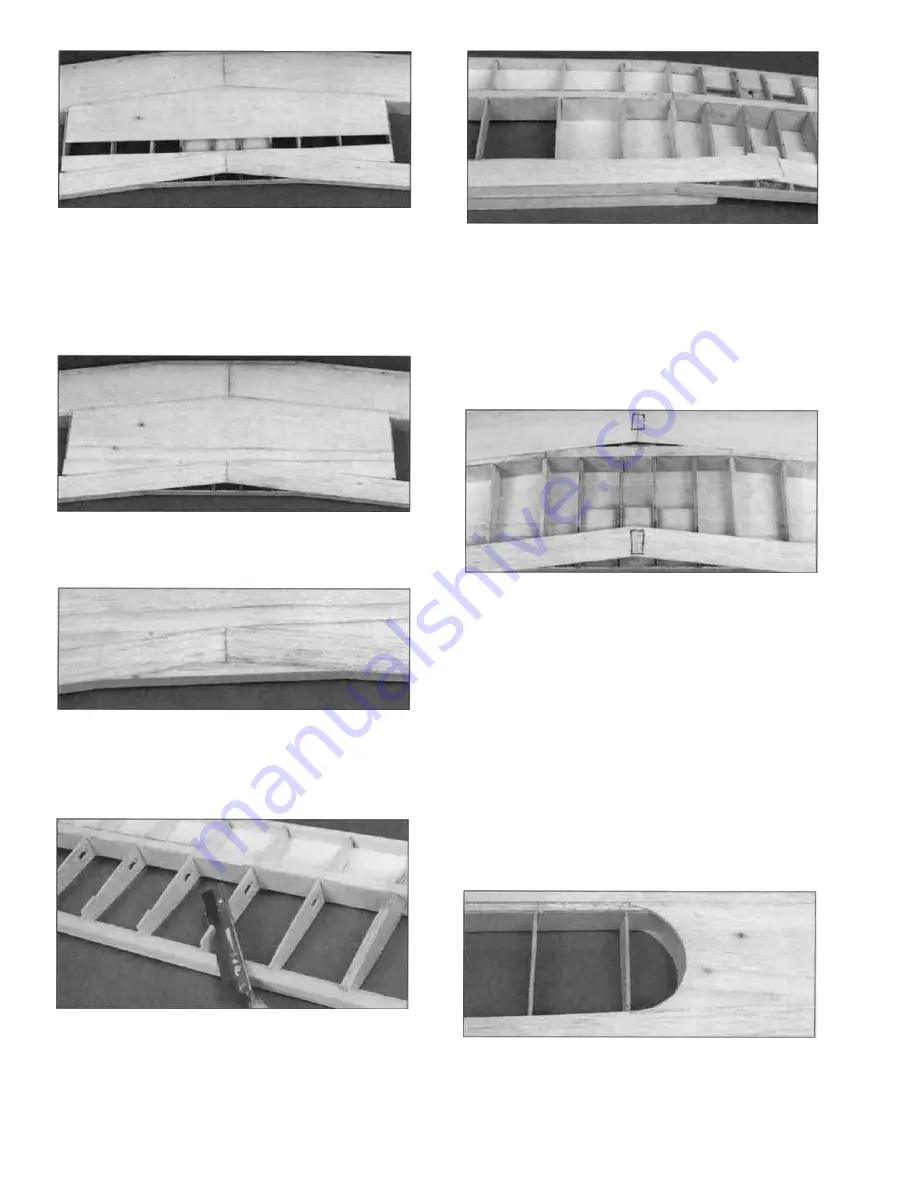
D 18. Glue the two triangles you cut off the center
sheet to the trailing edge sheeting as shown in the
photo. After the glue cures, use a metal straight
edge as a guide to trim the front edge of the
triangles straight and even with each other.
D 19. Cut a strip of balsa center sheeting to fit in
the gap and glue it in place.
D 22. Add two 1/16" x 7/8" x 28" balsa TE sheets
just as you did earlier on the top surface. Do one
panel at a time and be careful to keep from
warping the wing during these steps. HINT: Do not
get glue in the I-strut slot when gluing the
sheeting to rib T7. An aileron placed under the TE
will keep it straight while the glue is curing.
D 23. Install the remaining two 1/16" x 2-1/4" x
28" top wing LE sheets, using the same
procedure outlined in steps 8 - 14. Be very careful
when applying glue to the T7 ribs to avoid getting
glue in the l-strut slots. Mark on the LE and the TE
sheeting where the cabane wires will attach.
D 20. Cut a small triangle from scrap 1/16"
sheeting to fit behind the trailing edge sheeting at
the center. Glue it in place.
D 21. Flip the wing over and carefully trim off the
jig tabs on the bottom of the wing. A razor saw
works well for this. Use a sanding block with fine
grit sandpaper to touch up where the tabs were
and to blend the ribs into the TE. Be careful not to
change the shape of the ribs.
D 24. Install the bottom center sheeting just as
you did on the top surface. Refer to steps 15
through 20 for instructions.
D 25. Cut a semi-circle or similar shape out of the
sheeting between ribs T4 and T5 as shown in the
photo. Do this on both the top and the bottom of
the wing.
-40
Содержание Super Kybolt
Страница 6: ...6 DIE CUT PATTERNS...
Страница 72: ...2 VIEW DRAWING...


