GRAUPNER GmbH & Co. KG D-73230 KIRCHHEIM/TECK GERMANY
Modifications reserved. No liability for printing errors 04/2011
9
Assembling and installing the fueltank
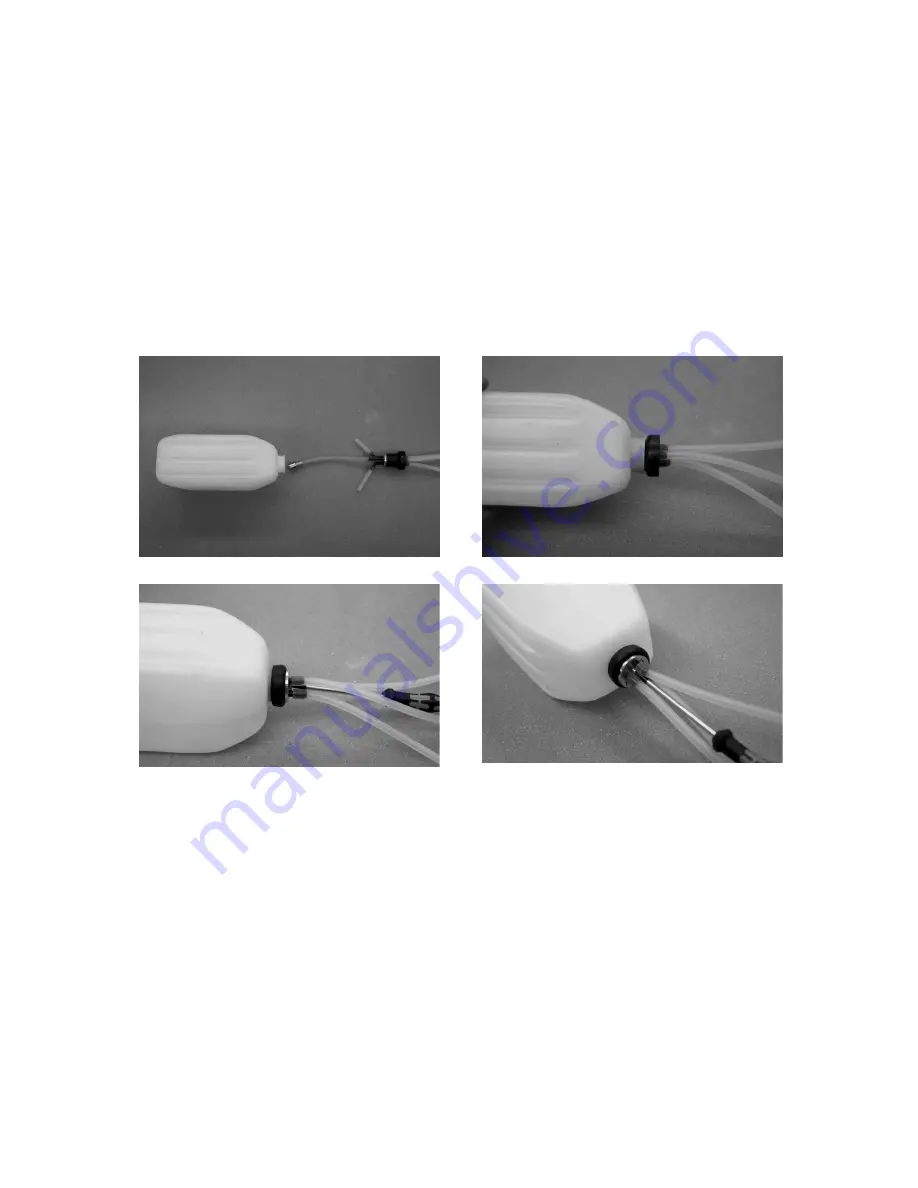
Cut a piece of fuel tubing and push it onto the fueltank clunk pick-up. Push the free
end of the fuel tubing onto one of the tubes in the fueltank stopper, and check that
the pick-up will be able to move freely inside the tank
without
binding or jamming
when the stopper is in place. Use a heat-gun or match to heat the other two plastic
tubes gently, so that they can be curved: one should face down (later used to fill the
tank); the second faces up (serves later as overflow when the tank is filled).
Now push the tank stopper, complete with pick-up and pre-formed tubes, into the
throat of the fueltank, and tighten the cross-point screw to clamp the stopper in place.
It is essential to tighten the screw to the point where the tank is completely sealed.
You can check this by holding the tank under water and blowing hard into the fuel
tubes: any air bubbles indicate a leak which must be eliminated.
Connect a further length of fuel tubing to each stub tube projecting from the fueltank
stopper.
Mark the individual fuel lines so that you can identify which is the fuel feed (to the en-
gine), which is the overflow, and which is the filler line.
Working from the wing saddle area, push the fueltank into the tank compartment,
passing the three fuel lines through the hole in the bulkhead.
Glue the cross-piece in place aft of the fueltank, so that it cannot shift in flight.
If you intend to install a petrol engine, a petrol-proof fueltank stopper, e.g. Order No.
133, must be fitted in place of the standard stopper. For the same reason replace the
silicone fuel tubing with petrol-proof tubing, e.g. Order No.1325.2.


