9
8. Using the Configuration Menu
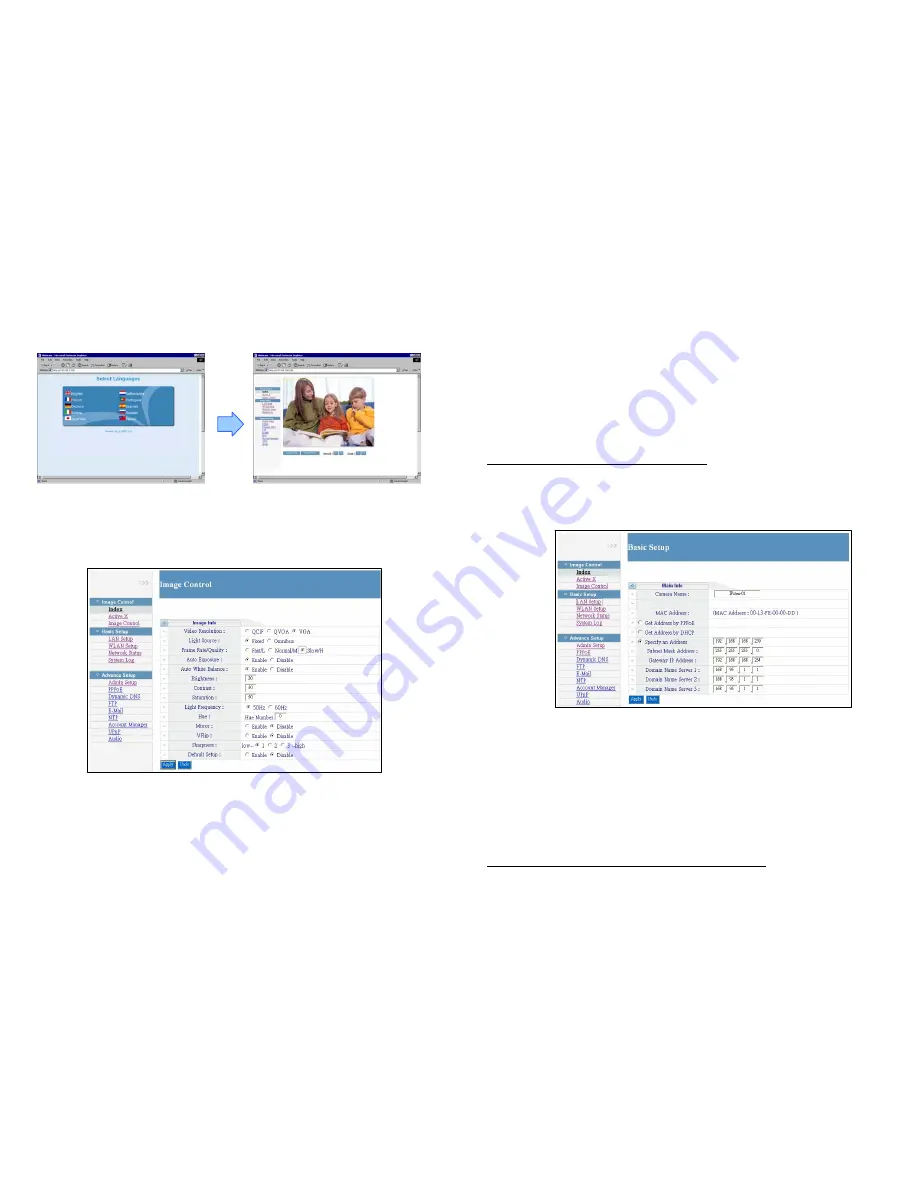
After login the camera, the “Select Languages” window will appear. Select your language and open up
the main page.
8.1 Image Control
8.1.1 Index:
Display a demo image (static image).
8.1.2 ActiveX:
Click the “ActiveX” to display image (live video) from any menu.
8.1.3 Image Control
Video Resolution:
Select the video resolution among QCIF (176x144)/ QVGA (320x240)/ VGA
(640x480).
Light Source:
Set the light source to Fixed (for light environment) or Omnibus (for dim
environment).
Frame Rate/ Quality:
Frame Rate/ Quality selection (If the frame rate more than network
bandwidth, the video will be lag or damage).
10
Auto Exposure:
Enable/ disable the auto exposure function.
Auto White Balance:
Enable/ disable the auto white balance function.
Brightness:
Adjust the brightness of the image.
Contrast:
Adjust the contrast of the image.
Saturation:
Adjust the saturation of the image.
Light Frequency:
Select your frequency (50Hz/ 60Hz).
Hue:
Adjust the hue of the image.
Mirror:
Horizontally rotate the video.
VFlip:
Vertically rotate the video.
Sharpness:
Sharpness selection.
Default Setup:
Select “Enable” and click “Apply” to restore factory default settings.
NOTE: Click “Apply” to confirm your settings.
8.2 Basic Setup
8.2.1 LAN Setup
Camera Name:
Display the camera name, you can rename directly in the field.
MAC Address:
Display the MAC address of camera.
Get Address by PPPoE:
If your camera via PPPoE dial up to internet, select the function and
complete the settings of PPPoE (refer to 8.3.2).
Get Address by DHCP:
If you have a DHCP-enabled router, please select the function, then the
router will automatically assigns an IP address to the camera.
Specify an Address:
If the camera is connected to a network without a DHCP server, type the
fixed IP Address, Subnet Mask Address, Gateway IP Address and Domain Mane Server for the
camera.
NOTE: Click “Apply” to confirm your settings after setting.


