Operation
36
313875J
b.
Place a waste container below the ratio check
valves. The next steps will cause the machine to
dispense material.
c.
Press
then
. The pump will travel to
bottom-most position.
d.
After the pump stops moving, press
then
press
. The pump will travel to the top-most
position.
NOTE:
During this process, the system learned the
mechanical limits of piston travel. If the pump did not
reach either piston mechanical travel limit for any rea-
son, repeat the procedure.
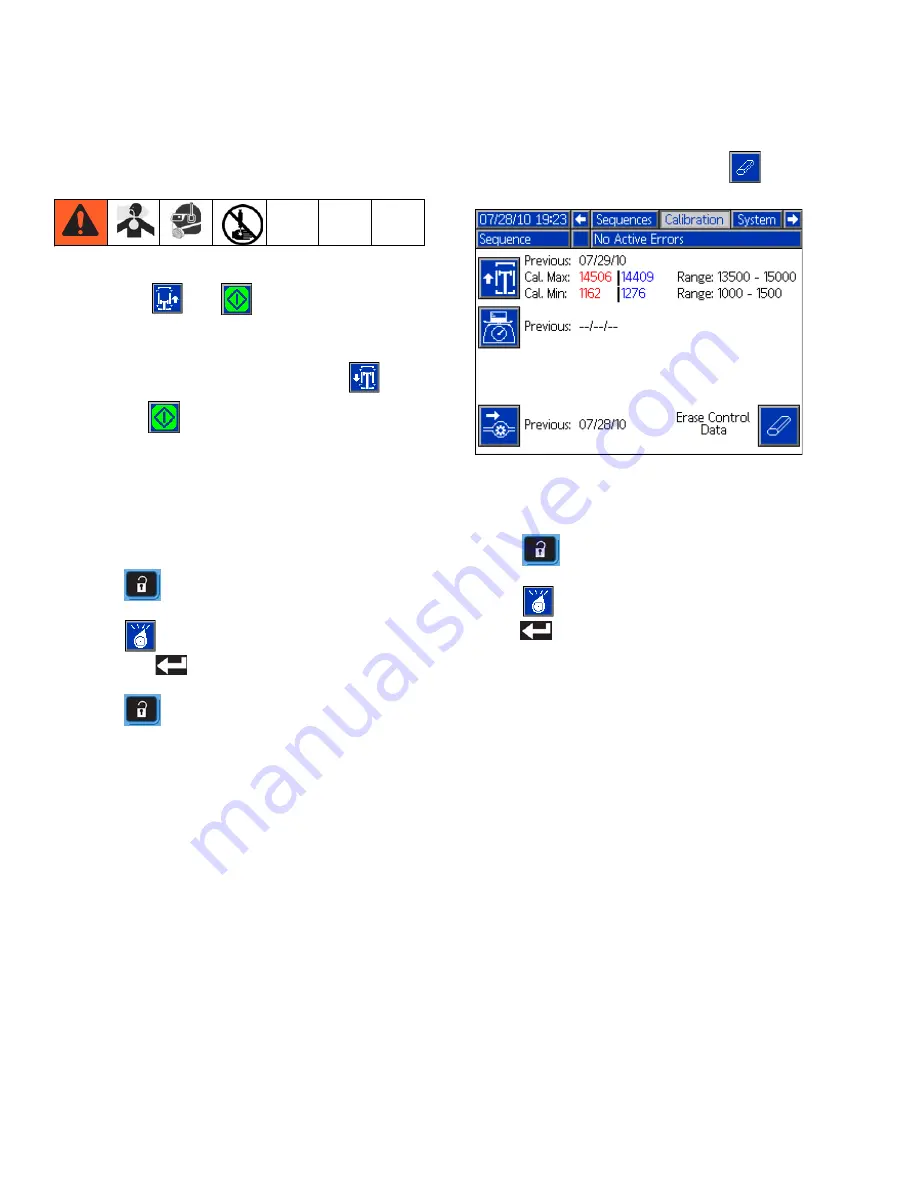
21. Press
to exit the Setup screens.
22. Press
repeatedly to select Operator mode
then press
to accept.
23. Press
to enter the Setup screens then press
left or right to navigate to the main Calibration
screen.
Flow Meter / No Flow Meter Calibration
24. If flow meters are installed, refer to
starting on page 39. If flow
meters are not installed, refer to
starting on page 40.
Flow Rate and Ratio Learning
25. At the main Calibration screen, press
to erase
all learned data.
NOTE:
This will not affect the weight calibration that was
just completed.
26. Press
to exit the Setup screens.
27. Press
repeatedly to select Shot mode then
press
to accept.
28. Select a defined shot that will provide a 10 second
or longer dispense at the flow rate and ratio
intended to be used during normal system opera-
tion.
NOTE:
If the ambient temperature is significantly below
68°F (20°C) then the flow rate for the machine will need
to be decreased. For most materials at 68°F (20°C) at a
2:1 to 3:1 ratio, a maximum flow rate of 335 g/s or 335
cc/s can be expected. The machine should not be oper-
ated much below 120 g/s or 120 cc/s at a 2:1 to 3:1 ratio.
Содержание VPM 12
Страница 9: ...A Red and B Blue Components 313875J 9...
Страница 11: ...Component Identification 313875J 11 FIG 2 Component Identification ti17702a AJ AF AL AD AC VPM 25 shown...
Страница 12: ...Component Identification 12 313875J VPM 12 FIG 3 ti17703a AL AA AK AH AE AB AD AF AJ AL AD AC AC...
Страница 50: ...Maintenance 50 313875J...
Страница 86: ...Appendix E USB Operation 86 313875J...


