28
308783
Alarm Troubleshooting
WARNING
INJECTION HAZARD
To reduce the risk of a serious injury,
follow the
Pressure Relief Procedure
on page 17 before checking or servicing
the equipment.
CAUTION
Do not use the fluid in the line that was dispensed off
ratio as it may not cure properly.
If the system stops from an alarm condition, the alarm
output air will be active. The alarm outputs are de-
scribed below and on the following pages.
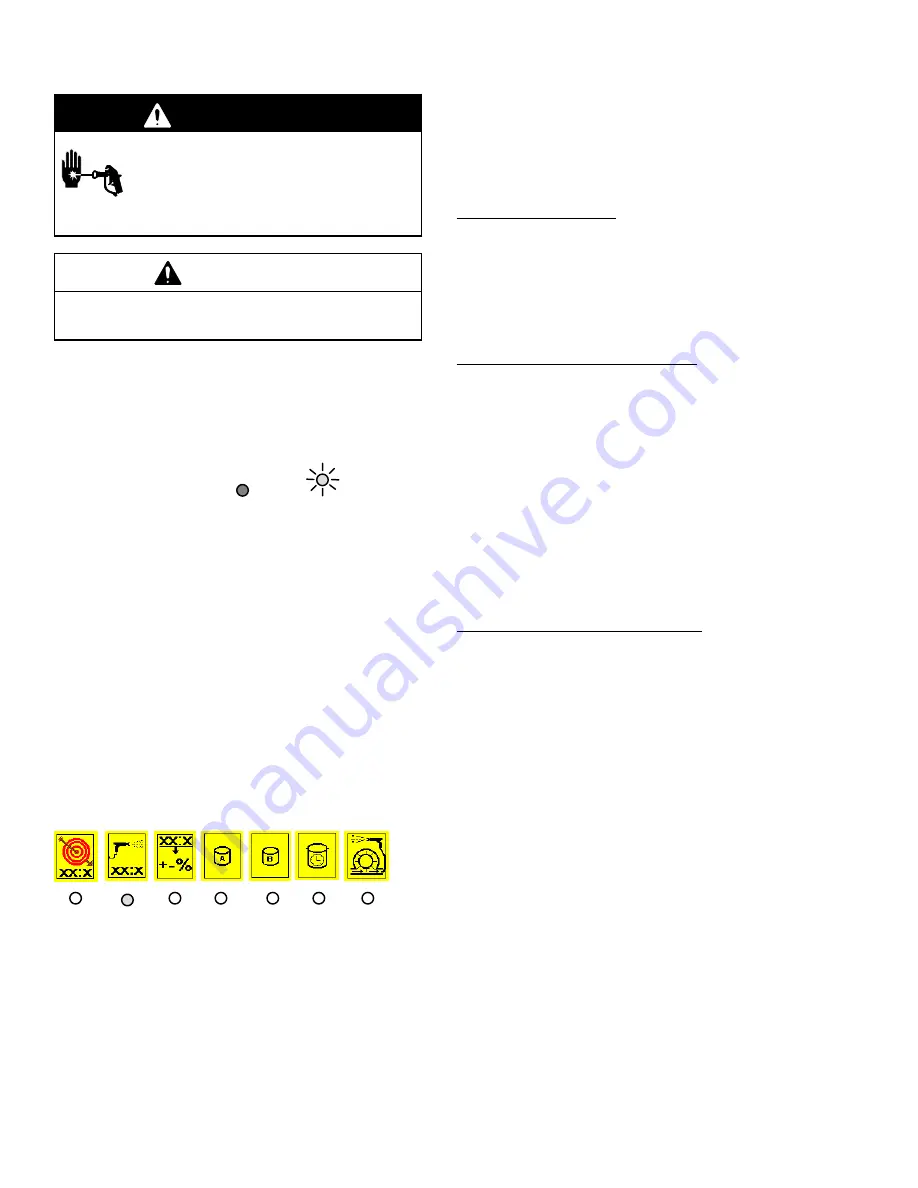
ProMix has alarms to alert you of a problem. If an
alarm is tripped, operation will stop and a front panel
light will glow a steady red or blink
below the
appropriate icon.
To Clear the Alarm and Restart the System
Except for Pot Life Exceeded, all alarms can be
cleared by turning the operator switch momentarily
from mix, to standby, to purge**, and back to standby.
Turn to mix to resume operation.
To clear a Pot Life Exceeded Alarm, the operator must
turn the operator switch to purge and purge the system
until the preset purge time is complete.
** To allow time for alarm resetting, there is a two sec-
ond delay after turning the operator switch to purge
before the actual purge begins.
Off Ratio Alarm
The system is off ratio when the amount of component
A compared to the amount of component B dispensed
in the previous cycle does not meet the tolerances that
have been set for the system.
Common Causes for an Off Ratio Alarm
The flow rate is too high
Highly unbalanced pressures from the fluid supply
system
Slow actuation of the component A or B valves
Checking the Flow Rate
If the alarm occurs while starting up the system after
purging, the flow rate was probably too high.
Restrict the gun needle travel to slow down the initial
fluid delivery rate until the fluid hoses are loaded with
material.
Checking for Unbalanced Pressures
If the alarm occurred after you have been spraying for
some time, the pressures from the fluid supplies could
be unbalanced.
1.
Check the component A and B pressures.
2.
If the pressures are not about equal,
adjust both
fluid supply pressures with the fluid regulators,
until the pressures are about the same.
3.
If the pressures are already about equal,
verify
that the component A and B valves are operating
properly.
Checking the Actuation of the Valves
Manually operate the valves by going to level 3 setup
and pressing and releasing the component A and then
the component B valve keys. The valves should snap
open and shut quickly.
If the valves move slowly, it could be caused by:
air pressure to the valve actuators is too low,
an interruption in the valve actuating air caused by
dirt or water in the air,
there is something restricting the solenoid or tubing,
the packings on the mix manifold dispense valves
are too tight,
a dispense valve knob is turned in too far. Refer to
page 18, step 3, for proper adjustment of the mix
manifold. You may want to put a piece of tape on
the knobs after they are properly set to discourage
anyone from changing the setting, or
the fluid pressure is high and the air pressure is
low. See
Accessories
, page 37, to order the high
pressure spring kit 239954.


