


grace design m906
owner’s manual
30
aDjUStinG HeaDPHone amPLifieR Gain
The sensitivity of different headphone models can vary quite dramatically. In some cases when listening
on low sensitivity headphones the normal headphone level range of 0 to 100 may not be sufficient,
especially when monitoring low level sources. To bring the headphone volume to a proper level, the
m906 provides a variable headphone amplifier gain. The available gain settings are 0dB, 10dB and 20dB.
To change the headphone amplifier gain, do the following:
1. Enter CAL mode by pressing the CAL switch. The switch LED will begin to flash, indicating that you’re now in
calibration mode.
2. Press down on the HEADPHONE LEVEL rotary encoder. This will enter the HEADPHONE AMPLIFIER GAIN calibration
mode.
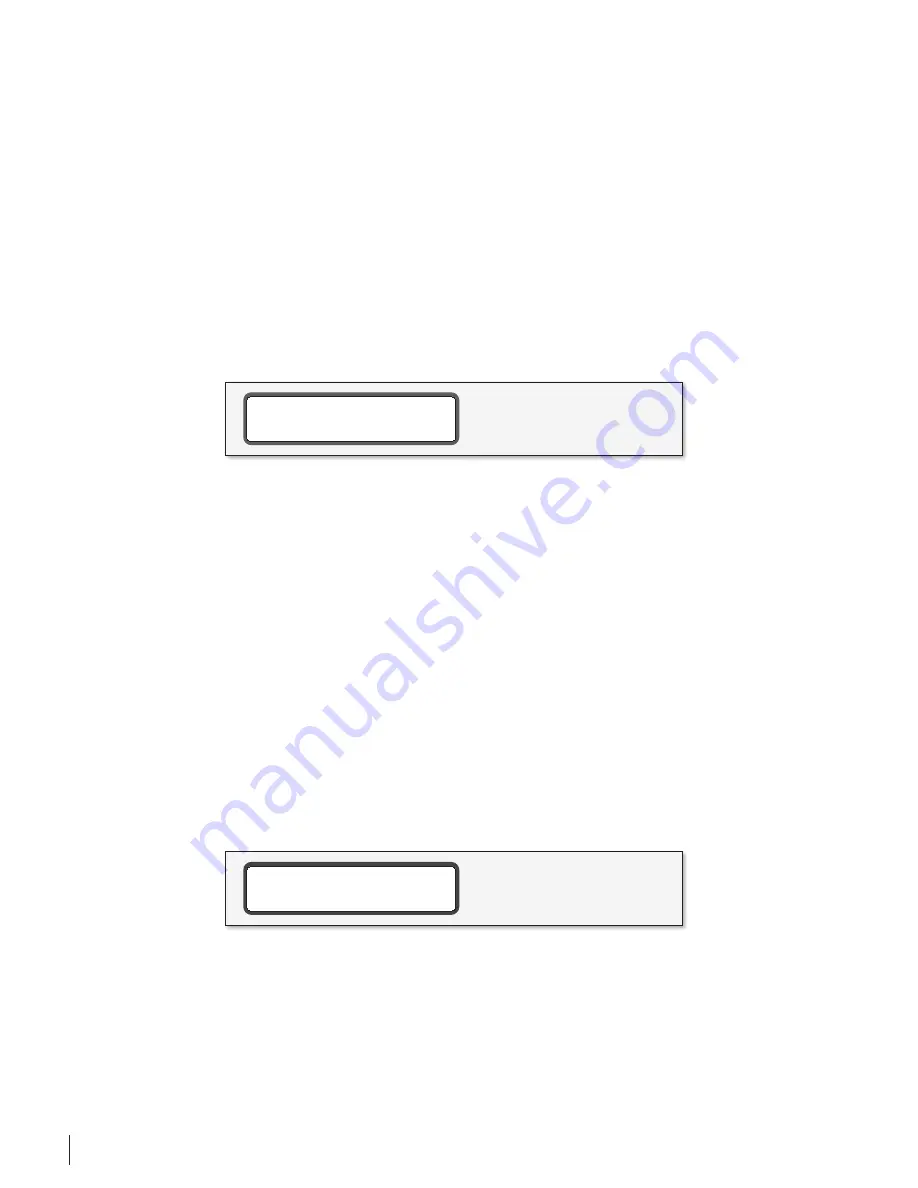
3. ”CAL” will be displayed in the headphone level LED display while the HEADPHONE GAIN calibration will be displayed
in the SYSTEM LCD (screenshot 16). The main/edit display will show the current gain setting.
headphone amp gain setting
screenshot 16
4. Rotate the ‘main level/edit’ rotary encoder in a clockwise direction to increase the amplifier gain. Rotate the
encoder in a counter-clockwise motion to decrease the value. The output will change in real-time (gain settings of
0dB, 10dB and 20dB are available).
5. Once you’re satisfied with the new HEADPHONE GAIN, you can select a new function to edit or exit CAL mode.
6. Exit CAL mode and return to the normal operating state by pressing the flashing CAL switch.
cHanGinG tHe Dim LeveL
The default dim level, as set at the factory, is -20dB. The dB range of dim is -5 to -35dB in 5dB steps.
Changing to a new dim level is easy:
1. Press the CAL switch. The switch LED flashes, which indicates you’re now in CAL mode. All other switch LED’s on the
remote control unit will be unlit. If you inadvertently entered CAL mode, simply press the CAL switch again. You’ll be
returned to the normal operating state of the m906 and the CAL switch LED will extinguish.
2. Press the DIM switch. The switch LED will begin to flash. “CAL” will now be displayed in the headphone level LED
display and the ‘main level/edit’ LED display will show the current dim value in dB. The monitor output will DIM and
the LCD will read ‘DIM ATTEN LEVEL’ (screenshot 17).
dim level adjust
screenshot 17
3. To increase the dim dB value, rotate the main level encoder in a counter-clockwise direction. As you do this, you’ll
see the dim settings change in 5dB increments. Rotate the encoder in a clockwise direction to reduce the dim level.
4. Once you’re satisfied with the new dim setting, you can select a new function to edit or exit CAL mode.
5. Exit CAL mode and return to the normal operating state by pressing the flashing CAL switch.


