German RepRap X400 Pro V3 Скачать руководство пользователя страница 14


X400PRO.QUICKSTART.

FUNDAMENTALS.

MAINTENANCE.TROUBLES HOOTING. 

German RepRap X400 Pro V3 

User Guide 

Rev B01 

germanreprap.us  14 

C h a n g i n g   f i l a m e n t .  


GRR X400 Pro V3 is an open source machine, allowing 
you to print with a wide range of different materials. 
Below is a brief list of that variety ranked in difficulty to 
print from 1 to 10, with 10 being the hardest.  

If you want to switch between different materials (or 

colors), you first need to unload the filament, then you 
can load the new one. 


A. 

Unloading existing filament


A.1. 

Heat up the extruder. This ensures that filament at 

the tip of nozzle will also clear.  

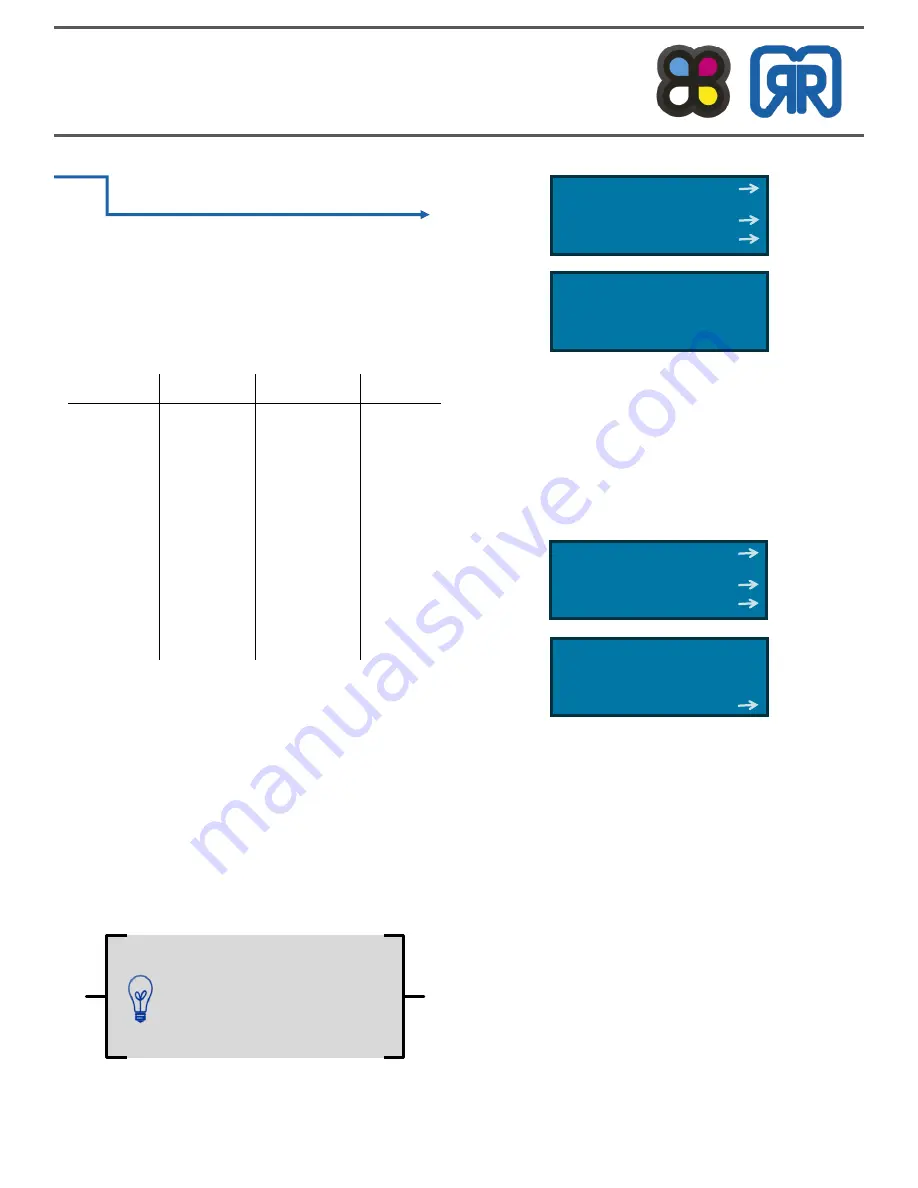
 Using control panel: 

Button press 

> Extruder 

> Temp. 1 

> Turn 

knob to desired temp. of  existing material. 

Quick Settings  
Print File  
Position  
Extruder 

Back  
Bed temp. 27.3/ 0°C 
Temp. 1  232.4/240°C 
Temp. 2   27.3/ 0°C 

 A.3. 

Once extruder is heated, follow the control panel to 

extract the filament from the extruder.  

Using control panel (from last step): Select Extr. 1 

Extr. Position 

> Turn knob counterclockwise.  


Grabbing the filament from the top of the extruder, you 
should feel it as it comes out. Through the translucent 
faceplate, you can see the end of the filament come out 
of the hotend. Tug on it to pull out the filament com-
pletely. 

Quick Settings  
Print File  
Position  
Extruder 

Turn extr. 2 off 
Select extr. 1 
Select extr. 2 
Extr. position 

When switching from 

ABS to PLA, heat to ABS 

temp. and purge. 

Material 

Extruder 

Heated Bed  Difficulty 

PLA 

190-220°C 

55-65°C 

PET-G 

240-260°C 

70-77°C 

ABS 

230-255°C 

90-115°C 

HIPS 

230-255°C 

90-115°C 

PVA 

190-220°C 

55-115°C 

PP 

210°C 

0-80°C 

TPU93 

190-215°C 

0°C 

Carbon 20 

255°C 

45°C 

Содержание X400 Pro V3

Страница 1: ...German RepRap X400 Pro V3 User Guide...

Страница 2: ...QUICKSTART 5 Unboxing 5 Setting Up 8 Calibrating 9 Loading Filament 10 Starting a Print 12 FUNDAMENTALS 14 Changing Filament 14 Bed Leveling 16 Changing PET Tape 17 Buildplate Preparation 18 Dual Ext...

Страница 3: ...with the high definition parts coming off this machine and we can t wait to get you started This guide aims to get you comfortable with the basics explain the fundamentals in us ing the machine addre...

Страница 4: ...75 mm Build platform 4 point heated printing platform max 120 C HANDLING_____________ Stand alone printing LCD display with SD card reader Easy to use Software Simplify 3D included DIMENSIONS AND WEIG...

Страница 5: ...Plier 1 Stand Hardware if purchased Stand Box if purchased 1 X400 Stand B Open Accessories box Be sure you have all these things as they will be essential tools on your path to happy printing If we ac...

Страница 6: ...SHCS 16 Profile Connectors 8 M6 x 22 Cylinder Head Screw 4 3D Printed Cup 4 Plastic Foot E 3 Each corner joint will be assembled as fol lows E 4 Attach cups to the top of the long profiles using 1pc...

Страница 7: ...for the top mounting angle The 5th and 6th T slots will be used for the bottom mounting angle Line up two crossbars and one of the assembled sides of the stand Adjust the T slots on the bar so they li...

Страница 8: ...wobbly adjust the legs to make sure that everything is square F Cut red zip ties G Do NOT remove zip tie on safety switch This zip tie disables the safety switch and allows us to operate the machine...

Страница 9: ...inue without draining all the battery to heat the bed The power requirements are AC 110V 230V 50 Hz 2 6 A 600W L Preheat PLA While the X400 Pro V3 is an open source machine al lowing you to print with...

Страница 10: ...Cooldown Set to origin Disable steppers We have chosen to preheat the whole machine for two reasons First it is best practice to level the buildplate while it is hot Second it s a time saving trick t...

Страница 11: ...filament upright so it feeds straight into the path IF the extruder doesn t properly lead the filament to the hotend you can adjust the contact pressure by ad justing the wheel The adjusting wheels a...

Страница 12: ...rk connection may lead to failures over large print times because of poor connections O 1 Using Control Panel Button Press SD Card 3DC Logo 3DCLogo_L_PLA_56m gcode Starting a print Focusing on the lef...

Страница 13: ...ke sure that it is bonding well to the plate Turning the knob counterclockwise moves the plate up and clockwise moves the plate down The first layer should be flat and smooth with some height to it fe...

Страница 14: ...ick Settings Print File Position Extruder Back Bed temp 27 3 0 C Temp 1 232 4 240 C Temp 2 27 3 0 C A 3 Once extruder is heated follow the control panel to extract the filament from the extruder Using...

Страница 15: ...s straight into the path IF the extruder doesn t properly lead the filament to the hotend you can adjust the contact pressure by adjusting the wheel The adjusting wheels are mirror images of each othe...

Страница 16: ...the top the filament still feeds through at the nozzle B 4 Allow material to purge before starting It should flow out straight and consistently If it curls up at the nozzle there is likely a bit of de...

Страница 17: ...at ABS Cooldown Set to origin Disable steppers Changing PET Tape The PET Tape should be changed after there is major damages on all parts of the tape A Remove old green PET Tape A 1 Allow ceramic buil...

Страница 18: ...a suitable solution for this application B Apply 50 50 Solution Using a paper towel coat the build plate with a thick layer of this solution and allow the heated bed to quick ly dry it up You should r...

Страница 19: ...already be leveled to this nozzle If not you can follow the steps on page 15 to level your buildplate A 3 Move the extruder head to the front of the bed so that the nozzles and the gap between the pla...

Страница 20: ...nfigure their offset We are going to do this by print ing a 2 cm cube and measuring the offsets by hand en tering them into the configuration of our machine and storing them into the firmware B 1 Load...

Страница 21: ...xtruders are aligned Fan Speed SD Card Debugging Configuration Language Acceleration Feedrate Extruder Back Select extr 1 Select extr 2 X Offset 1986 00 Simplify 3D A Activate Account Scratch out the...

Страница 22: ...re taken to a pre view of your part which gives you a layer by layer pre view along with some build statistics We recommend changing the Coloring to Feature Type default is Active Toolhead and unselec...

Страница 23: ...top extrud ing 2 Material swap The current material you are printing with has a lower melting temperature than the previ ous one and there is still some of the previous ma terial in the hot end which...

Страница 24: ...from the heater block Insert the new nozzle A 4 Gripping the heater block tighten the nozzle Do not apply any torque through the heat break they are fragile A 5 Turn off the heat and allow the HotSid...

Страница 25: ...ith Repetier h A 4 Go to Tools Serial Port and make note of the COM ports that are displayed A 5 Plug the USB Cable into a USB 3 0 Port on your computer and into the backside of the x400 Pro V3 A 6 Go...

Страница 26: ...ge 23 Cannot communicate with printer USB 1 Take off left side panel 2 Use USB port directly on megatronics Cannot communicate with printer via network 1 Upload file onto SD Card 2 Use SD Card to prin...

Отзывы: