7.1.1 Customizing the Basic Settings
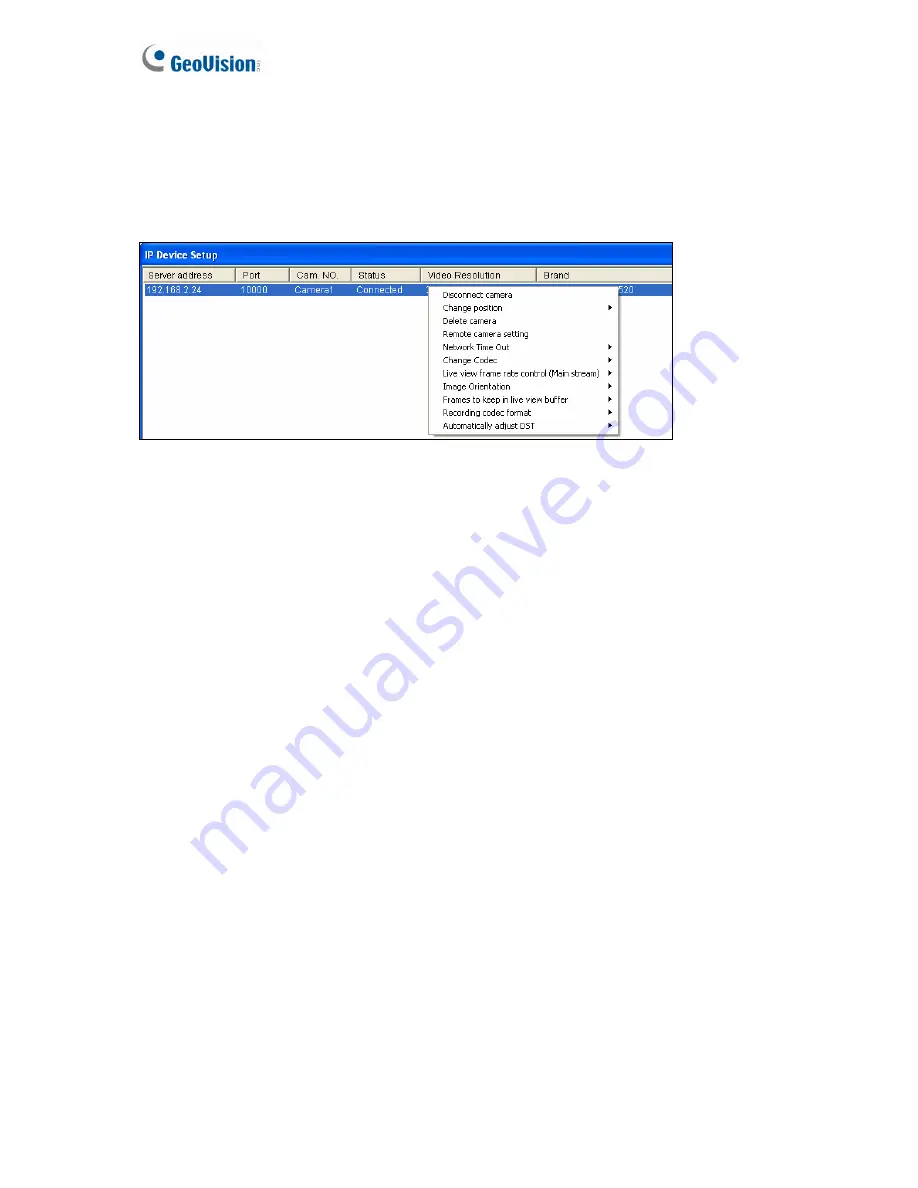
After the GV-Fisheye Camera is connected and assigned with a display position, you can
configure the camera’s settings such as frame rate, codec type and resolution. Right-click the
desired camera to see the following list of options:
Figure 7-6
Network Time Out:
When network disconnection exceeds the specified time period, the
camera status will be displayed as Connection Lost.
Change Codec:
Changes the code type.
Live-view frame rate control (Main stream):
Sets the live view frame rate of the sub
stream to help reduce the CPU usage. If you have set the live view codec to be MJPEG,
select the number of frames to allow in a second. If the live view codec selected is H.264,
select one of the following options:
~
Maximum Live-view Frame Rate:
View the video at the maximum frame rate
possible.
~
Live-view Key Frame only:
You can choose to view the key frames of the videos
only instead of all frames on the live view. This option is related to the GOP setting
of the IP camera. For example, if the GOP value is set to 30, there is only one key
frame among 30 frames.
Image Orientation:
You can adjust the image orientation by selecting
Normal
,
Horizontal Mirror
,
Vertical Flip
or
Rotate 180°
.
Frames to keep in live view buffer:
Specifies the number of frames to keep in the live
view buffer.
Recording Codec Format:
Specifies whether to record in standard or GeoVision type
of MJPEG, H.264 codec.
Automatically Adjust DST:
If enabled, the time on the GV-IP device Web interface will
be synchronized with the time of the GV-System when DST period starts or ends on the
GV-System.
162


