GE
DRAFT
V
OLUSON
™ P8 / V
OLUSON
™ P6
DIRECTION 5723243, R
EVISION
6
DRAFT (M
AY
23, 2018)
B
ASIC
S
ERVICE
M
ANUAL
Chapter 3 - Setup Instructions
3-85
3-13-4
How to Setup E-mail
If Internet access is available via LAN, Wi-Fi or Cellular modem, it is possible to send images/cines via
E-Mail to patients or physicians.
Necessary information provided by the E-mail provider (SMTP settings)
To enable E-mail, the SMTP (Simple Mail Transfer Protocol) settings from your provider are needed.
NOTE:
The Voluson™ P8 / Voluson™ P6 is only supporting E-mail send; no e-mail receive is possible. To
receive reply E-mails, the same E-mail account needs to be installed on an Office-PC.
NOTE:
Maybe the information above needs to be searched in the Internet from your e-mail provider and is the
same for all e-mail users.
Email Configuration
1.) Press the
Utilities
H key on the control console.
2.) In the “Utilities” menu select the
System Setup
button to invoke the setup desktop on the screen.
3.) On the left side of the screen select
Connectivity
and then click the
Device Setup
tab.
4.) Click the
Email Configuration
button; see
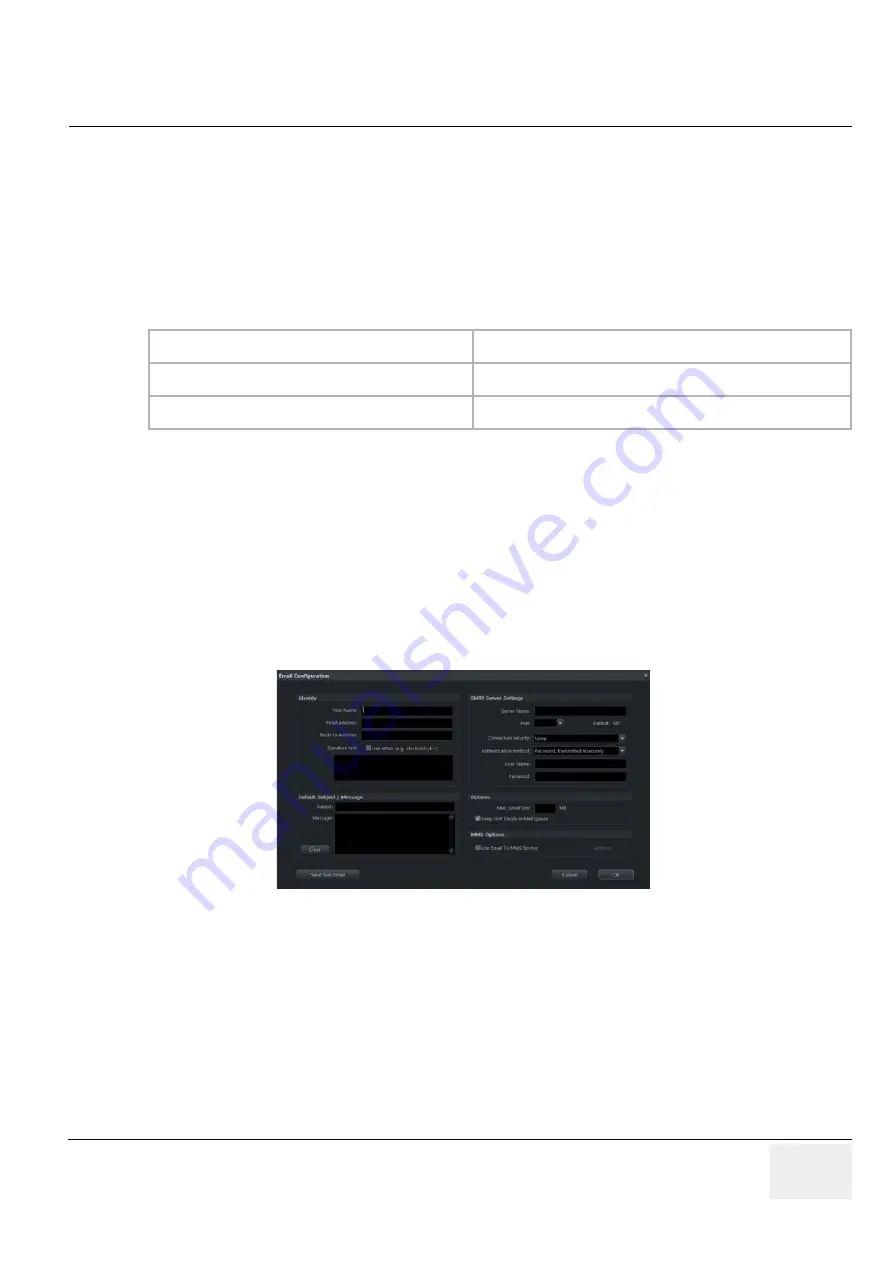
The Email Configuration screen appear.
5.) Enter Your name and Email Address in the Identity group. As an option you can enter a different
Reply to Address and a Signature Text.
6.) To verify E-mail configuration click on Send Test Email. An E-mail is sent to the entered E-mail
address followed by a message box where either a success message or an error message is
shown.
7.) Store your configuration with click on OK.
8.) If it is desired to use also MMS, adjust settings as described in Next page.
9.) Individually enter Patient's Email address and Phone number in the PID screen and adjust Email
and/or MMS options as described in Next page.
SMTP server name (Outgoing Messages)
e.g., smtp.gmail.com
SMTP authentication (Outgoing Messages)
e.g., SSL
SMTP port (Outgoing Messages)
e.g., 465
Figure 3-85 Email Configuration


