Chapter 4: Moving and Positioning
Definium AMX 700 X-Ray System
5161515-1EN
Rev. 6 (10 February 2008)
4-4
Operator Manual
© 2008 General Electric Company. All rights reserved.
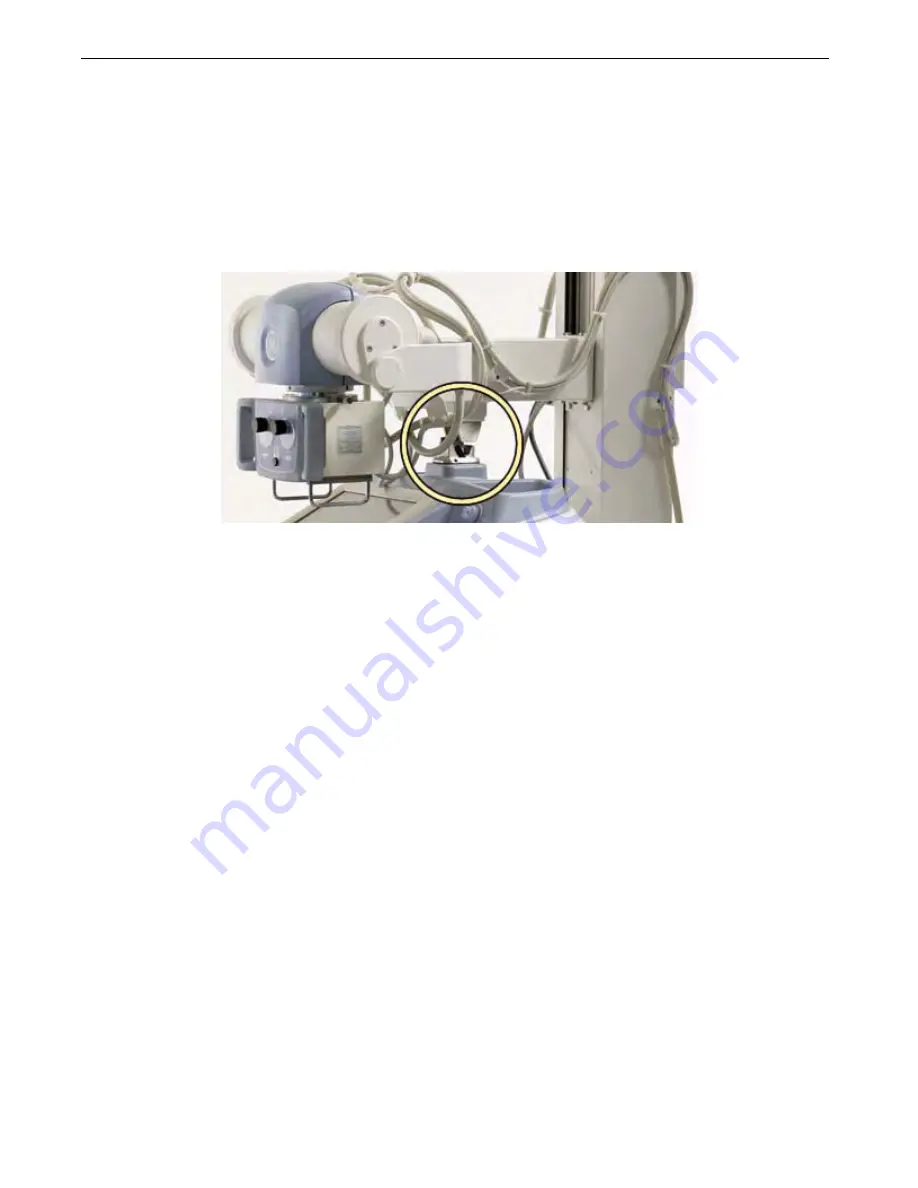
4. Lock the telescoping arm into the park/transport position, if necessary.
In the park/transport position the telescoping arm is:
– completely pushed in;
– centered over the control panel (collimator skin spacers within well); and
– securely latched (Figure 4-5).
Figure 4-5
Telescoping arm latched
5. Turn the keyswitch to ON, if necessary.
6. Grip the drive handle to activate the motors and disengage the brakes. Now simply steer the unit, like
a shopping cart, to your destination.
When climbing inclines or moving over carpeting or other rough surfaces the drive motors will
automatically adjust to the floor surface.
When descending inclines or pushing the Definium AMX 700 to make it go faster, it may stop and
display the message RELEASE HANDLE. If this happens, release the handle to clear the message
and then continue with normal operation.
7. To stop the unit and activate the brakes, release your grip on the drive handle. Remember that the
self-stopping bumper, upon impact, will turn off the drive motors and activate the brakes.
To reverse the unit, grip the drive handle and pull backwards. If the self-stopping bumper is
engaged, after a brief pause reverse the unit.
To turn a sharp corner or rotate the unit, push one side of the drive handle (to the right or left) and
pull on the other. The unit will turn or pivot easily.
If the drive motors should fail, press and hold the BRAKE RELEASE button (Figure 4-6), located just below
the DRIVE HANDLE on the left bracket. Manually relocate the unit, and call service.
FOR
TRAINING
PURPOSES
ONLY!
NOTE:
Once
downloaded,
this
document
is
UNCONTROLLED,
and
therefore
may
not
be
the
latest
revision.
Always
confirm
revision
status
against
a
validated
source
(ie
CDL).


