Expert 24 LX User Manual
Installation 2-7
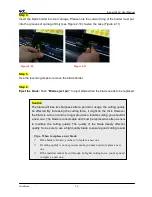
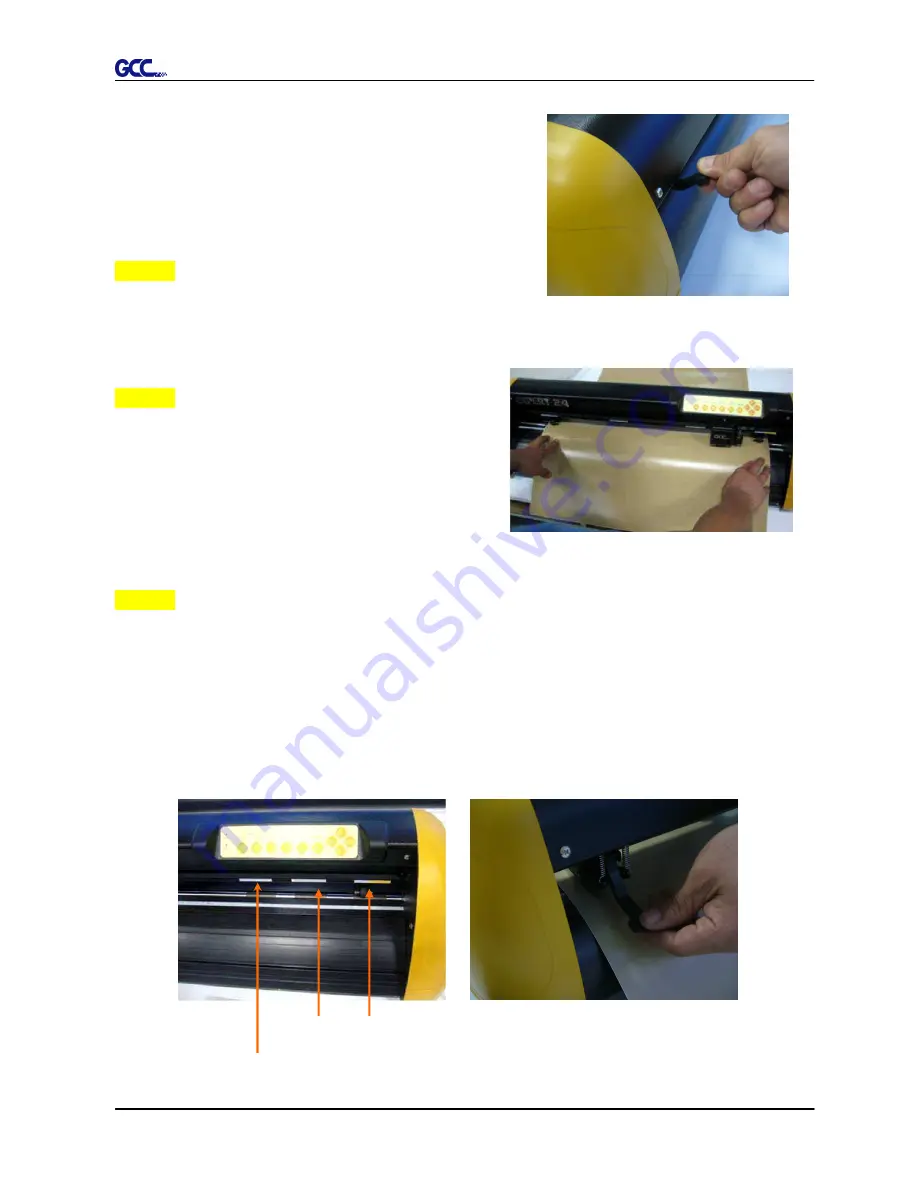
Figure 2-12
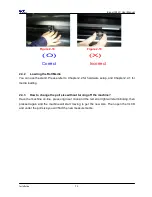
Figure 2-14
Figure 2-15
Figure 2-13
2.4 Media Loading
2.4.1 Loading the Sheet Media
To load the media properly, please follow the
procedures below:
Step 1
Lift the 2 levers at the back side of the cutter to lift the
pinch rollers (
Figure 2-12
).
Step 2
Load your media on the platen and slide it under
the pinch rollers from either the front side or the
backside. The alignment rulers on the platen
extension will help you to adjust the media
precisely (
Figure 2-13
).
Step 3
Then move the pinch rollers manually to the proper position. Be sure the pinch rollers must be
positioned above the grid drum.
The stickers on the main beam show the position of the grid
drums (Figure 2-14). The position of the first grid drum is indicated by a yellow and white
sticker. Please note that the position of the 1
st
AAS registration mark should not be located
within the area indicated by the yellowish part of the sticker. If the registration mark is located
in the yellowish part of the sticker then the registration mark will fail to be detected.
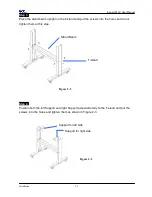
Stickers
Содержание EXPERT 24 LX
Страница 1: ...V 10 2013 Dec EXPERT 24 LX CUTTING PLOTTER User Manual Great Computer Corporation...
Страница 95: ...Expert 24 LX User Manual GreatCut Instruction A 4 Click Multi Copy in GreatCut2 under File...
Страница 102: ...Expert 24 LX User Manual Illustrator Plug In A 5 8 Hit Edit Artboards 9 Click on Presets Fit Artboard to Artwork bounds...
Страница 120: ...Expert 24 LX User Manual SignPal 10 5 Instruction A 6 8...
Страница 123: ...Expert 24 LX User Manual SignPal 10 5 Instruction A 6 11...
Страница 130: ...Expert 24 LX User Manual SignPal 10 5 Instruction A 6 18...

