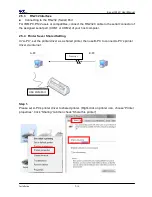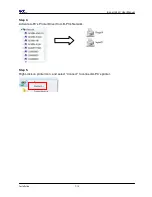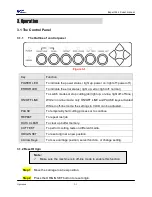
Expert 24 LX User Manual
Installation 2-4
Step 5
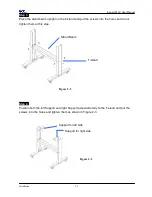
Remove the cutting plotter from the carton. Position the stand under the plotter, and insert the
screws into the holes on the bottom of the plotter but do not tighten them up as shown in
Figure 2-4.
Step 6
Tighten the screws of step 3 and step 5. Place the sliding brackets for paper takeup onto the
stand beam.
Figure 2-4
Figure 2-5
sliding brackets for paper takeup
Содержание EXPERT 24 LX
Страница 1: ...V 10 2013 Dec EXPERT 24 LX CUTTING PLOTTER User Manual Great Computer Corporation...
Страница 95: ...Expert 24 LX User Manual GreatCut Instruction A 4 Click Multi Copy in GreatCut2 under File...
Страница 102: ...Expert 24 LX User Manual Illustrator Plug In A 5 8 Hit Edit Artboards 9 Click on Presets Fit Artboard to Artwork bounds...
Страница 120: ...Expert 24 LX User Manual SignPal 10 5 Instruction A 6 8...
Страница 123: ...Expert 24 LX User Manual SignPal 10 5 Instruction A 6 11...
Страница 130: ...Expert 24 LX User Manual SignPal 10 5 Instruction A 6 18...


