AFJ-24S User Manual
88
▶
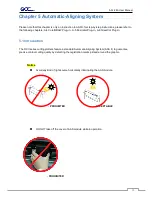
Medium thickness is more than 0.8mm
▶
Transparent medium is used
▶
Non-monochrome drawing. The marks can’t be read if it is printed on colored
medium
▶
Dirty or creased medium surface
5.2.2 AAS II on Jaguar series
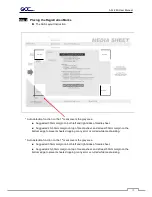
There are four types of AAS II mark patterns:
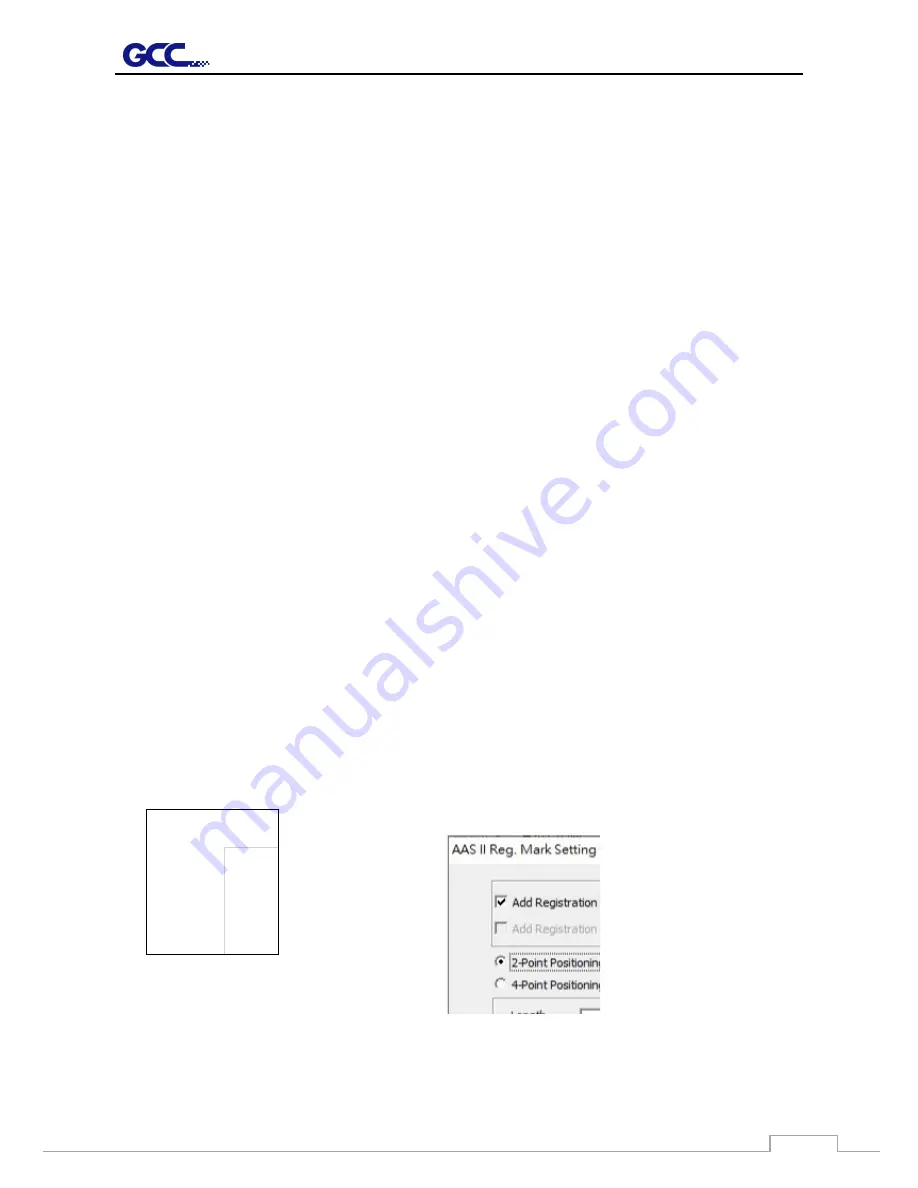
2-Point Positioning
(Feeder Mode only),
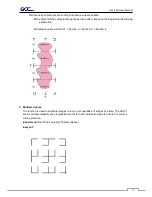
4-Point Positioning
,
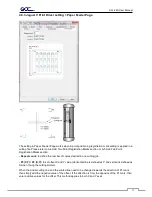
Segmental Positioning
, and
Multiple Copies
.
Note that before print out your designs by inkjet printers, the registration marks have to be created on your
graphic designs by cutting software like GreatCut, SCAL, SignPal or GCC CorelDraw plug-in. Hand-made
marks or drawings won’t be reorganized by GCC cutting plotters.
For more details about registration mark setting in cutting software, please refer to the software setting in
Appendix”
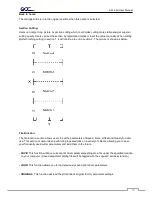
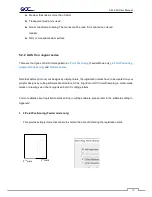
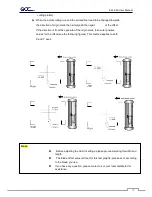
1. 2-Point Positioning (Feeder mode only)
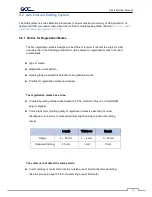
This provides simply mode that enable to shorten the time of detecting the registration mark.
1
st
mark
2
nd
mark
Содержание AFJ-24S
Страница 1: ...V 2 2022 Aug http www GCCworld com AFJ 24S User Manual...
Страница 12: ...AFJ 24S User Manual 12 RS232 cable 1 pc Installation guide 1 copy Media blocks 2 pcs...
Страница 19: ...AFJ 24S User Manual 19 Download the driver according to the type of connection...
Страница 44: ...AFJ 24S User Manual 44...
Страница 128: ...Appendix Illustrator Plug In A 5 Step 8 Hit Edit Artboards Step 9 Click on Presets Fit Artboard to Artwork bounds...
Страница 131: ...Appendix Illustrator Plug In A 5 Step 15 Select the cutter model position the object in the bottom left corner...
Страница 132: ...Appendix Illustrator Plug In A 5 Step 16 Your job is now completed Add Registration Mark by page size...
Страница 142: ...Appendix GreatCut Plug In A 6...
Страница 148: ...Appendix GreatCut Plug In A 6 The system will create the 4 marks as shown in the picture below Note...
Страница 152: ...Appendix GreatCut Plug In A 6 Step 5 Click output and the object will be sent to GCC Cutting Plotter...
Страница 166: ...Appendix GreatCut Plug In A 6 Step 5 Press the button on the right of Jog marks...
Страница 171: ...Appendix GreatCut Plug In A 6 Step 5 Click output and the object will be sent to GCC Cutting Plotter...
Страница 182: ...Appendix GreatCut Plug In A 6 Step 11 Go to GreatCut window press Output button...
Страница 183: ...Appendix GreatCut Plug In A 6...
Страница 185: ...Appendix SignPal 12 Instruction A 7...
Страница 198: ...Appendix SignPal Instruction A 6...
Страница 199: ...Appendix SignPal Instruction A 6 3 Select File Print Setup in SignPal Software and select the printer...
Страница 200: ...Appendix SignPal Instruction A 6 4 Select File Document Setup in SignPal and select paper size...
Страница 205: ...Appendix SignPal Instruction A 6...
Страница 209: ...Appendix SignPal Instruction A 6 8 Set parameter in Before Job tab Note Set Tool 0 to perform cutting...
Страница 210: ...Appendix SignPal Instruction A 6 9 Enter a value in Passes column to define the repeat times 10 The setting is complete...

