


CHAPTER 3: Replacing notebook components
102
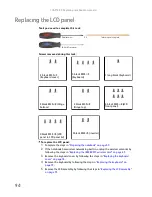
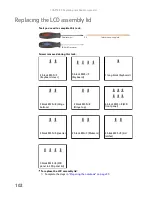
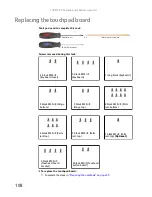
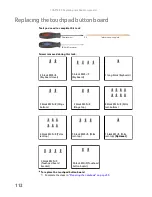
Replacing the LCD assembly lid
Tools you need to complete this task:
v
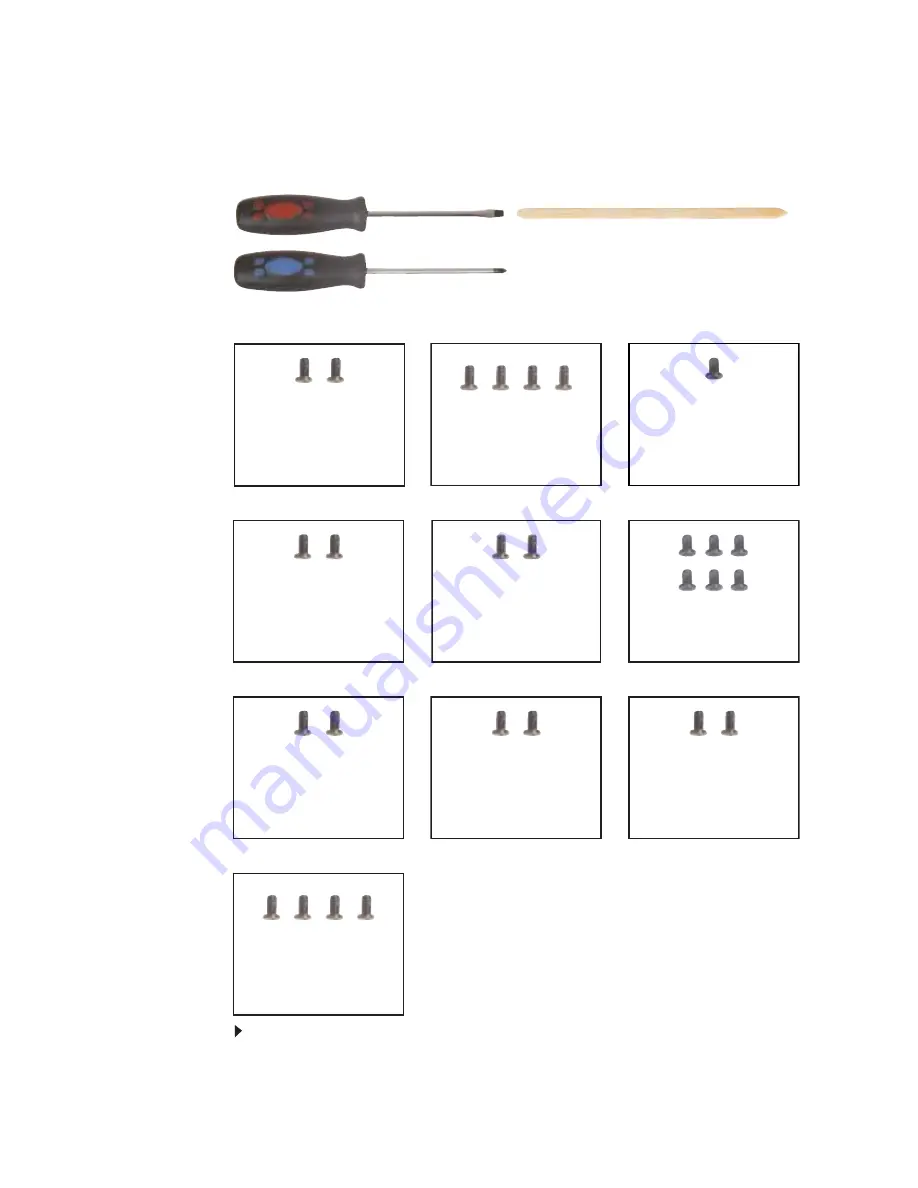
Screws removed during this task:
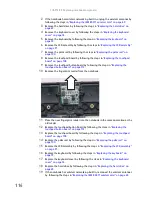
To replace the LCD assembly lid:
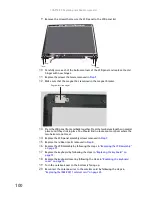
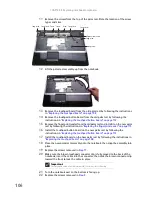
1
Complete the steps in
“Preparing the notebook” on page 55
.
Flat-blade driver
Scribe or non-marring tool
- OR -
Phillips #0 screwdriver
6 black M2.5×8 (LCD
front panel)
2 black M2.5×8
(Hinge top)
2 black M2.5×8 (Hinge
bottom)
2 black M2.5×3
(Keyboard cover)
2 black M2.5×5 (inverter)
2 black M2×3 (Webcam)
2 black M2.5×5 (Lid
latches)
4 black M2.5×5 (LCD
panel to LCD panel lid)
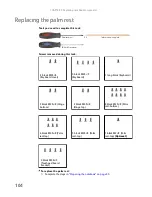
4 black M2.5×3
(Keyboard)
1 long black (Keyboard)
Содержание MG1
Страница 1: ... MG1 SERVICEGUIDE ...
Страница 6: ...Contents iv Microsoft Windows Vista Environment Test 176 Appendix C Online support information 179 ...
Страница 11: ...5 System block diagram ...
Страница 42: ...CHAPTER 1 System specifications 36 ...
Страница 43: ...CHAPTER2 37 System utilities BIOS Setup Utility BIOS flash utility Removing a password lock ...
Страница 56: ...CHAPTER 2 System utilities 50 ...
Страница 167: ...CHAPTER5 161 Connector locations System board top connectors System board bottom connectors ...
Страница 169: ...CHAPTER6 163 FRU Field Replaceable Unit list Introduction Exploded diagram FRU list ...
Страница 178: ...CHAPTER 6 FRU Field Replaceable Unit list 172 ...
Страница 179: ...APPENDIXA 173 Model definition and configuration Information not available at time of printing ...
Страница 181: ...APPENDIXB 175 Test compatible components Introduction Microsoft Windows Vista Environment Test ...
Страница 185: ...APPENDIXC 179 Online support information ...
Страница 190: ...Index 184 ...
Страница 191: ......
Страница 192: ...MAN GODZILLA SVC GDE R1 07 08 ...