19
Reference
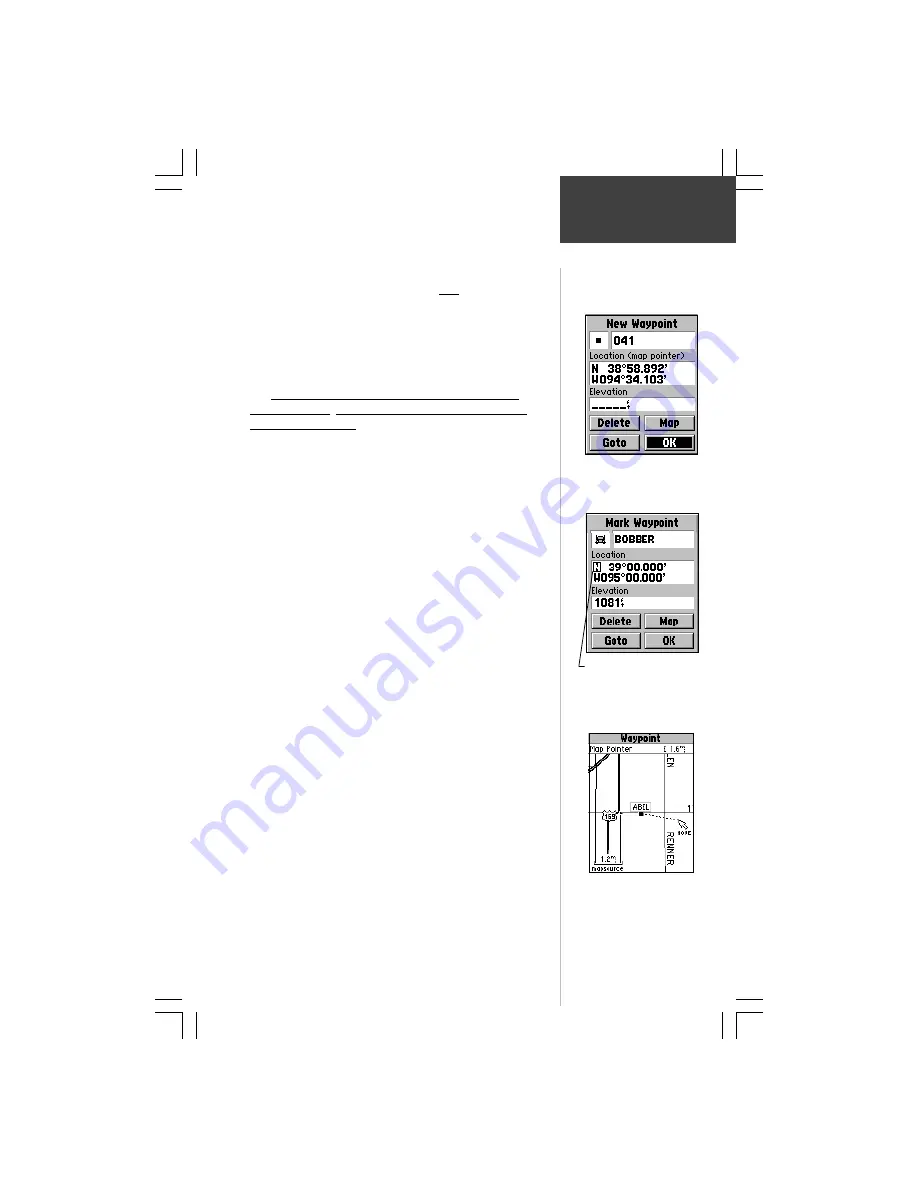
To create a waypoint using the panning
arrow when a map item is not highlighted:
1. Press and release the
ENTER
key with the panning
arrow positioned where you want to mark the
waypoint (off of roads, streets or other map items).
2. The ‘New Waypoint’ page will display the waypoint
that was created at the panning arrow location.
Be certain to press and release the
ENTER
key for
these operations. Pressing and holding the key will mark
your current location. See ‘Marking Your Current Location”
on page 18.
To create a new waypoint by manually
entering its coordinates (lat/lon):
1. Press and hold the
ENTER
key to access the Mark
Waypoint Page.
2. Highlight the Location field on the Mark Waypoint
Page and follow instructions titled “Entering Each
Letter or Number” on page 12.
3. If desired, you may also change the waypoint name
and/or symbol.
To move a waypoint by dragging it on the map:
1. Use the Find Feature to display the Waypoint Page
as described on page 21.
2. Highlight the ‘Map’ button and press
ENTER
to
display the waypoint on the map.
3. With the waypoint highlighted by the panning
arrow, press the
ENTER
key once. The word
“Move” will appear beneath the panning arrow.
4. Use the panning arrow to move the waypoint to
the new location and then press the
ENTER
key.
5. Press the
ESCAPE
key to cancel moving the
waypoint.
Using the ‘Mark Waypoint’ feature to quickly
determine your latitude and longitude:
Press and hold the
ENTER
key to display the ‘Mark
Waypoint’ page. Your current lat/lon will be displayed in
the ‘Location’ field. Press the
ESCAPE
key before pressing
any other key to close the page without storing your
location as a waypoint.
Creating a
Waypoint
Use the ROCKER keypad to
move to and highlight the
Location and Elevation fields
and then enter the coordinates
and elevation desired.
Use the Panning Arrow to drag
a waypoint to a new location.
Creating a New Waypoint by
placing the panning arrow on a
location without highlighting a
feature.


